Film no. 16 · 1989 · Dalton era
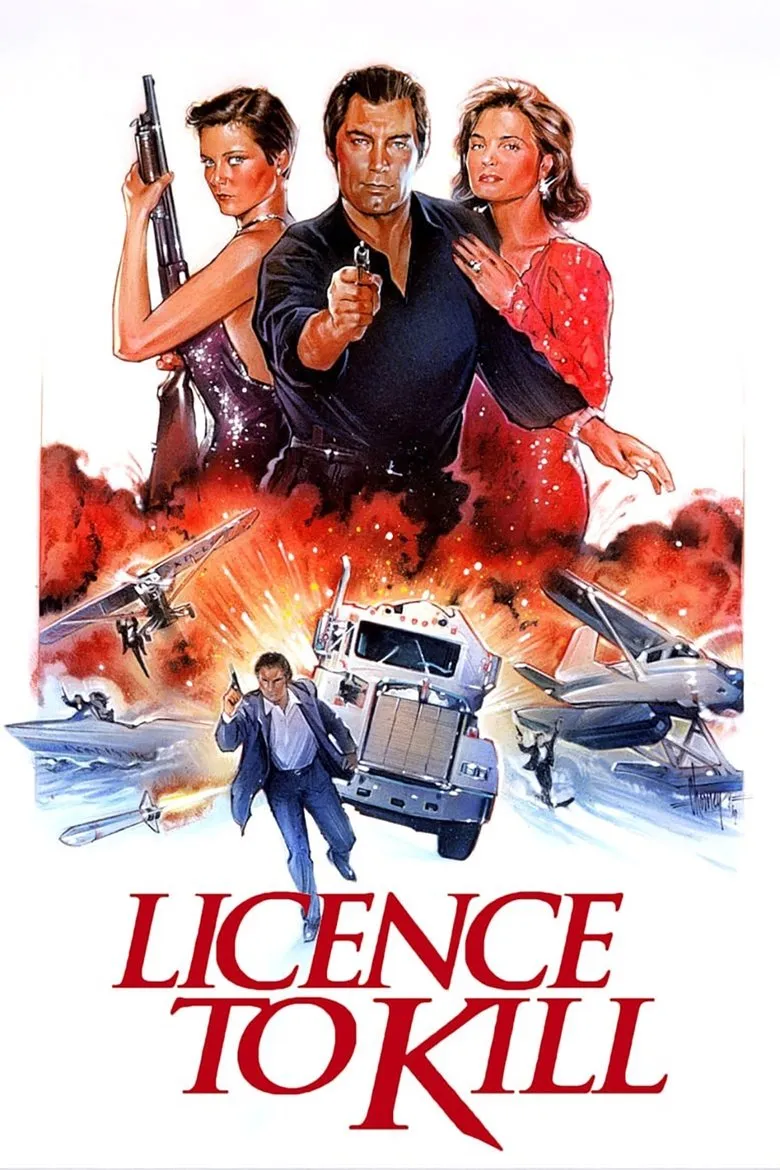
 Licence to Kill
His bad side is a dangerous place to be
TMDB rating: 6.4 / 10 · View on TMDB
Plot
On their way to Felix Leiter's wedding in Key West, James Bond and Leiter help the DEA capture drug lord Franz Sanchez. Corrupt agent Killifer enables his escape, however. Sanchez has Felix maimed by a shark and murders his new wife Della. Defying M, Bond begins a personal campaign of revenge. With Leiter's friend Sharkey he uncovers Milton Krest's marine-research business as a cover for cocaine smuggling. Bond hijacks a floatplane, steals five million dollars and escapes after a night operation at sea.
CIA pilot Pam Bouvier flies him to the fictional Republic of Isthmus. There Sanchez controls a bank, a casino and an international distribution network. Q travels out independently and helps Bond with surveillance. Posing as a contract killer, Bond earns Sanchez's trust while deliberately creating suspicion inside the organisation. The stolen cash appears in Krest's decompression chamber, prompting Sanchez to kill his associate. An assassination attempt from the casino fails when Hong Kong narcotics officers detain Bond and Sanchez's gunmen raid their safe house.
Sanchez takes Bond to the remote Olympatec Institute, where cocaine is dissolved in petrol and sold through televangelist Joe Butcher. Pam and Q infiltrate the complex; fighting ignites the laboratory, and Dario falls into an industrial grinder. Bond pursues the escaping tanker convoy across Paso del Diablo and destroys the shipment. In the final confrontation he sets Sanchez ablaze with the Leiters' wedding gift, an engraved cigarette lighter. Back in Isthmus City, Bond chooses Pam over Lupe.
Facts
- James Bond
- Timothy Dalton
- Director
- John Glen
- Screenplay
- Michael G. Wilson and Richard Maibaum
- Producers
- Albert R. Broccoli and Michael G. Wilson
- Music
- Michael Kamen
- Title song
- „Licence to Kill“Gladys Knight
- Running time
- 133 minutes
- Budget
- $35 millionThe AFI Catalog reports $34.5 million; The Numbers gives a differing figure of $42 million.
- Box office
- $157 millionworldwide theatrical gross according to the AFI Catalog; The Numbers reports about $156.2 million
- Release
- UK: 13 June 1989US: 14 July 1989Germany: 10 August 1989
Travel route and filming locations
Gold numbers trace Bond's journey through the story, light markers show the real filming locations. Each layer can be hidden separately.
Bond's route · 13 stops
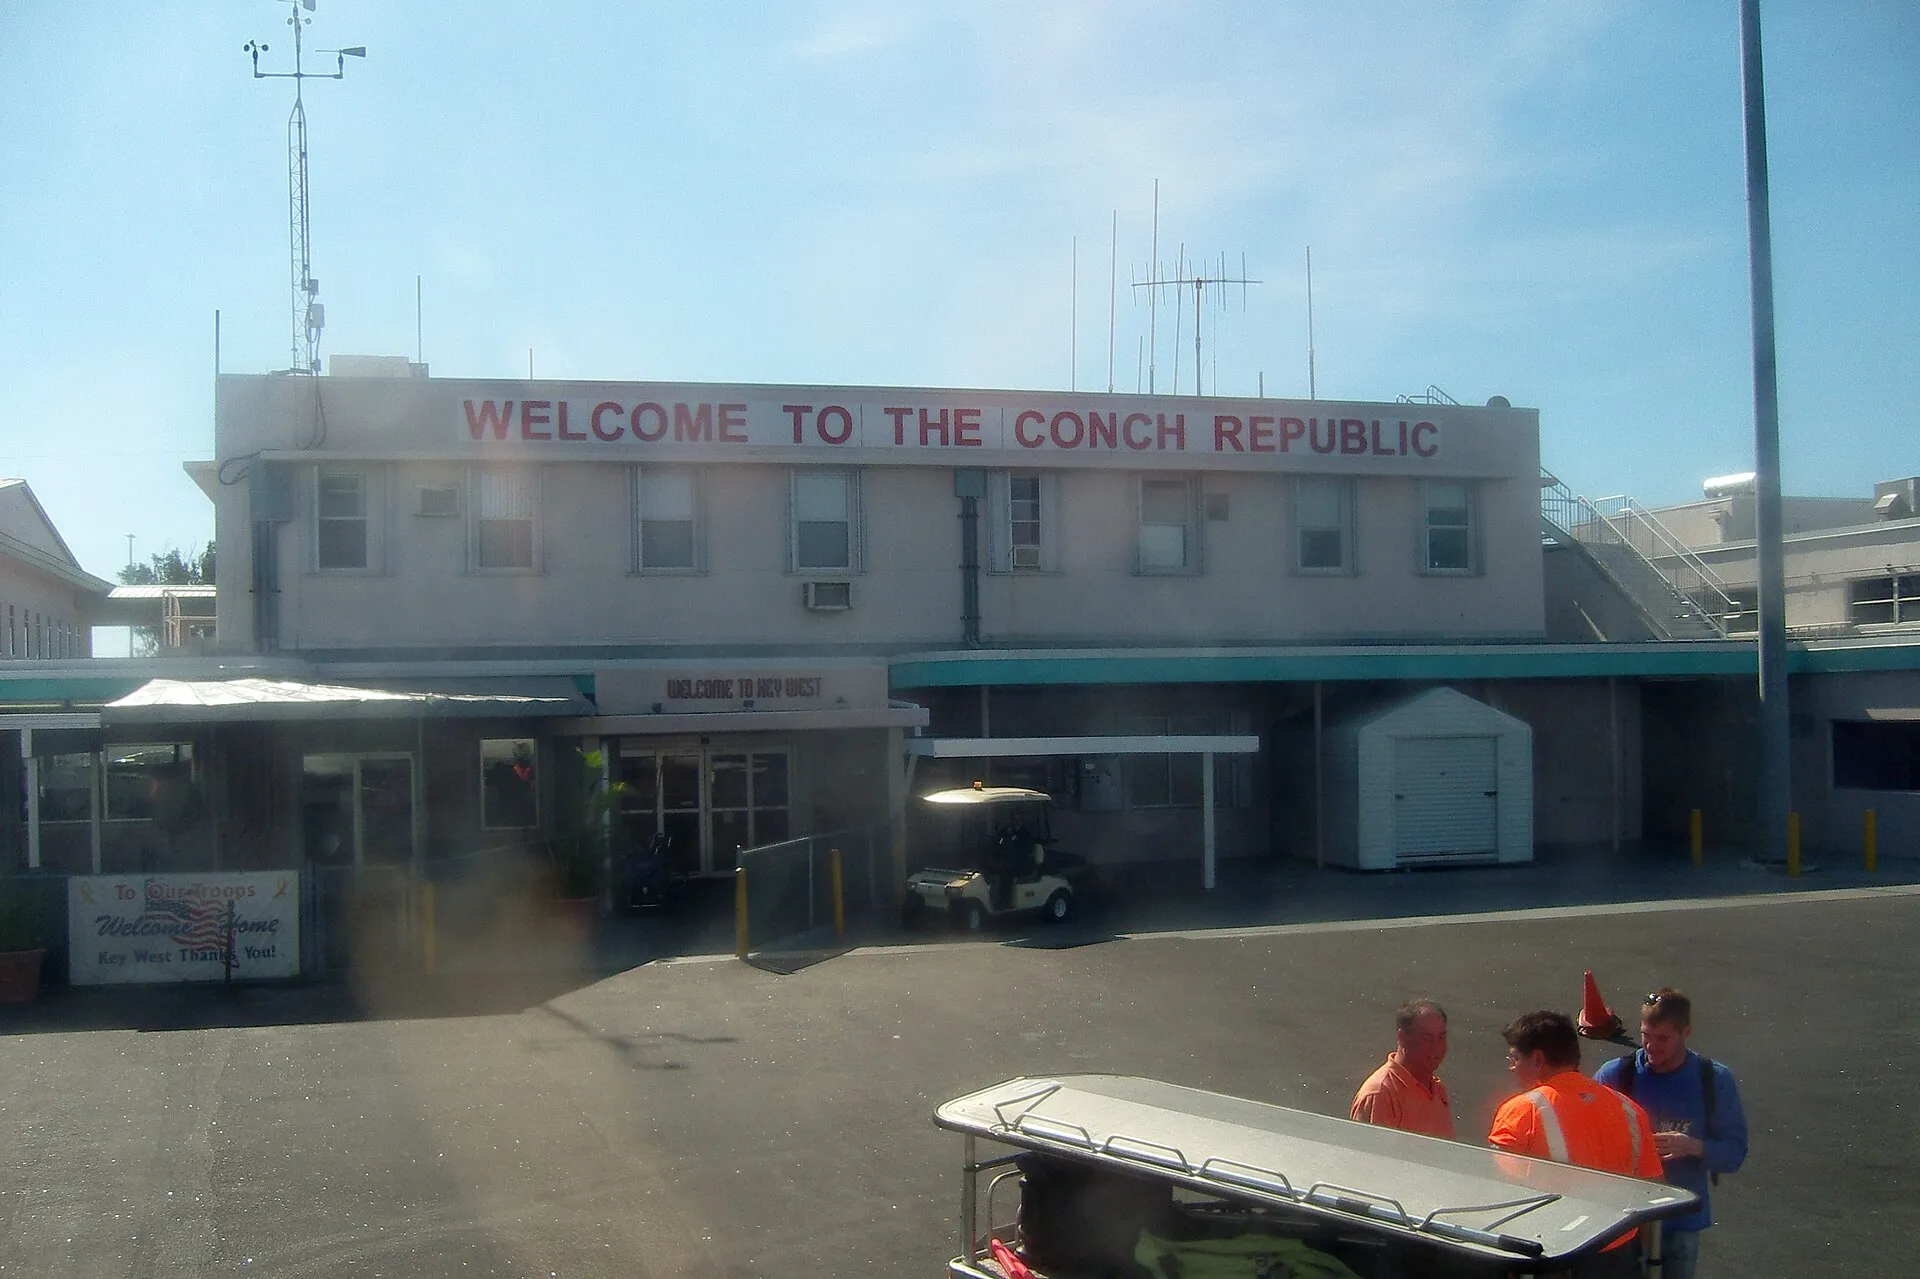
On their way to Leiter's wedding, Bond and Felix are diverted to a DEA operation and transfer to a Coast Guard helicopter at the airport.
Key West, Florida → Cray Cay · ≈ 21 km
Bond drops onto Sanchez's Cessna and helps capture the fleeing drug lord. Cray Cay is fictional; the coordinates mark Sugarloaf Key airfield.
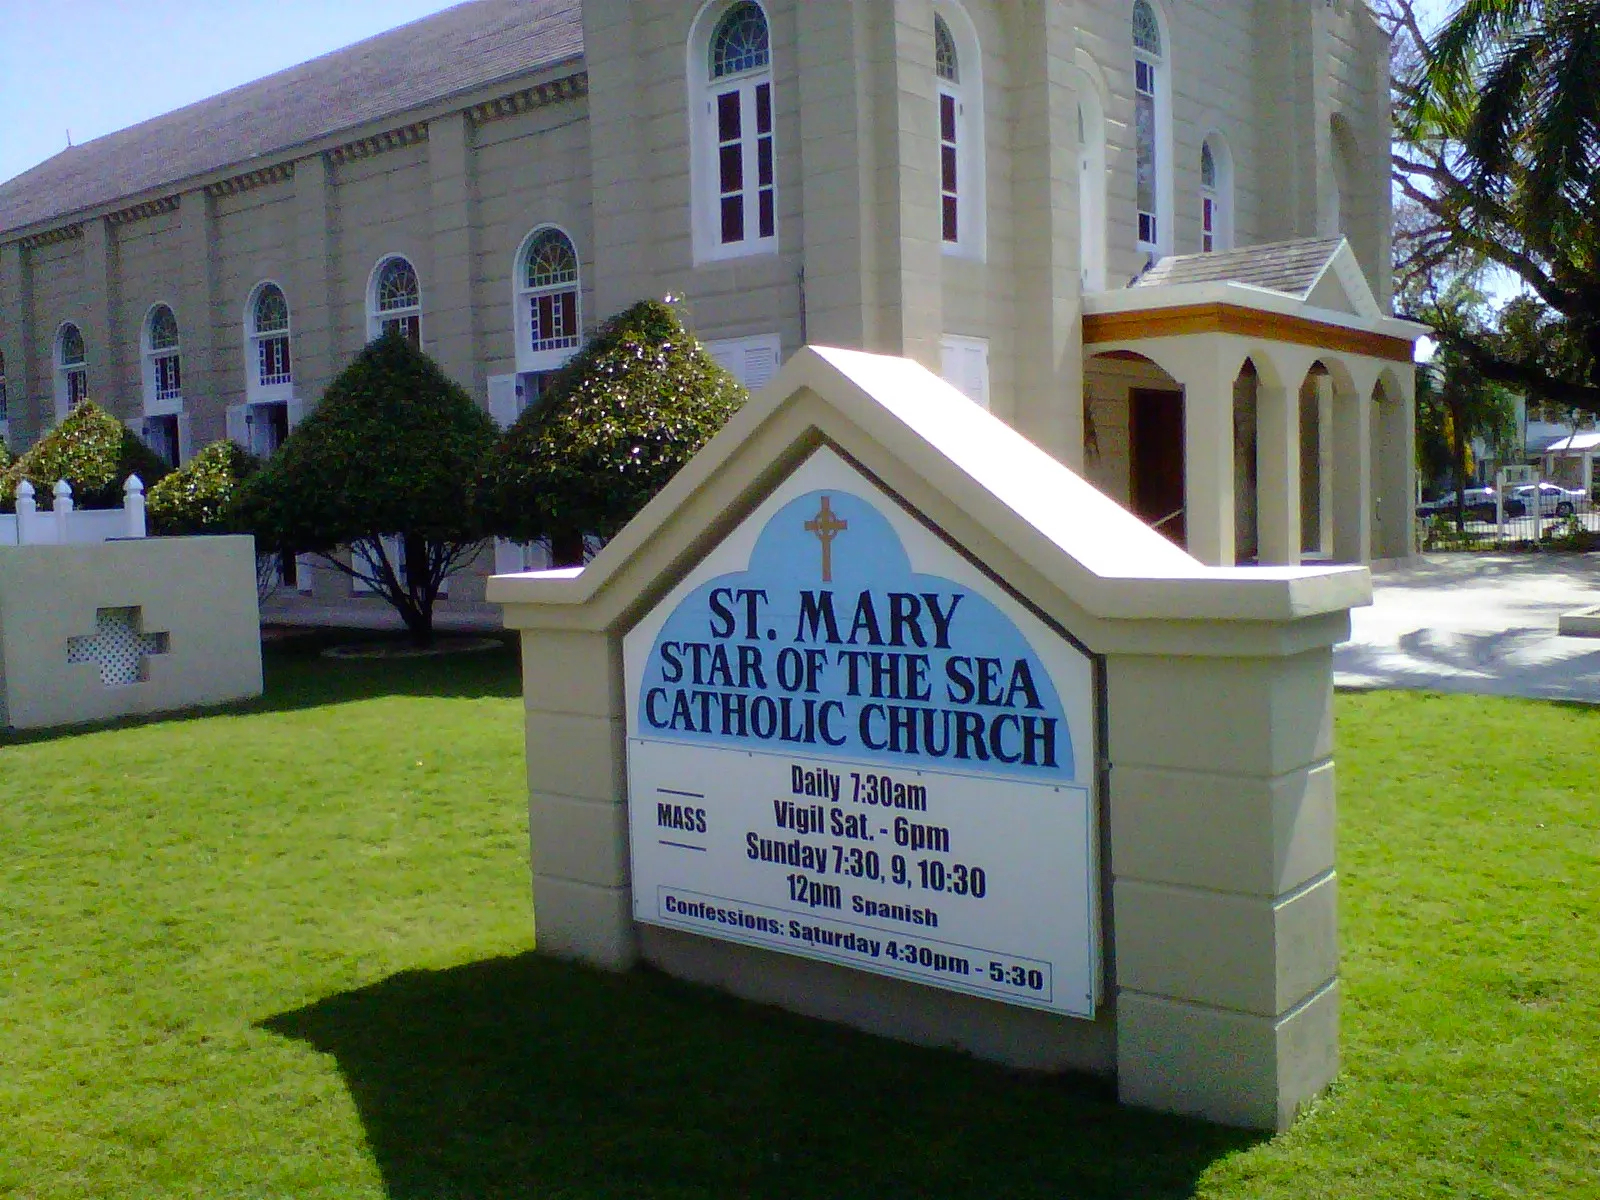
Cray Cay → St Mary Star of the Sea, Key West · ≈ 24 km
Bond and Leiter parachute to the church, where Felix marries Della.
St Mary Star of the Sea, Key West → Leiter residence, Key West · ≈ 0 km
Sanchez's men attack the newlyweds. Bond finds Della dead and Felix gravely wounded.
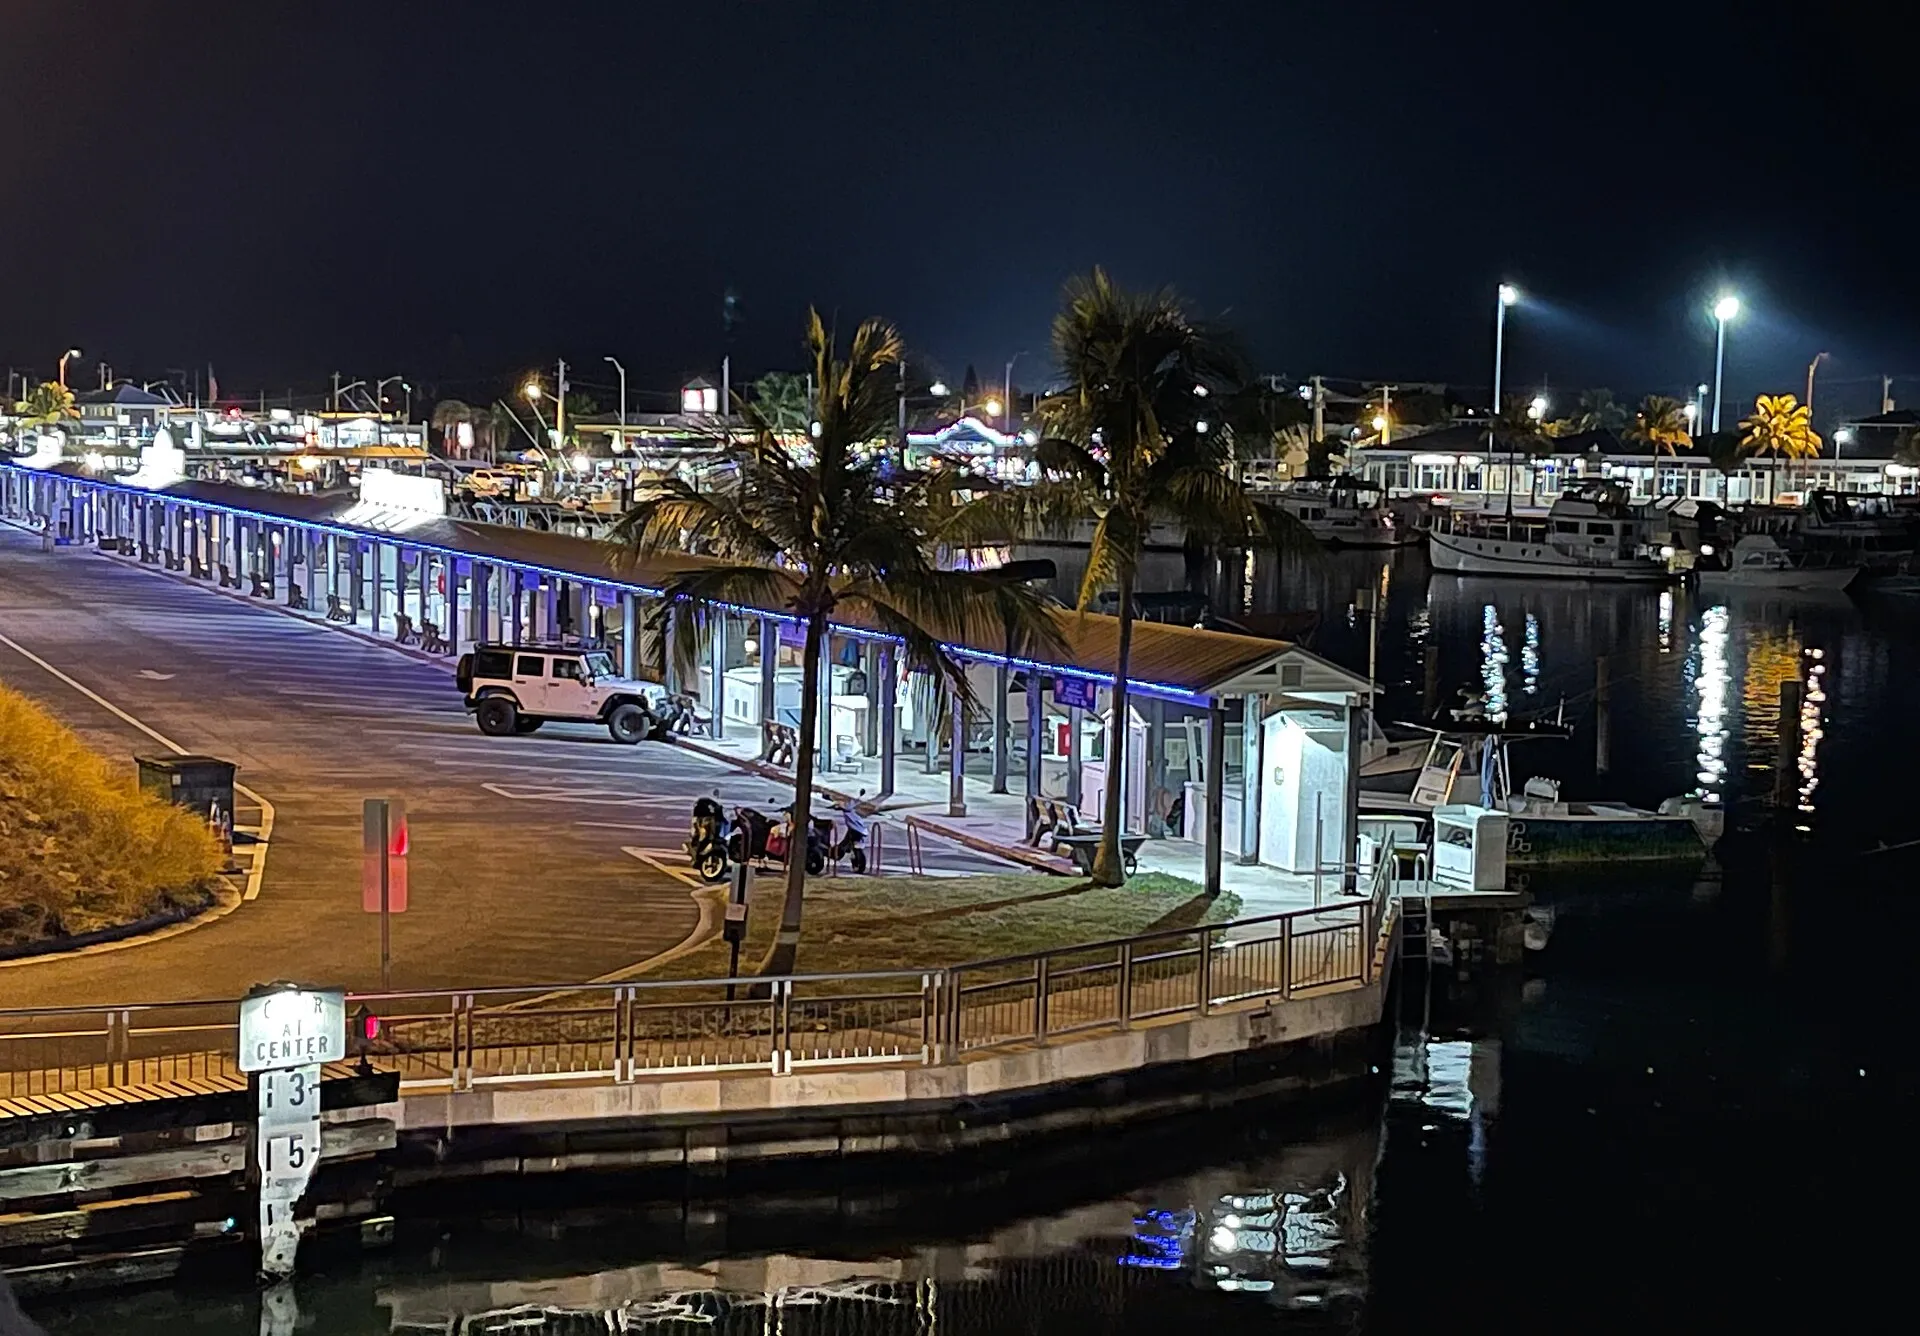
Leiter residence, Key West → Garrison Bight, Key West · ≈ 2 km
Bond and Sharkey investigate Krest's warehouse. Bond kills Killifer at the shark tank and begins following the WaveKrest trail.
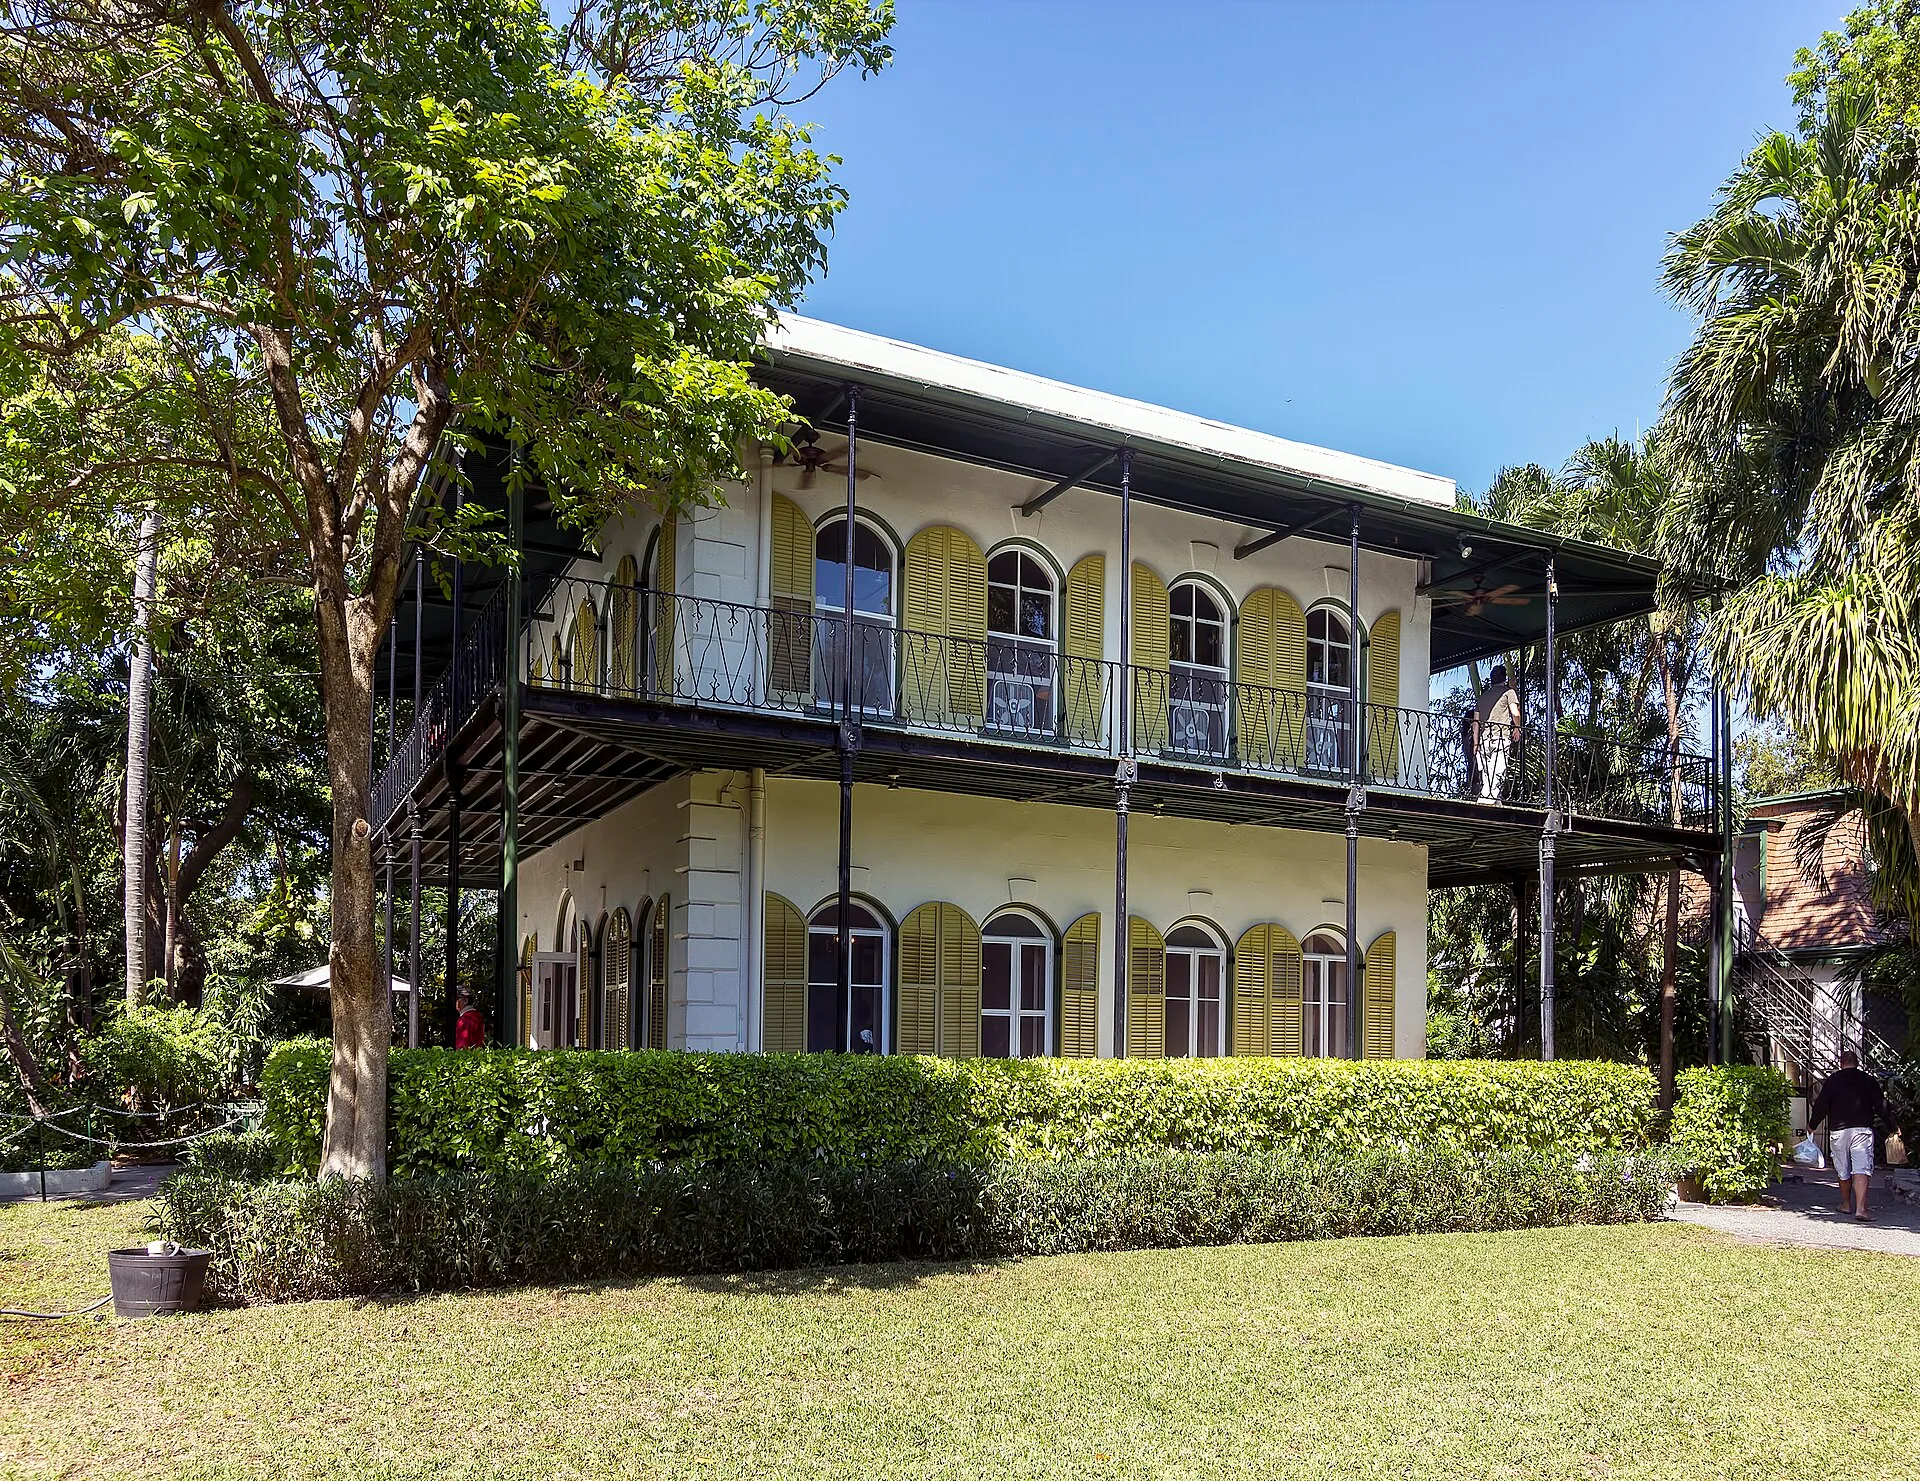
Garrison Bight, Key West → Hemingway House, Key West · ≈ 2 km
M removes Bond from the assignment and demands his weapon. Bond refuses, escapes over the garden wall and proceeds without licence.
Hemingway House, Key West → Bimini, Bahamas · ≈ 284 km
At the Barrelhead Bar Bond meets CIA pilot Pam Bouvier. After a gunfight with Dario, they escape by boat.
Bimini, Bahamas → waters off Bimini · ≈ 21 km
Bond dives to WaveKrest, seizes the drug money, escapes by waterski and takes a Cessna floatplane.
waters off Bimini → Isthmus City · ≈ 2,132 km
Pam flies Bond to the fictional capital. He deposits the money in Sanchez's bank, surveys the casino and receives help from Q.
Isthmus City → WaveKrest off Isthmus · ≈ 300 km
Bond makes the stolen money appear in Krest's pressure chamber. Sanchez concludes that Krest is a traitor and kills him.
WaveKrest off Isthmus → Sanchez's villa, Isthmus · ≈ 10 km
Posing as a contract killer, Bond wins Sanchez's trust and travels with him to the secret production facility.
Sanchez's villa, Isthmus → Olympatec Institute · ≈ 303 km
Bond discovers the cocaine dissolved in petrol. Pam and Q intervene; the complex burns and Dario dies in the grinder.
Olympatec Institute → Paso del Diablo · ≈ 2,192 km
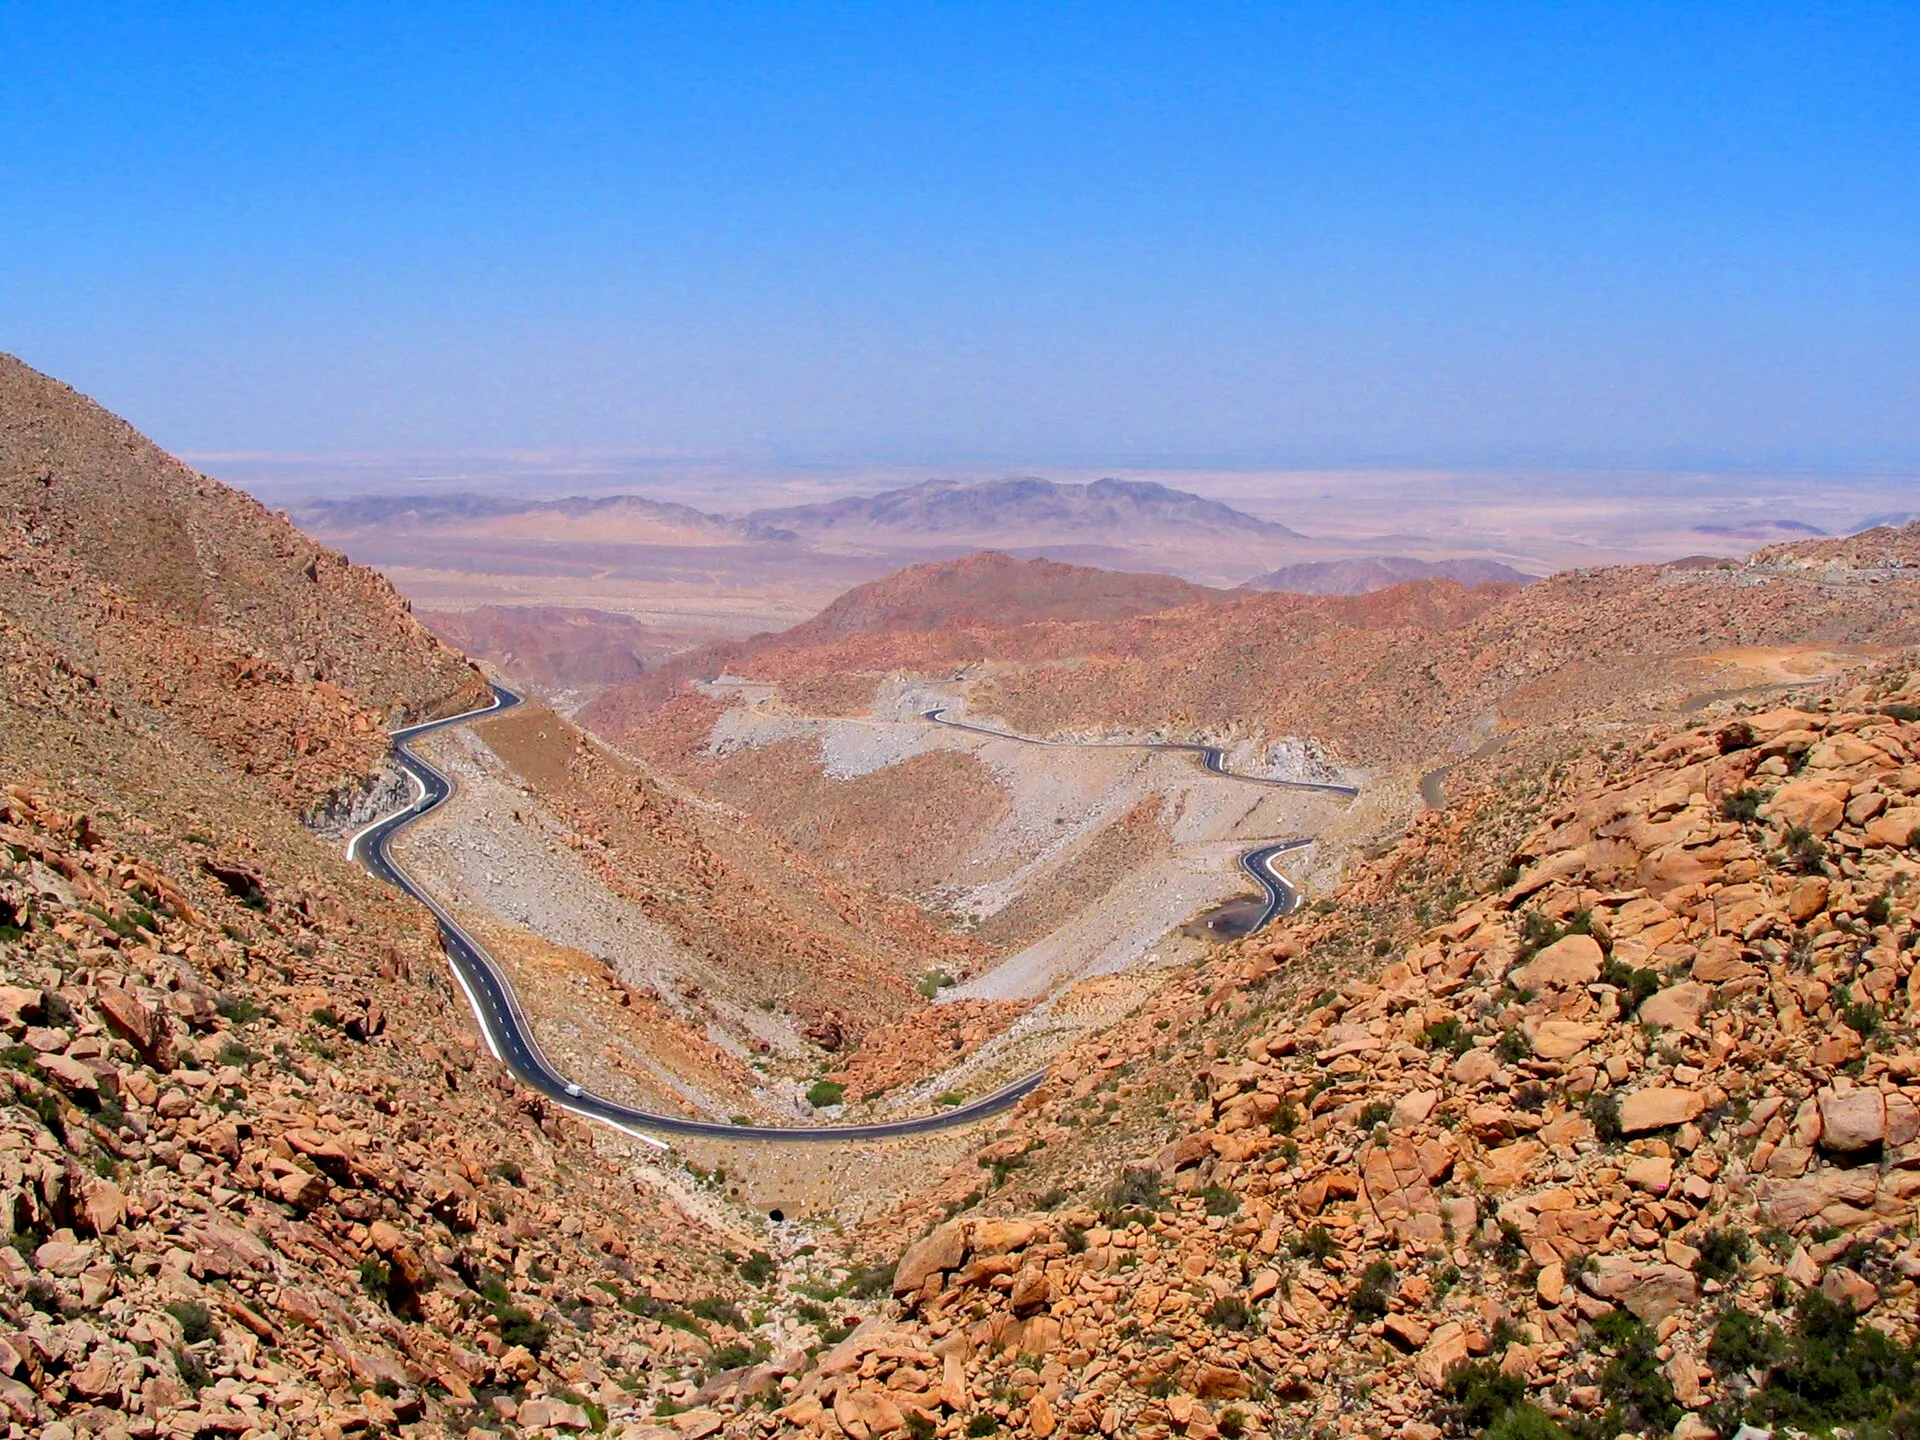
Bond pursues Sanchez's tankers across the fictional pass and destroys the convoy. Sanchez dies in the fire; the coordinates mark La Rumorosa.
Paso del Diablo → Isthmus City · ≈ 2,229 km
At Lopez's party Bond reconciles with Felix by telephone, declines Lupe's invitation and jumps into the pool with Pam.
Filming locations · 17
Opening of the DEA operation and helicopter departure
doubles for Cray Cay (fictional / at sea)
Runway and airfield at Cray Cay
Road journey to the operation and aerial views of the Florida Keys
Wedding of Felix and Della Leiter
Exterior of Felix and Della's house
M's confrontation with Bond and Bond's escape over the wall
doubles for Key West and Bimini
Krest's warehouse, Sharkey's boat and the Barrelhead Bar
Street and harbour views during Bond's investigation
doubles for Cray Cay and Isthmus waters (fictional / at sea)
Underwater work and tropical coastal views around Cray Cay and WaveKrest
doubles for El Presidente Hotel, Isthmus City (fictional / at sea)
Ornate hotel lobby and portions of Bond's stay in Isthmus City
doubles for Olympatec Casino, Isthmus City (fictional / at sea)
Interiors of Sanchez's casino
doubles for Isthmus City (fictional / at sea)
Exteriors of the casino and Sanchez's office complex
doubles for Isthmus City (fictional / at sea)
Additional street and government façades in Isthmus City
doubles for Isthmus (fictional / at sea)
Sanchez's villa, pool and closing party
doubles for Olympatec Institute, Isthmus (fictional / at sea)
Olympatec Institute exteriors and opening of the finale
doubles for Paso del Diablo, Isthmus (fictional / at sea)
Tanker chase on the old mountain road
doubles for Isthmus and Florida
Olympatec laboratory, hotel room, interiors, models and effects
Characters and cast
Bond girls
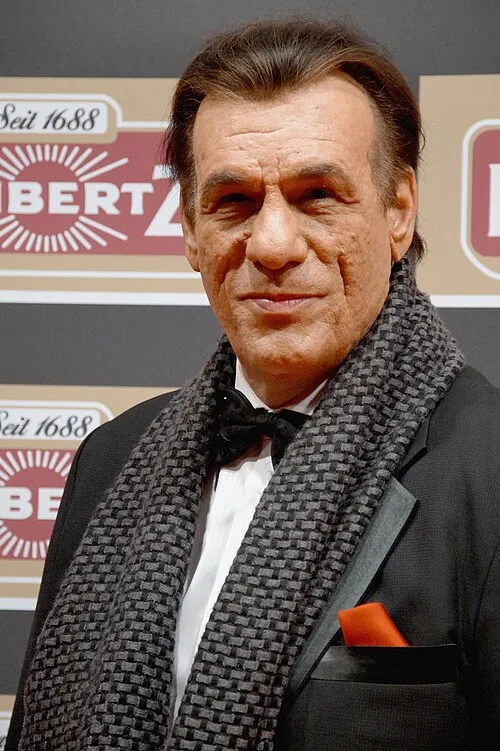
Henchmen
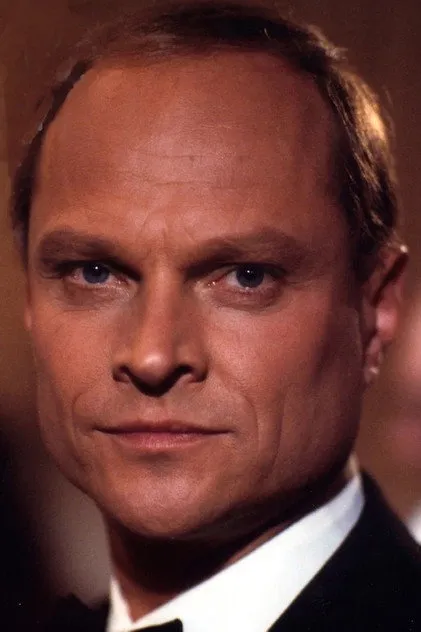
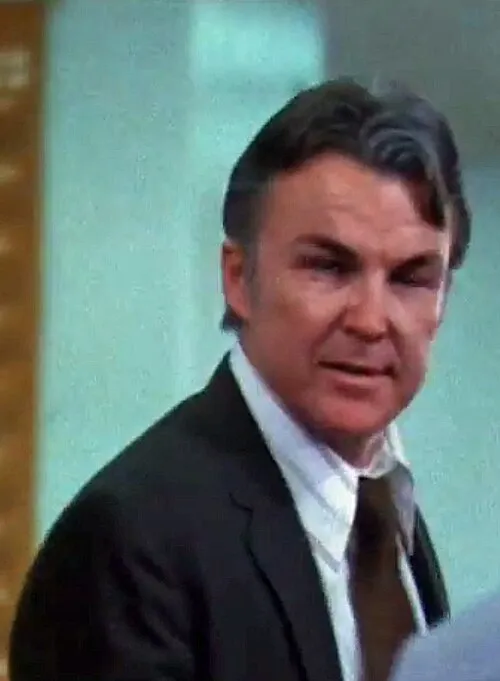 Milton KrestAnthony ZerbeMarine researcher and front operator for Sanchez
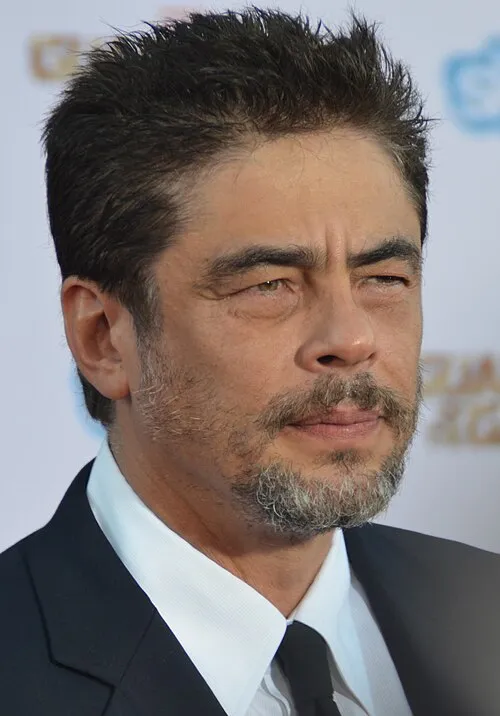 DarioBenicio del ToroSanchez's sadistic enforcer
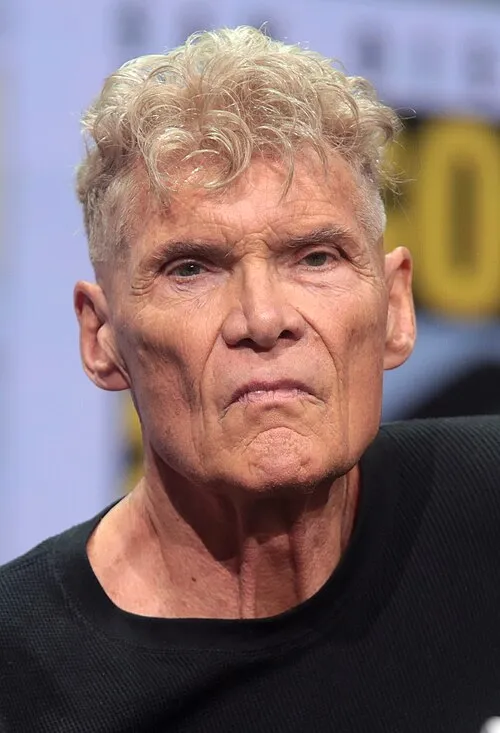 Ed KilliferEverett McGillCorrupt DEA agent who enables Sanchez's escape
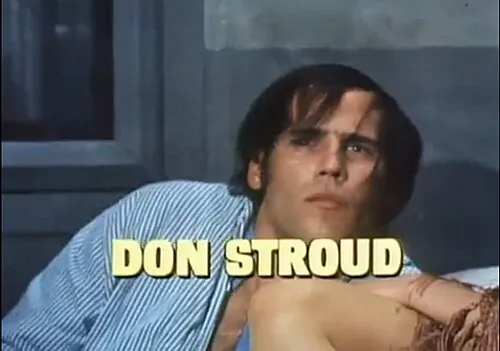 Colonel HellerDon StroudSanchez's chief of security
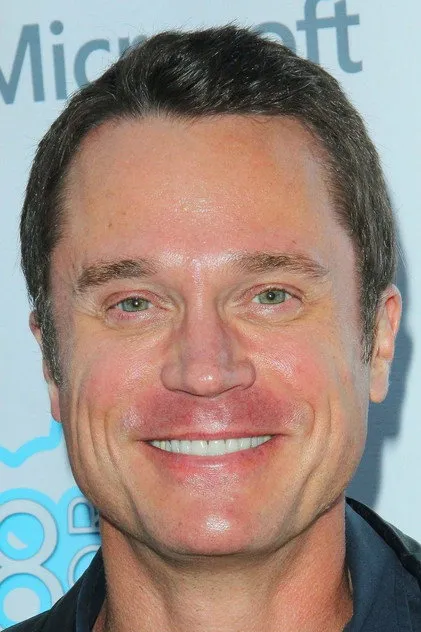 Truman-LodgeAnthony StarkeSanchez's financial adviser and media strategist
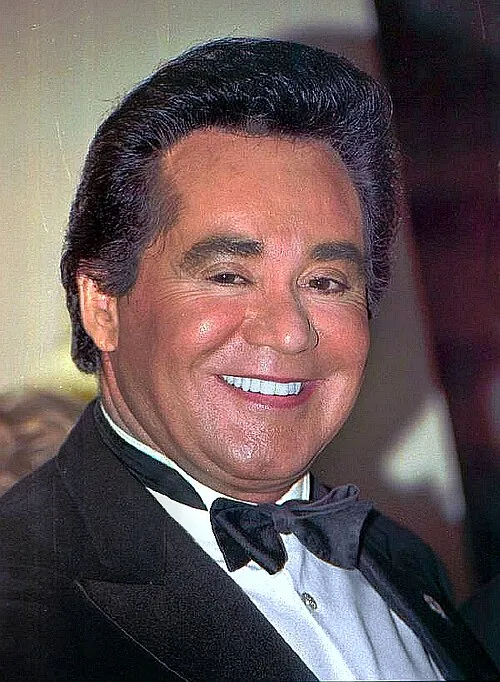 Professor Joe ButcherWayne NewtonTelevangelist and public voice of Sanchez's front organisation
Allies
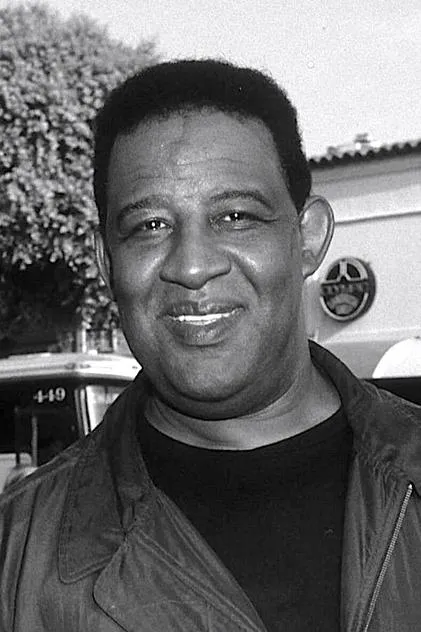 SharkeyFrank McRaeFelix Leiter's friend and boat captain
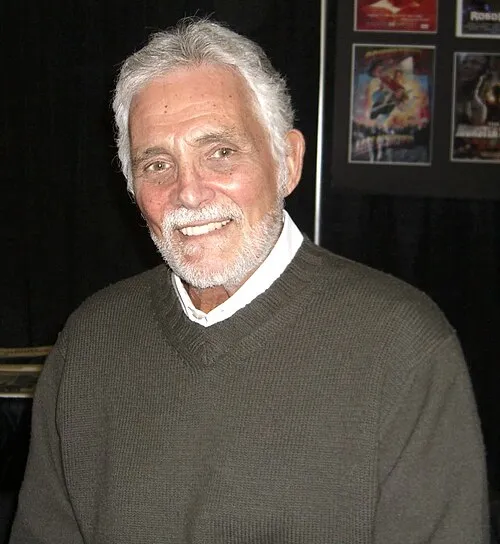 Felix LeiterDavid HedisonBond's CIA friend and the groom at the Key West wedding
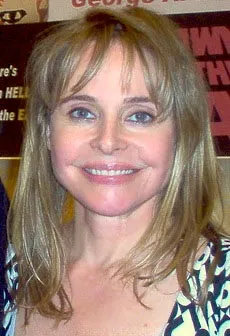 Della Churchill LeiterPriscilla BarnesFelix Leiter's bride
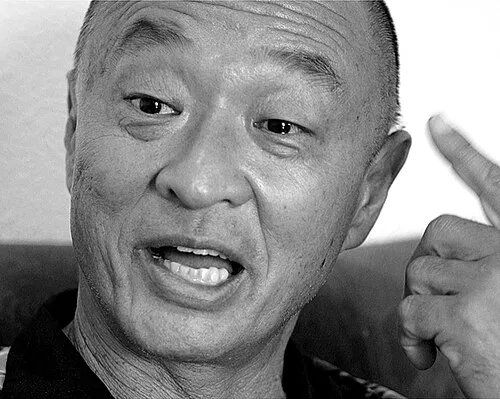 KwangCary-Hiroyuki TagawaHong Kong narcotics officer infiltrating Sanchez's network
- LotiDiana Lee HsuKwang's associate
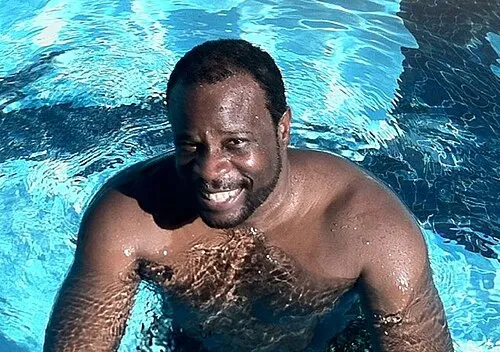 HawkinsGrand L. BushDEA agent in Key West
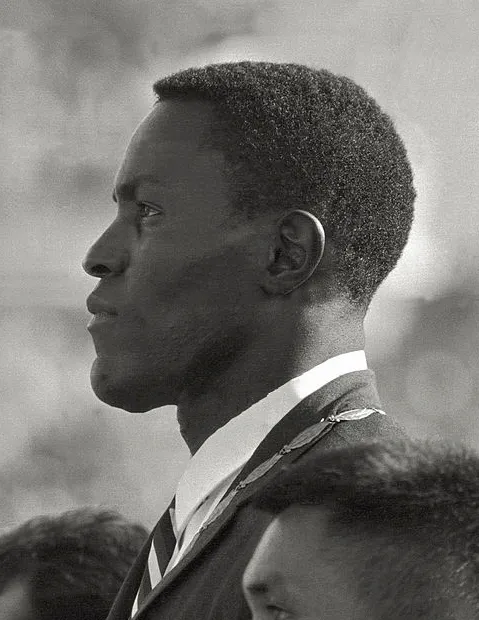 MullensRafer JohnsonDEA commander of the Sanchez operation
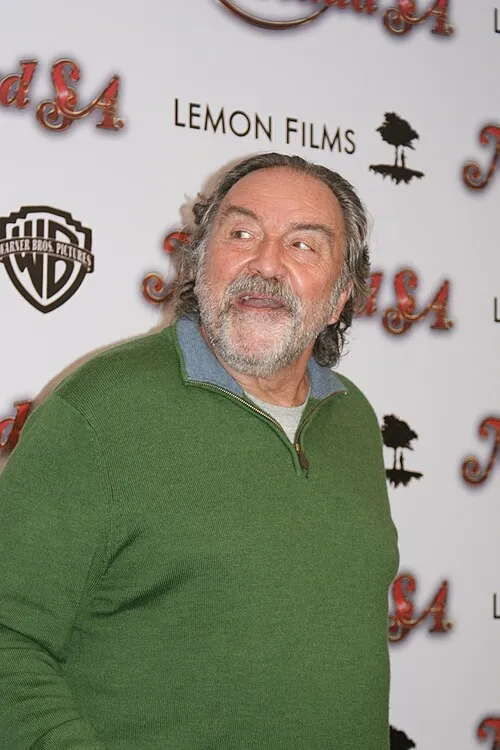
MI6
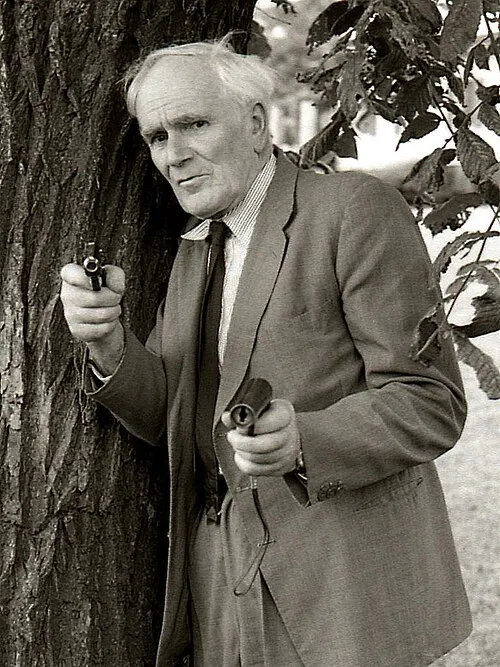
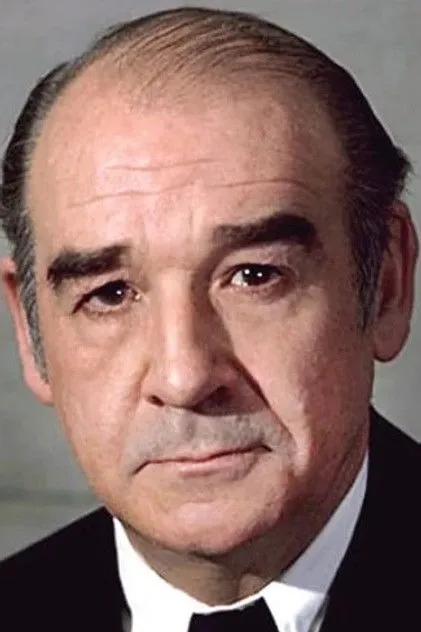
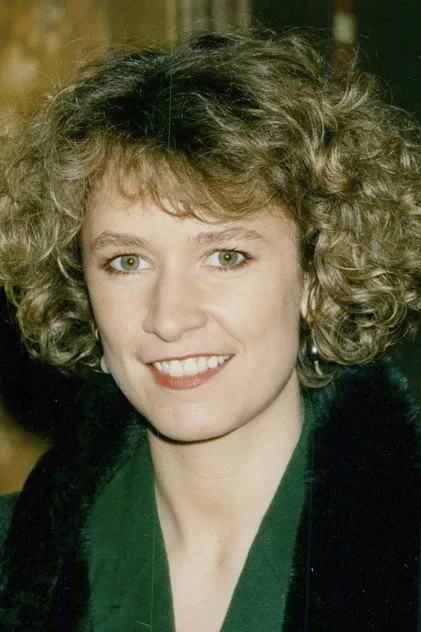
Vehicles & Gadgets
Vehicles
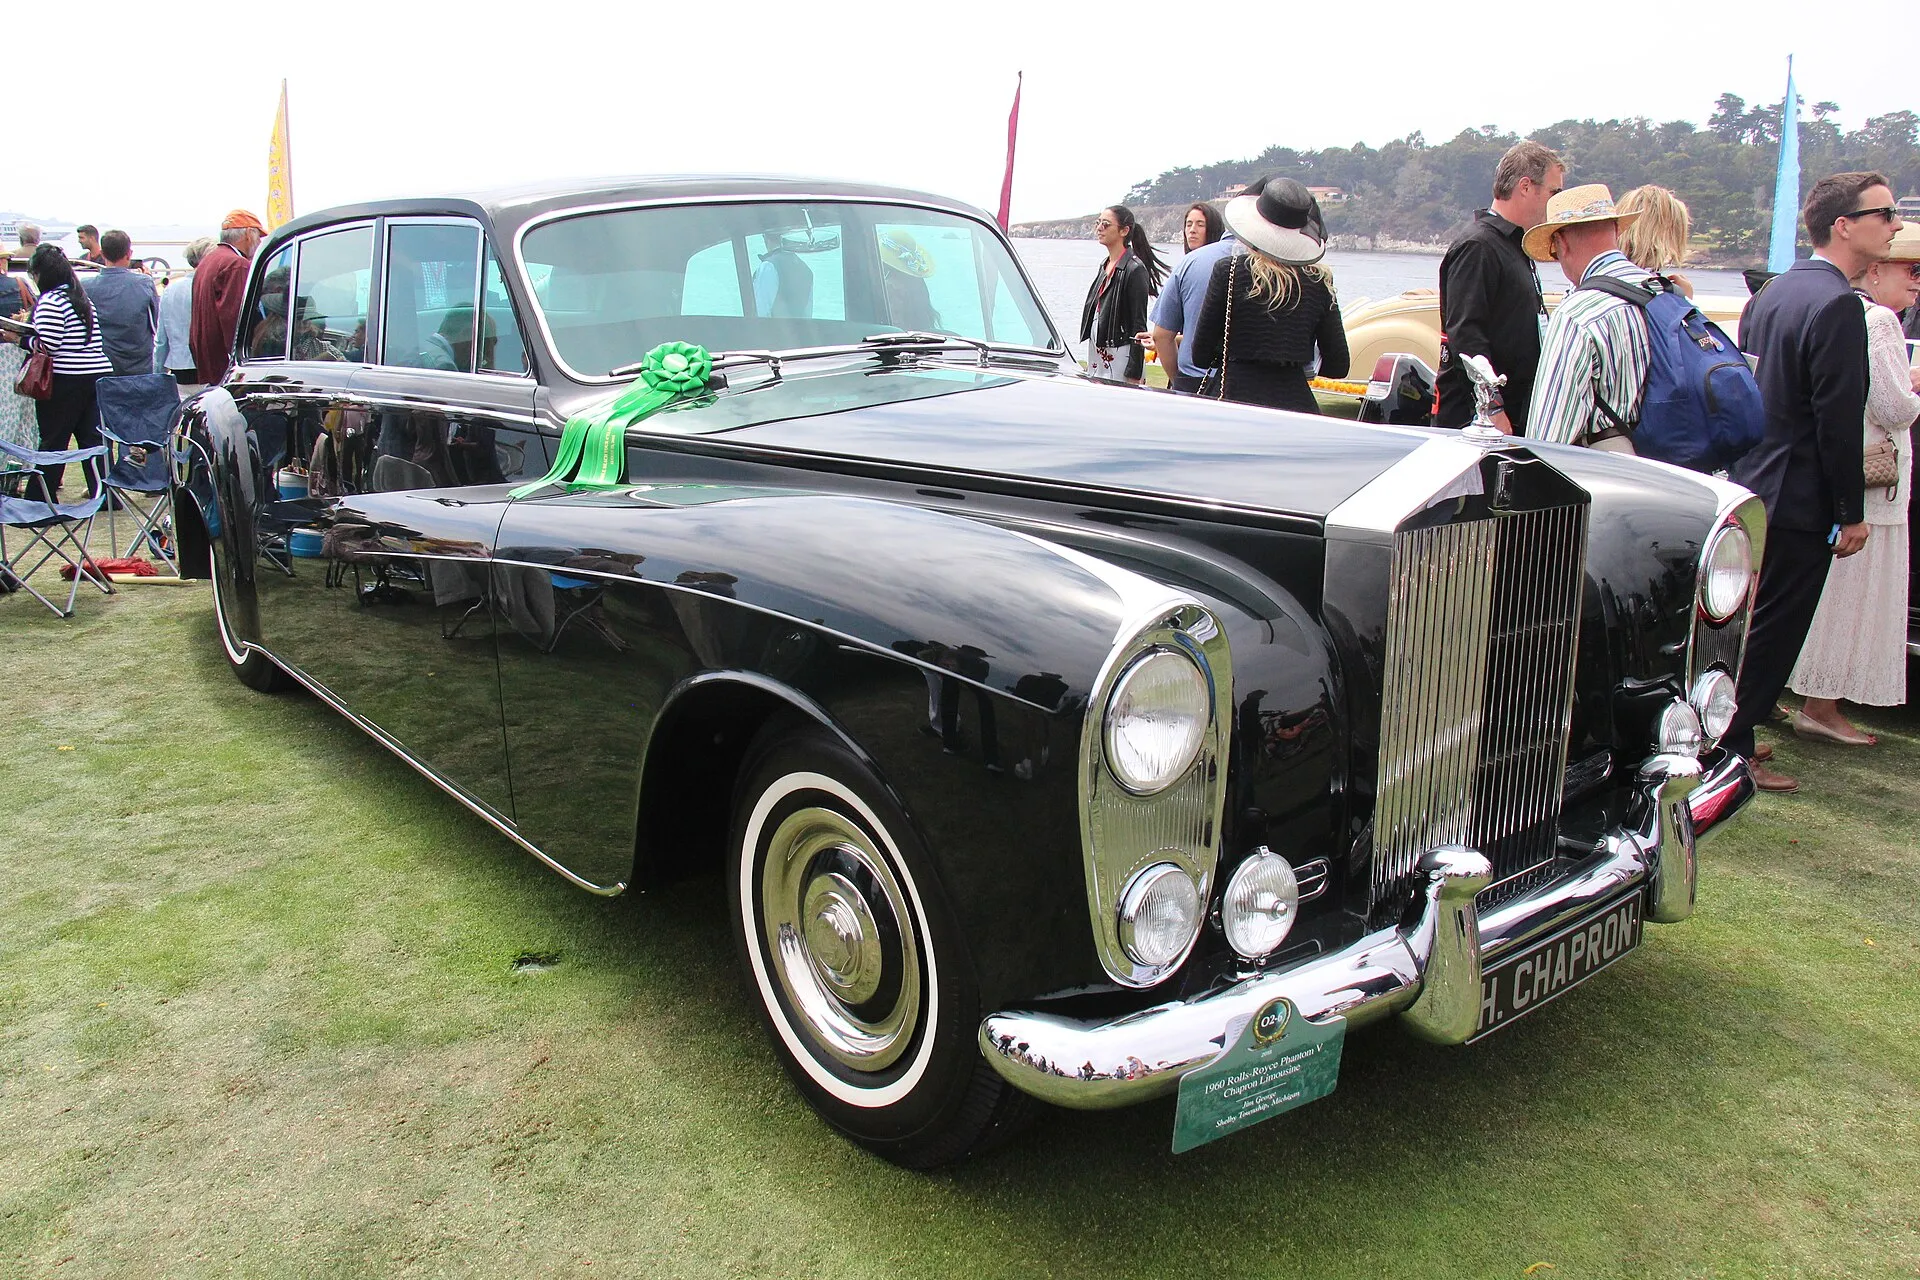
Sanchez travels in a Phantom V limousine at the startPhoto: Sicnag · CC BY 2.0 · Wikimedia Commons Rolls-Royce Phantom V
Car1959Black formal limousine in the Key West opening
Sanchez travels in the formal limousine to Lupe Lamora's house. Its imposing, restrained appearance reinforces his claim to political power before the DEA and Coast Guard stop the car.
- Driven by
- Franz Sanchez's chauffeur
Sources: Licence to Kill vehicles – IMCDb
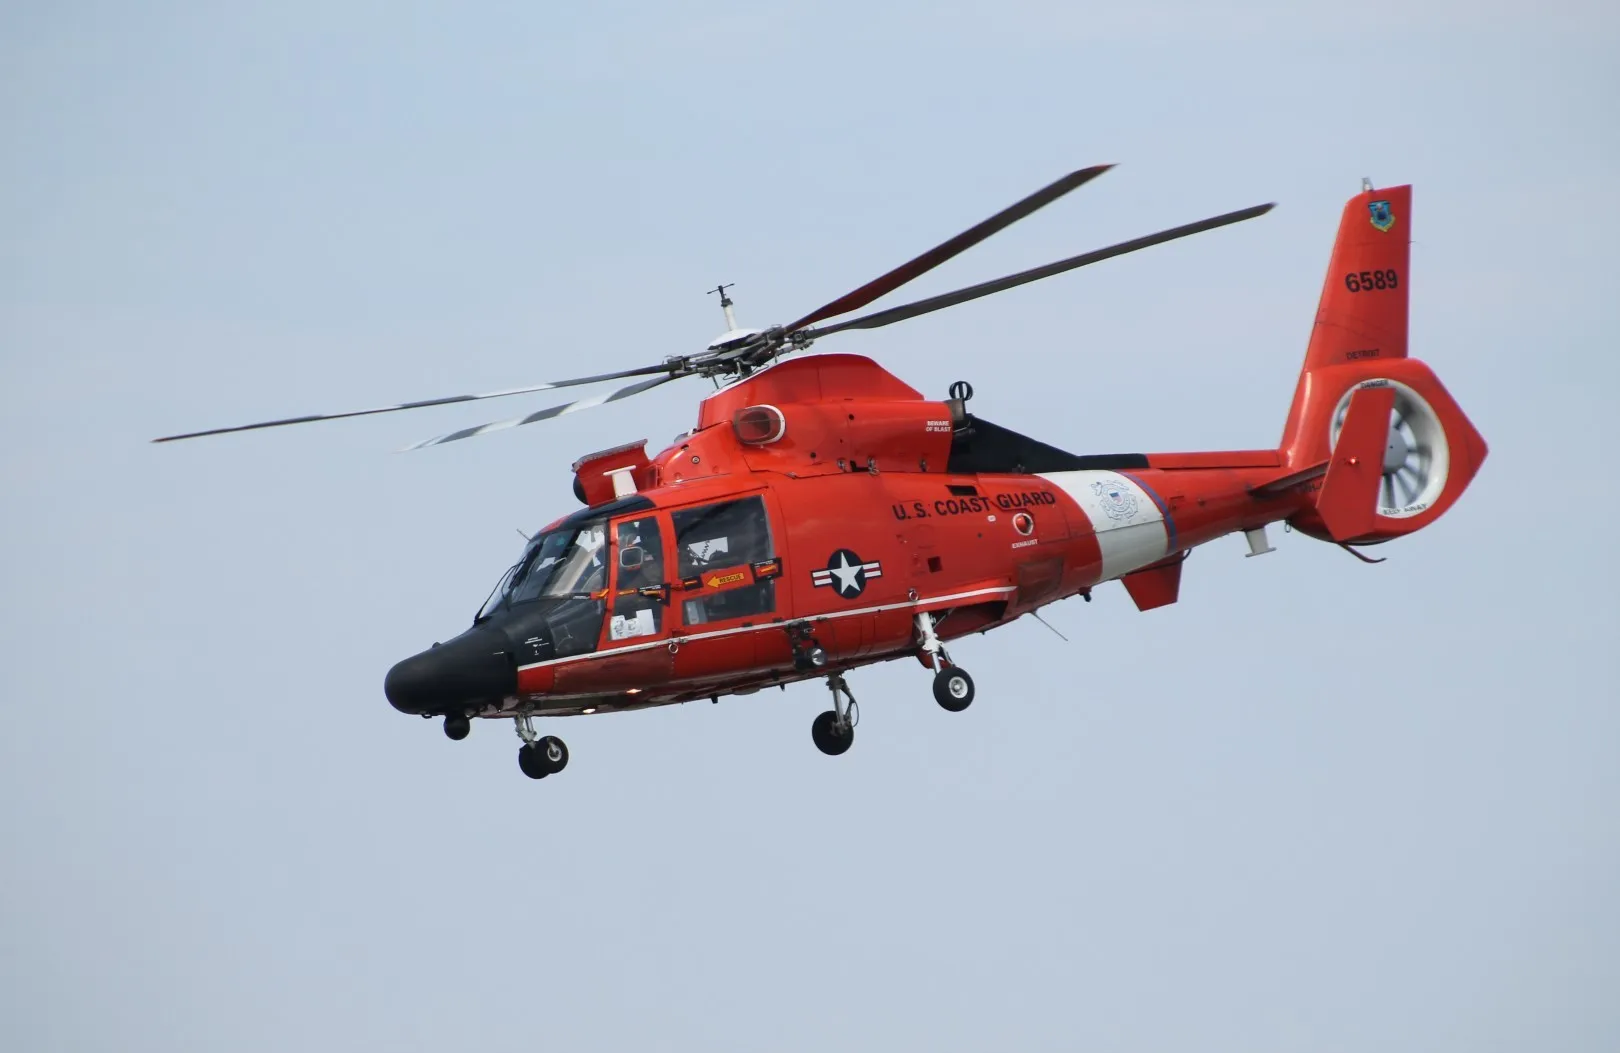
A Dolphin positions Bond above Sanchez's escape aircraftPhoto: Raymond Wambsgans · CC BY-SA 2.0 · Wikimedia Commons Aérospatiale HH-65A Dolphin
AircraftCoast Guard helicopter used in Sanchez's capture
Bond and Leiter transfer to the Dolphin while travelling to the wedding. It pursues Sanchez's Cessna over the Florida Keys and positions Bond for the airborne capture.
- Driven by
- United States Coast Guard
Sources: Licence to Kill aircraft – IMPDb
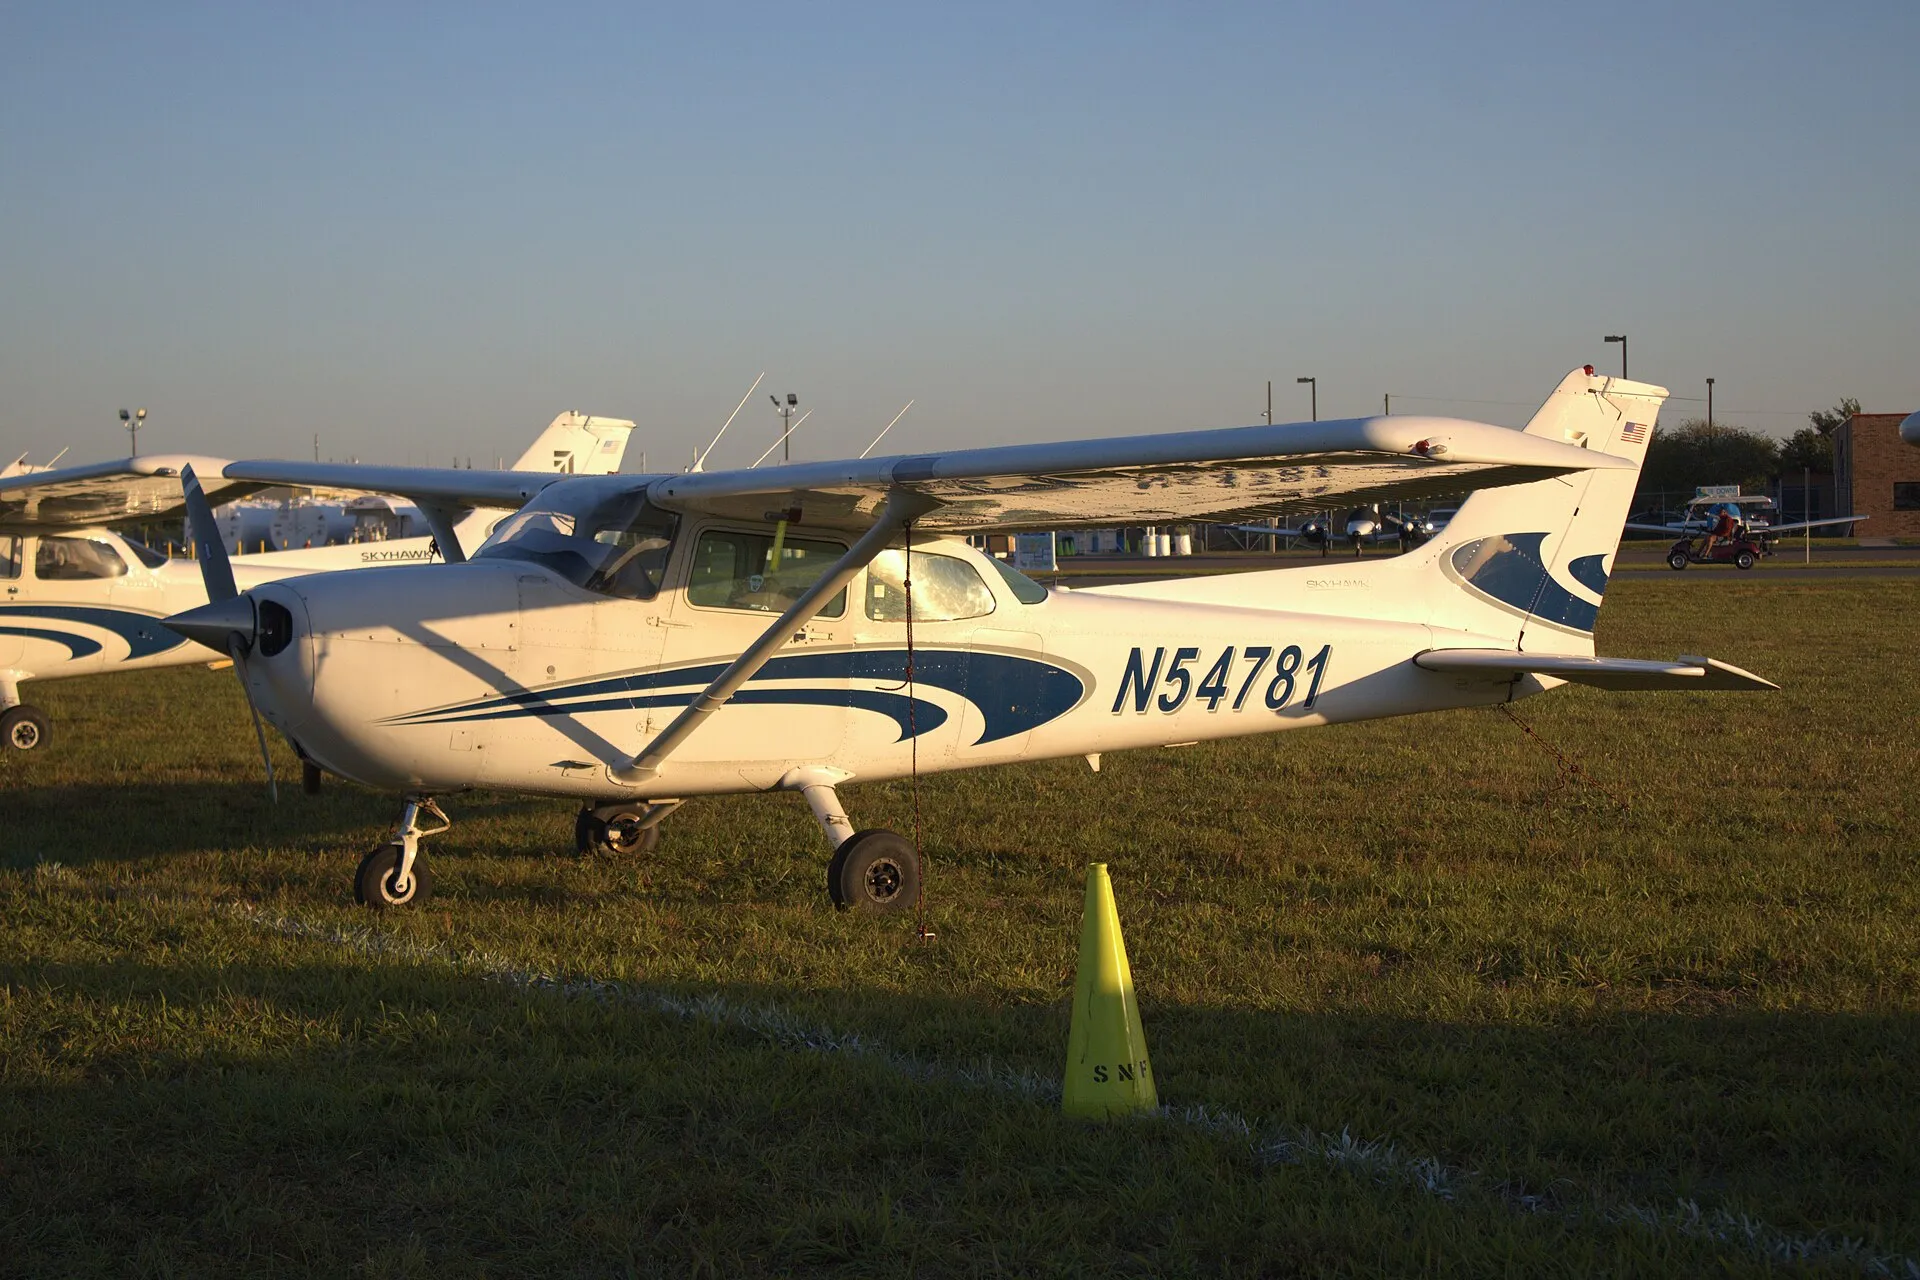
Sanchez tries to escape in a Cessna 172PPhoto: ZLEA · CC BY-SA 4.0 · Wikimedia Commons Cessna 172P Skyhawk
AircraftEscape aircraft over the Florida Keys
Sanchez tries to escape to Cray Cay in the single-engine Cessna. Bond drops from a Coast Guard helicopter onto its tail, and the aircraft is then hauled from the air by a winch.
- Driven by
- Franz Sanchez's pilot
- Specs
- 160 hp Lycoming O-320-D2J; cruise speed about 122 knots (226 km/h)
Sources: Licence to Kill aircraft – IMPDb · Cessna 172P information manual
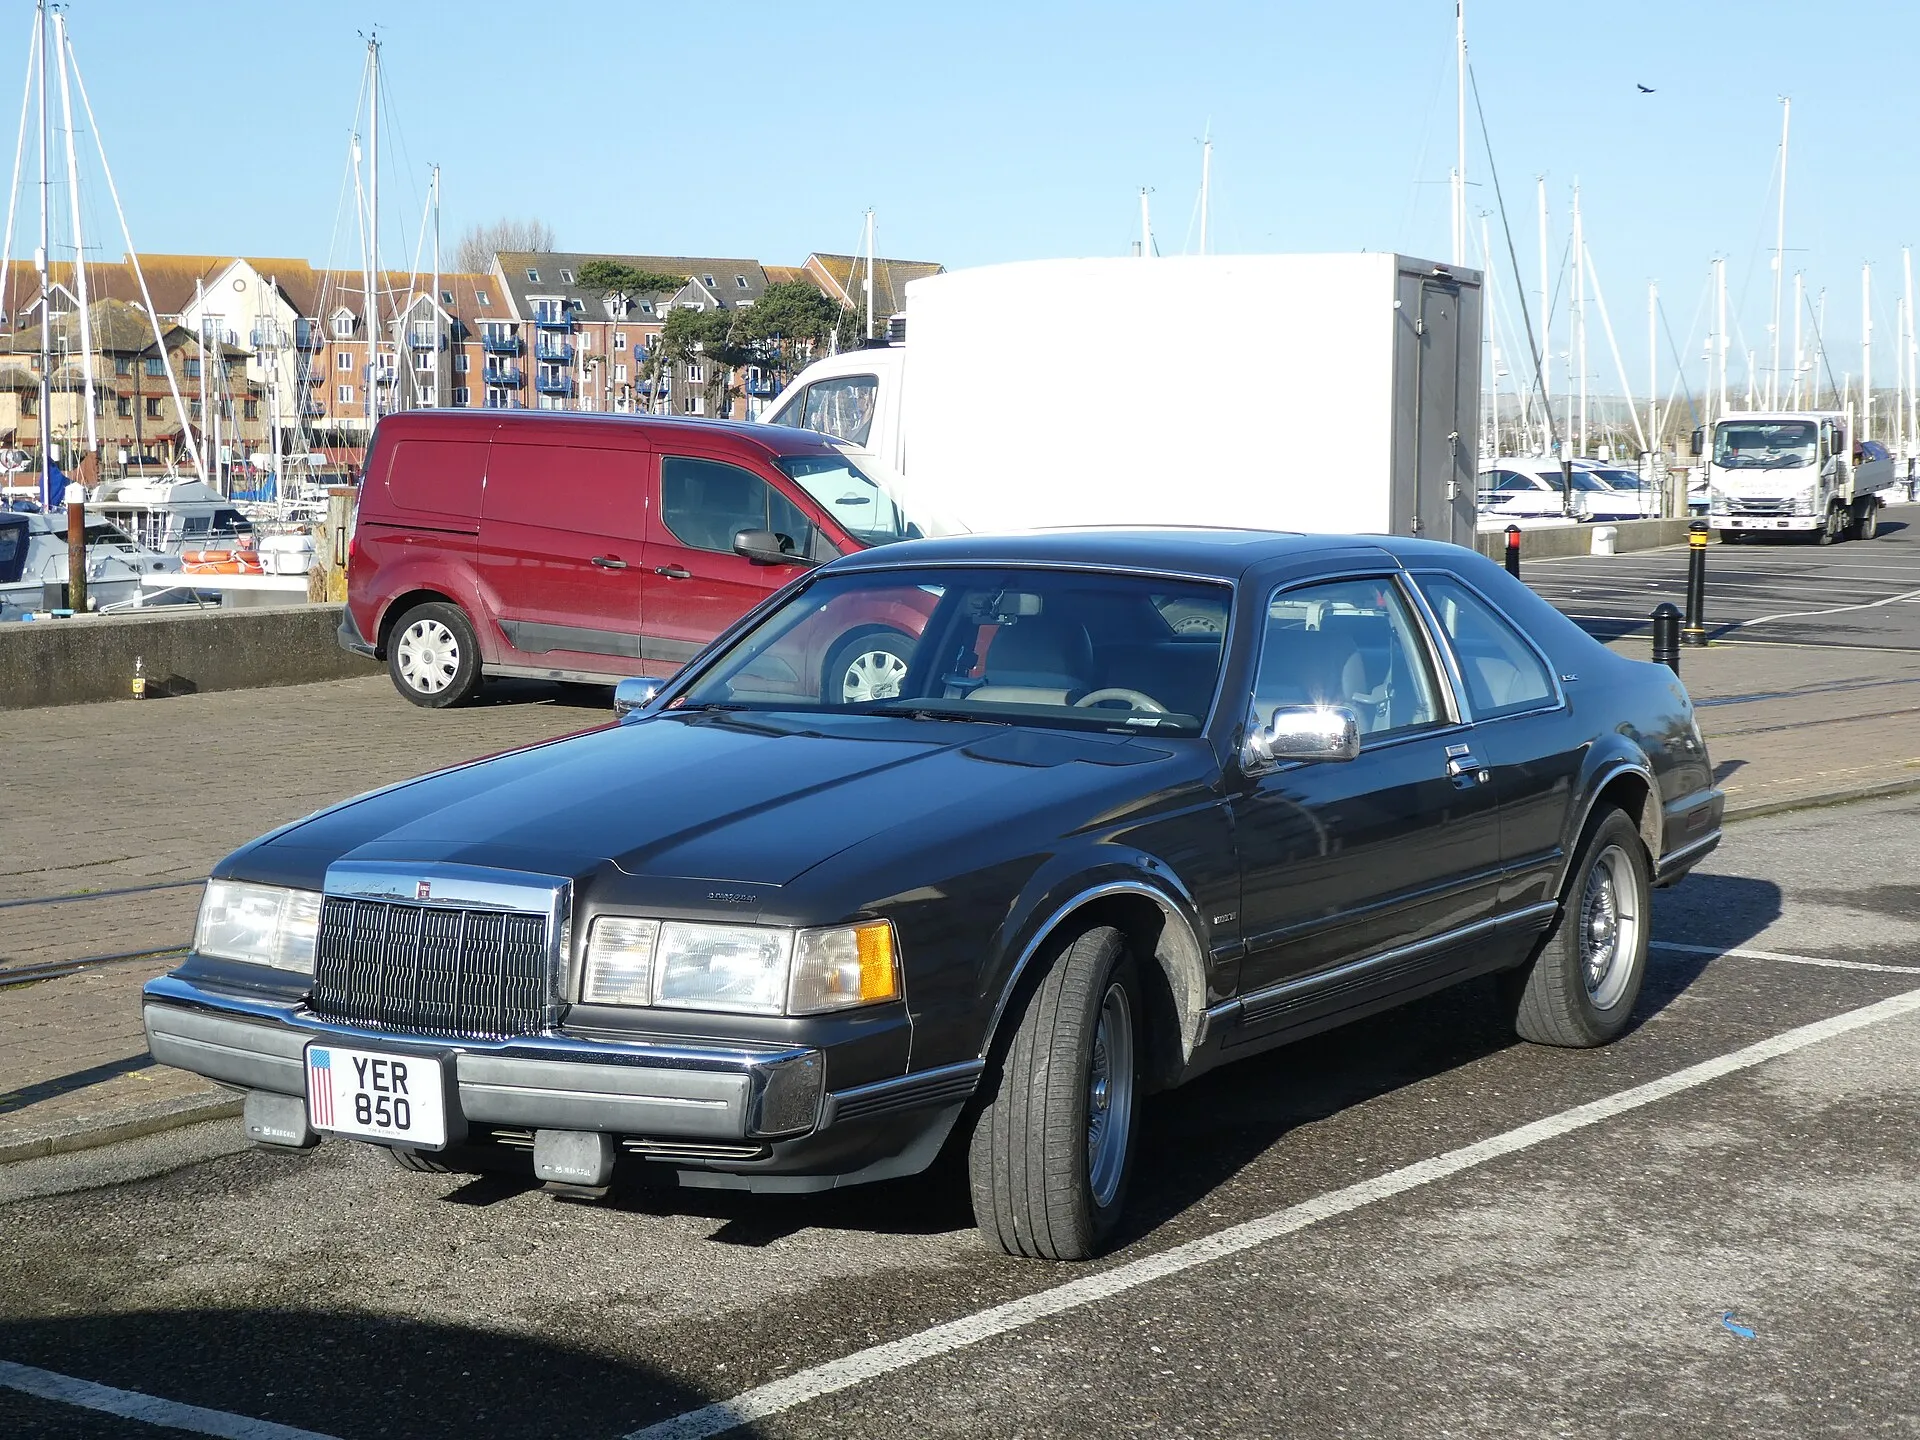
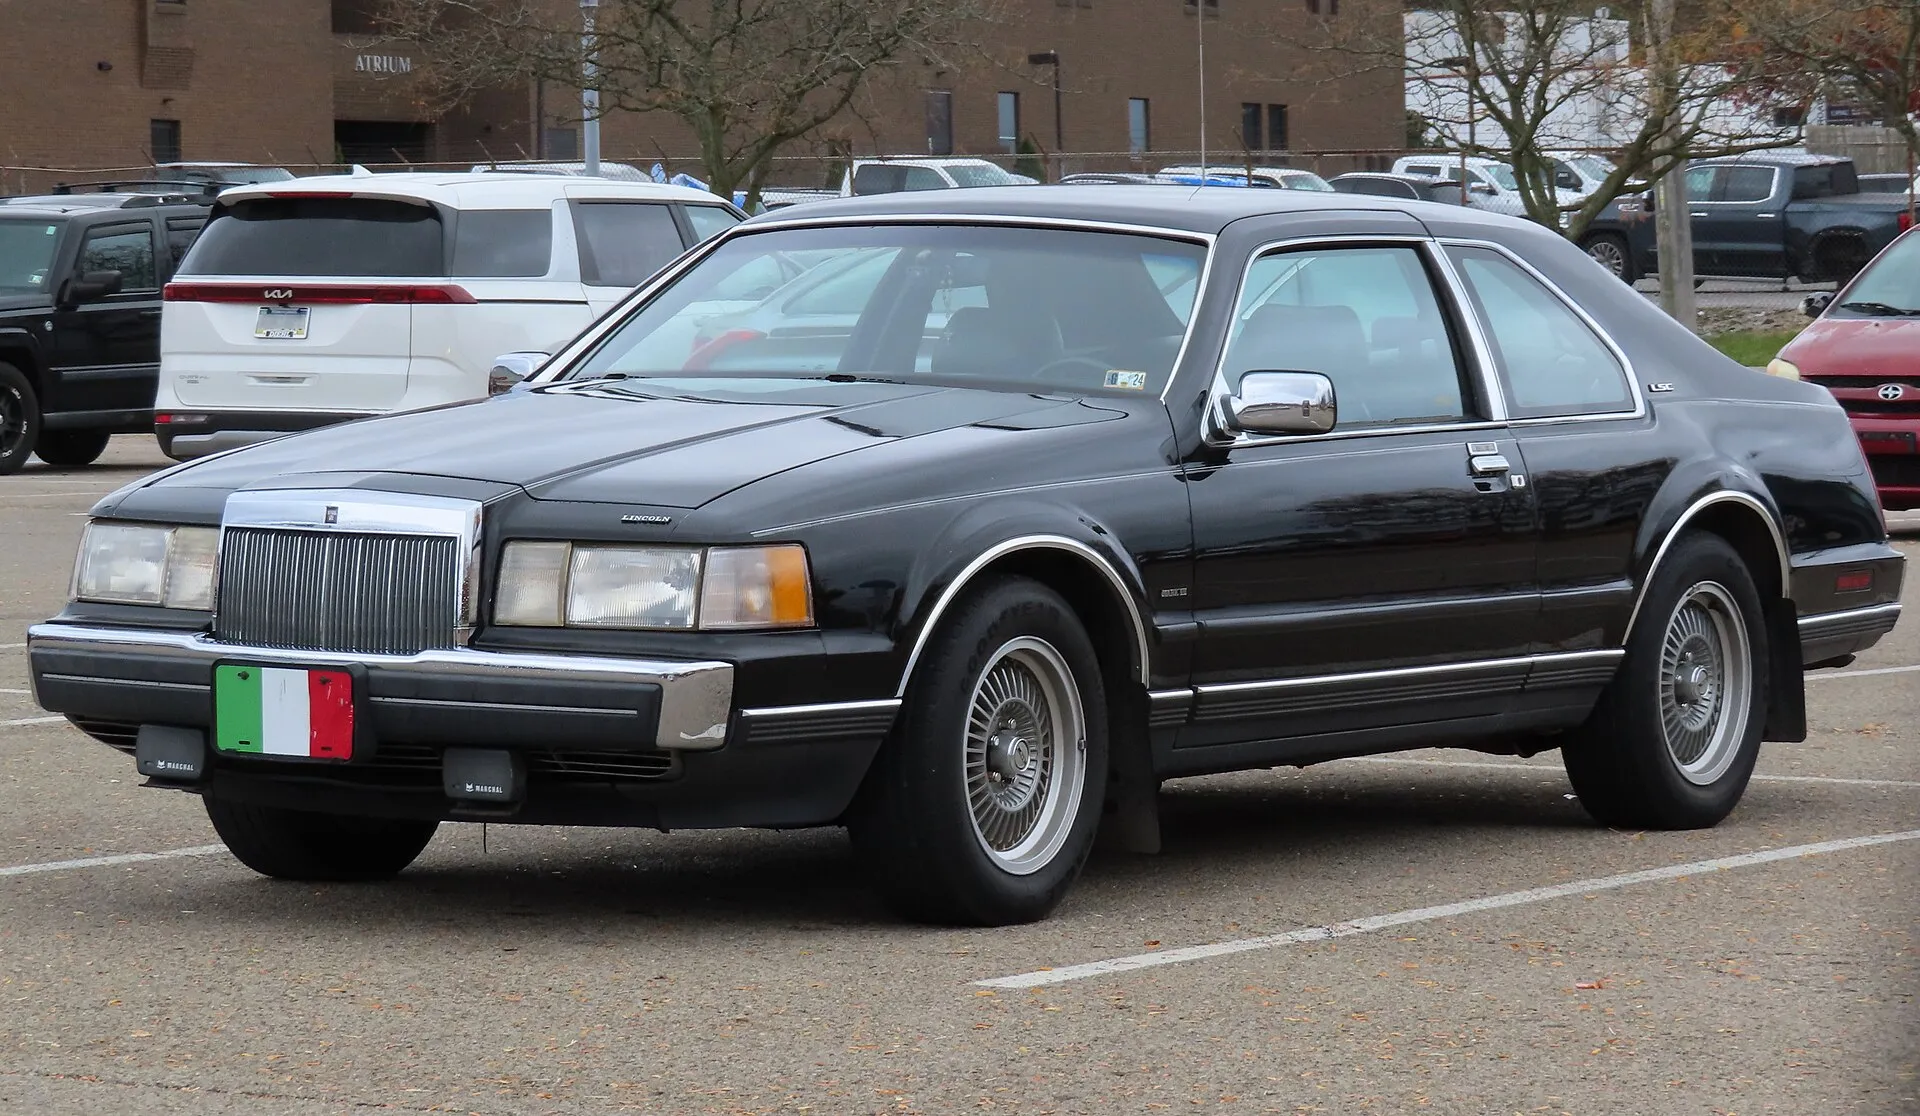
Bond uses a black Mark VII coupé in Key WestPhoto: Andrew Bone · CC BY 2.0 · Wikimedia Commons Lincoln Mark VII LSC
Car1987Black service coupé in Key West
Bond drives the black Lincoln after Leiter's wedding and during his first investigation of Krest's warehouse. The luxury coupé remains outwardly standard and serves as a discreet government vehicle.
- Driven by
- James Bond and DEA agents
Sources: Licence to Kill vehicles – IMCDb
Custom yacht WaveKrest
BoatResearch vessel serving as a floating cocaine-smuggling base
Krest presents the large motor yacht as a marine-research platform. In reality its crew handles drugs and deploys a remotely operated submersible. Bond boards at night, steals five million dollars and later hides it in the pressure chamber.
- Driven by
- Milton Krest's crew
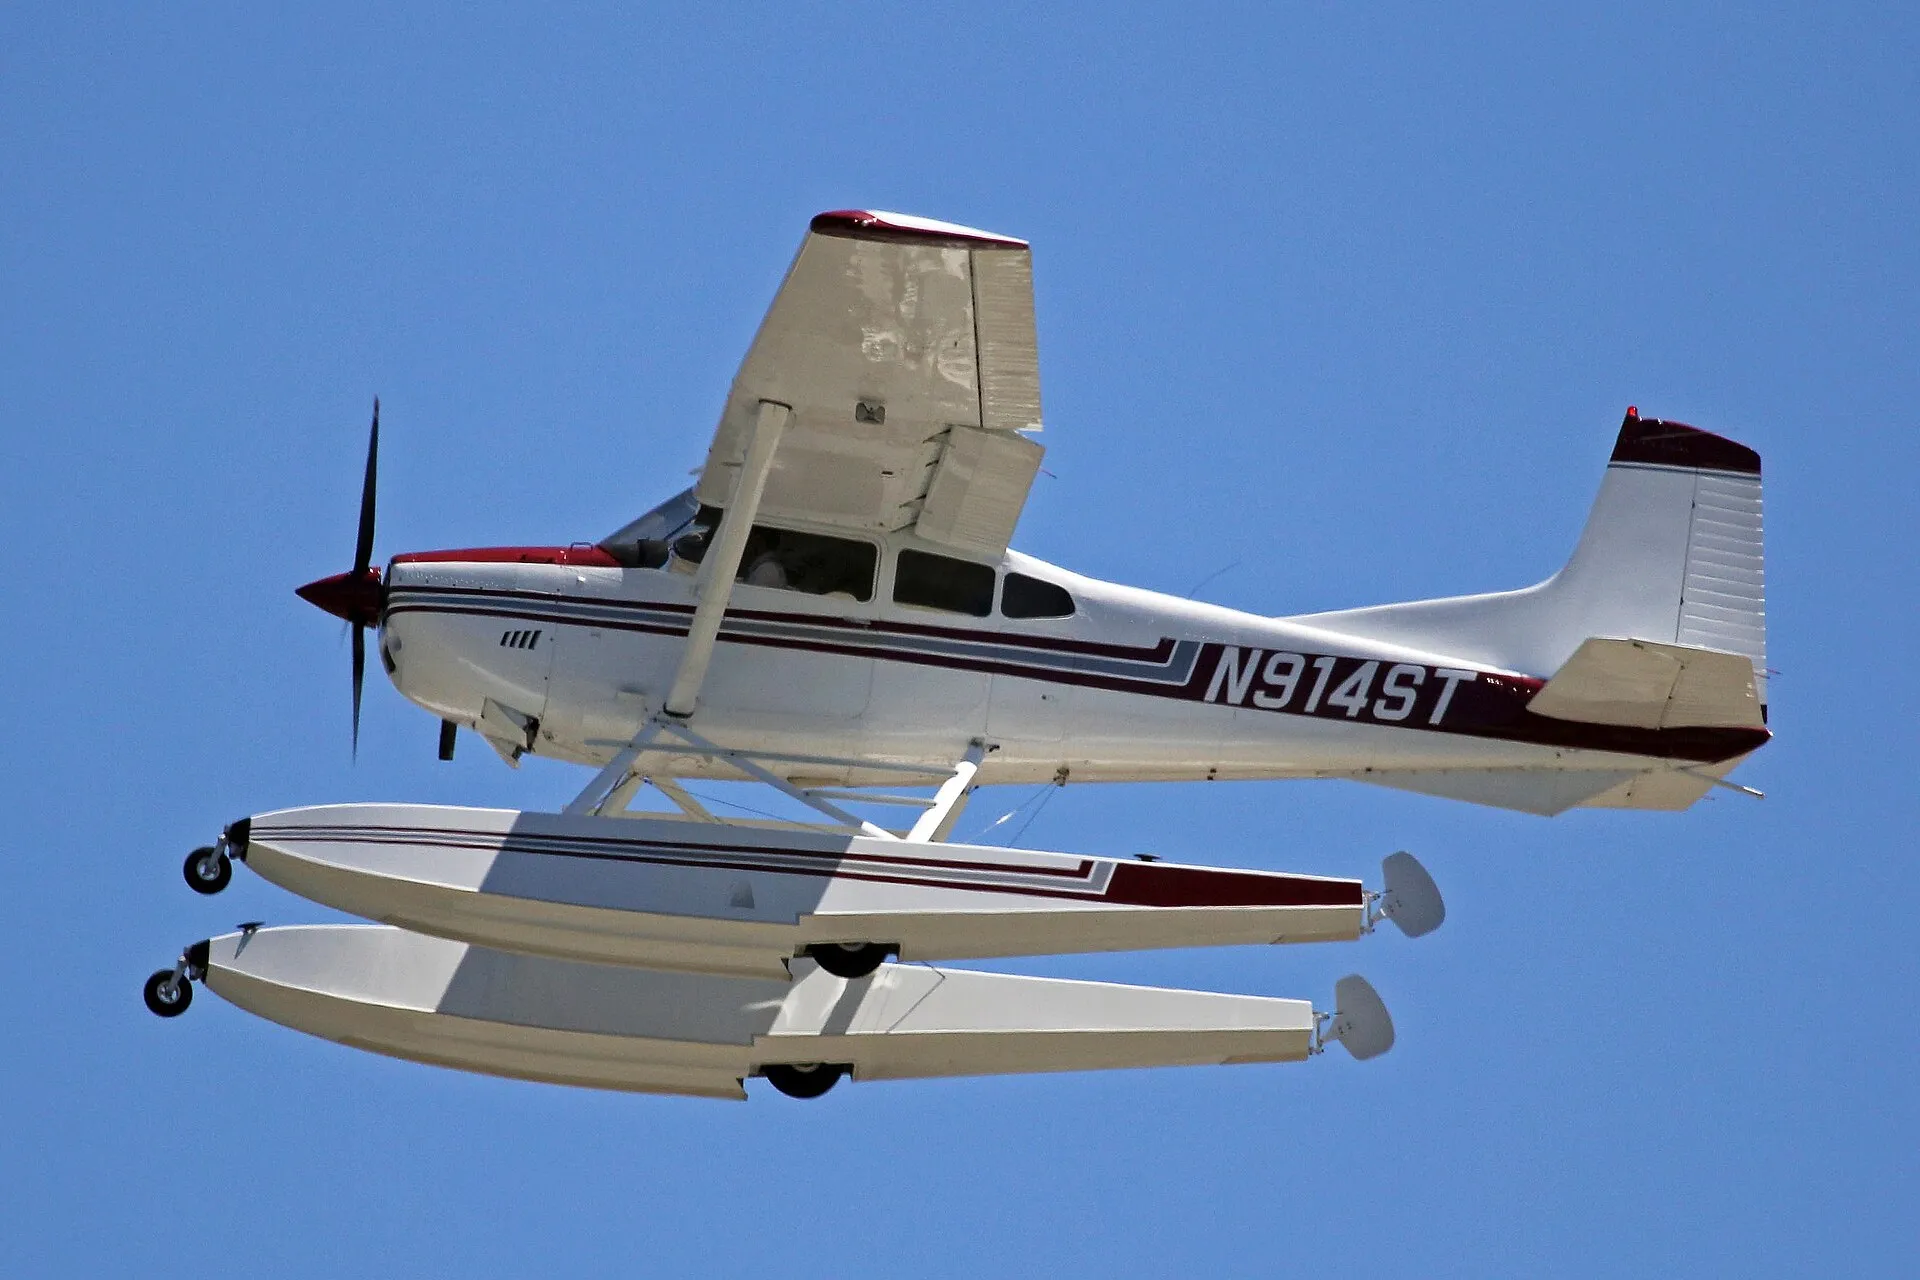
A floatplane of this type carries the stolen drug moneyPhoto: Ken Fielding · CC BY-SA 3.0 · Wikimedia Commons Cessna A185F Skywagon
AircraftFloatplane used for the money transfer and airborne escape
WaveKrest receives money from the floatplane. Bond takes control while being towed behind Krest's boat and escapes with the cash in the cabin.
- Driven by
- WaveKrest pilot, later James Bond
Sources: Licence to Kill aircraft – IMPDb
Cigarette Racing Team Café Racer
BoatHigh-speed offshore boat in Bond's escape
After the dive Bond catches the tow line of the fast support boat, barefoot-skis behind it and eventually climbs aboard. He uses the boat to reach the waiting floatplane.
- Driven by
- WaveKrest crew and James Bond
Sources: Licence to Kill waterski escape – 007.com · Licence to Kill – AFI Catalog
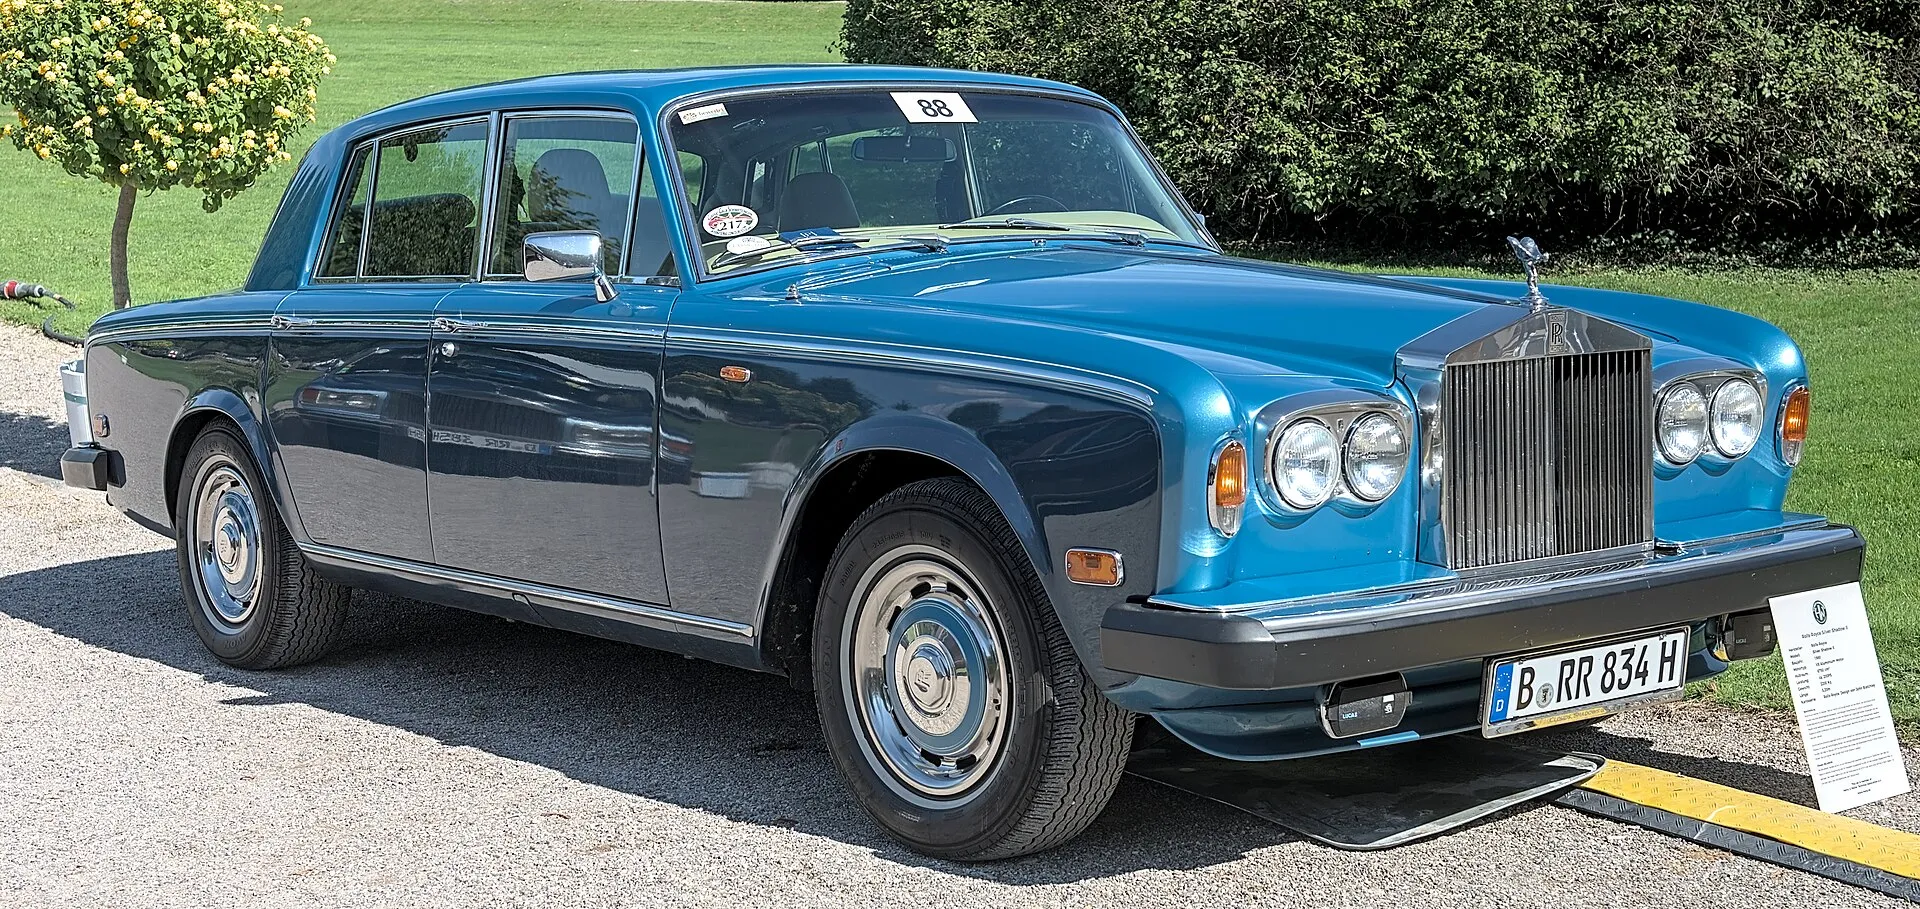
Q travels to Isthmus City in a Silver Shadow IIPhoto: Alexander Migl · CC BY-SA 4.0 · Wikimedia Commons Rolls-Royce Silver Shadow II
Car1978Q's hire car and equipment carrier in Isthmus City
Q arrives in the brown Silver Shadow with cases of specialist equipment for Bond. The saloon is not an armed operational car, but an intentionally elegant carrier for his unofficial field mission.
- Driven by
- Q
Sources: The vehicles of Timothy Dalton's 007 – 007.com · 1978 Rolls-Royce Silver Shadow II – IMCDb
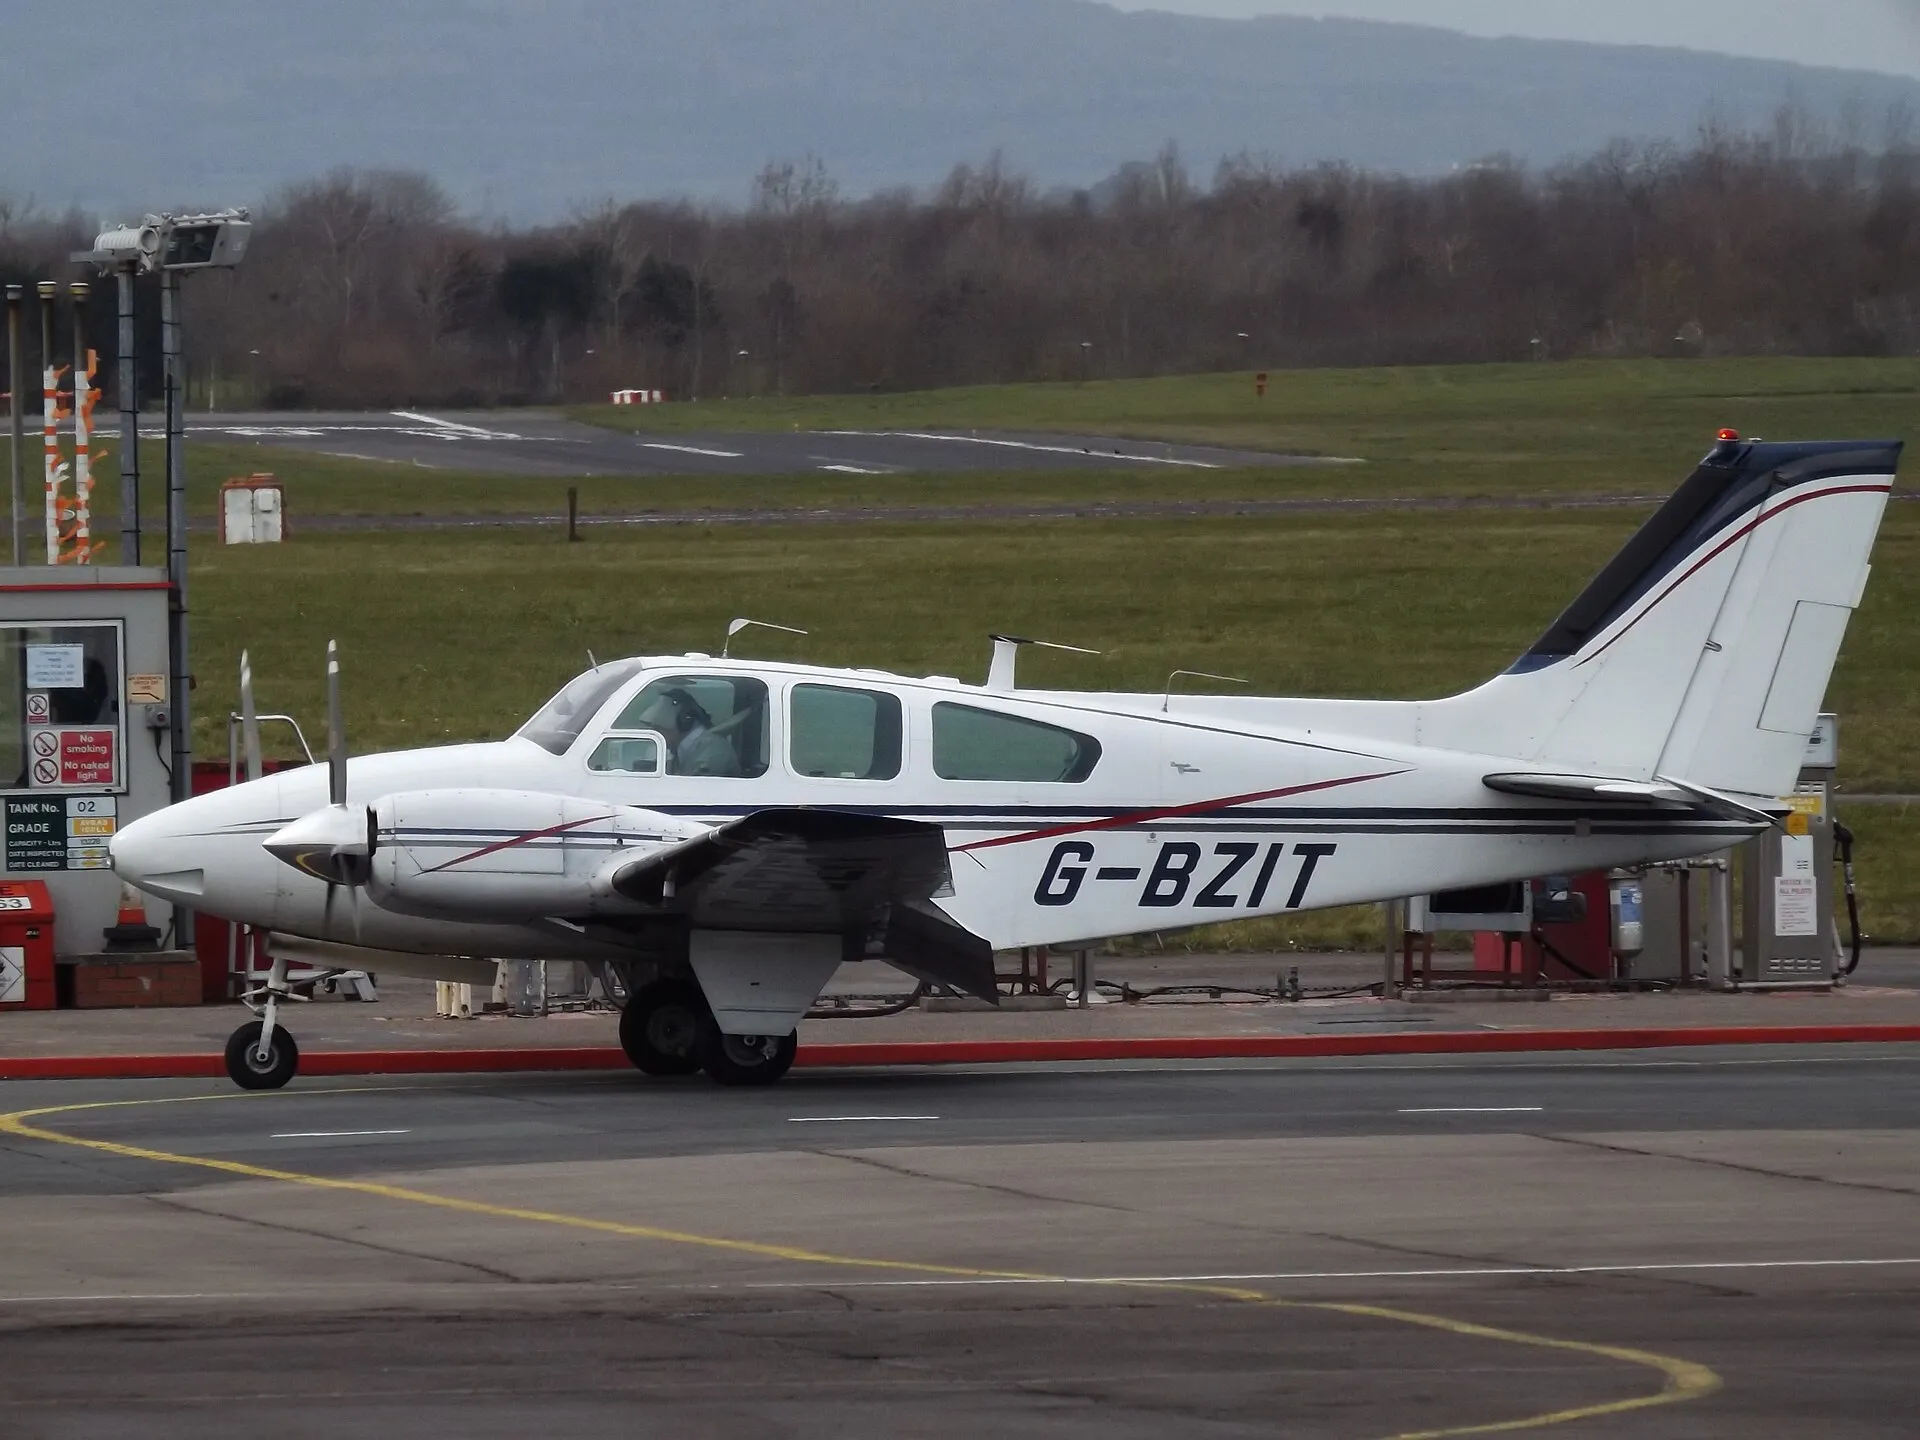
Pam flies Bond to Isthmus in a B55 BaronPhoto: James from Cheltenham, Gloucestershire · CC BY-SA 2.0 · Wikimedia Commons Beechcraft B55 Baron
AircraftPam's twin-engined travelling aircraft
Pam flies Bond to Isthmus City and uses the Baron as a mobile base. When they move against the Olympatec facility, the aircraft is dismantled and can no longer be used for their escape.
- Driven by
- Pam Bouvier
- Specs
- two 260 hp Continental IO-470-L engines; cruise speed about 188 knots (348 km/h)
Sources: Licence to Kill aircraft – IMPDb · Used Aircraft Report: Beech Baron 55 – AOPA
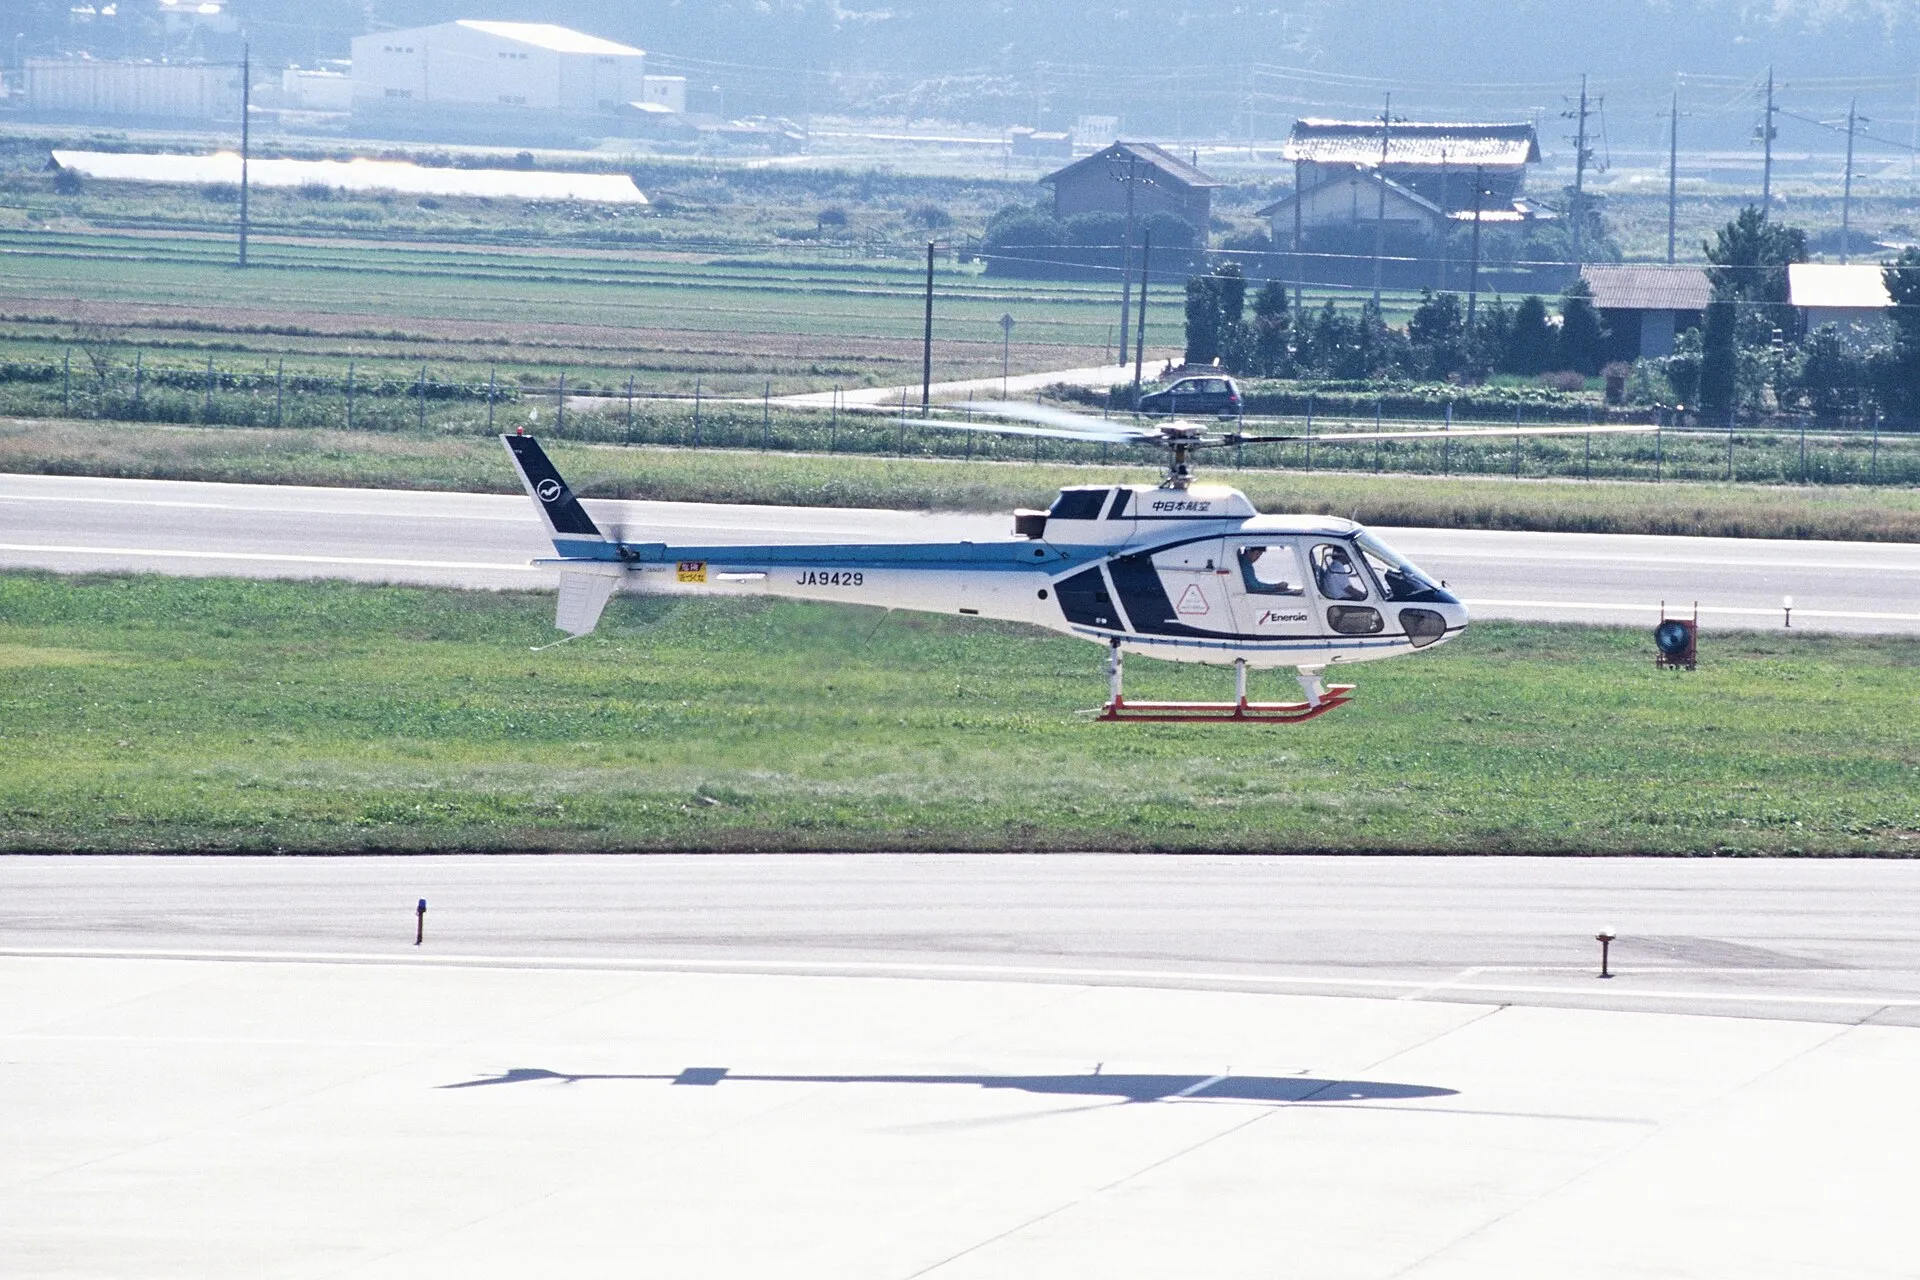
Pam pursues the tanker convoy in an AS350BPhoto: contri · CC BY-SA 2.0 · Wikimedia Commons Aérospatiale AS350B Écureuil
AircraftHelicopter above the tanker convoy in the finale
Pam takes the light helicopter at the Olympatec facility and pursues the convoy. She lowers Bond onto a moving tanker and comes under fire from the guards.
- Driven by
- Pam Bouvier
Sources: Licence to Kill aircraft – IMPDb
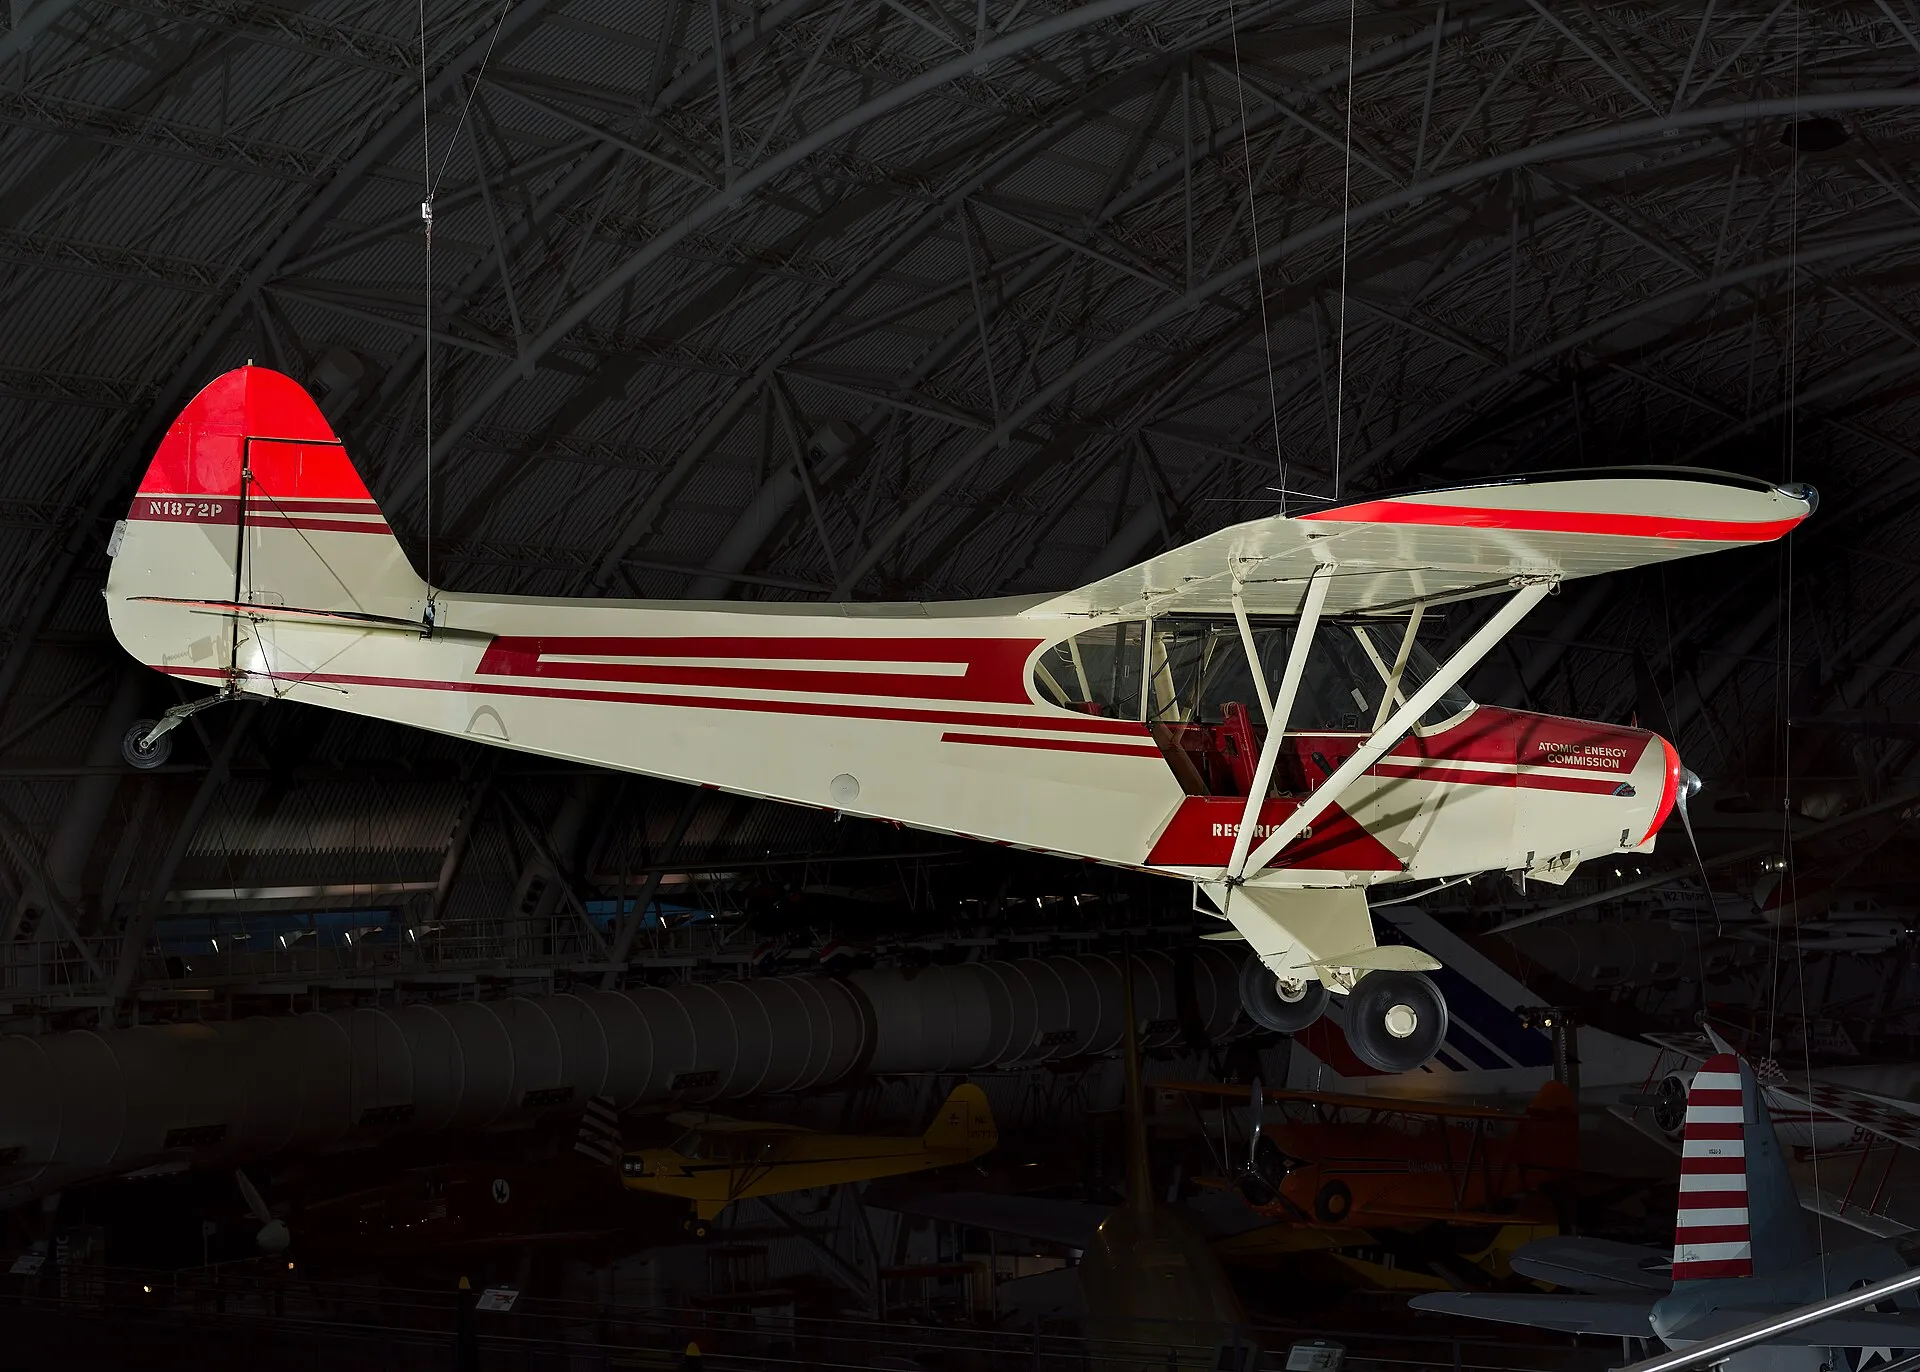
Pam escapes the Olympatec complex in a Super CubPhoto: The Smithsonian Institution · Public domain · Wikimedia Commons Piper PA-18-150 Super Cub
AircraftLight aircraft taken from the Olympatec hangar
Pam takes off in the Super Cub after her Baron has been disabled. A shot damages the tail; she makes a hard landing on the road and then switches to a Kenworth to rescue Bond.
- Driven by
- Pam Bouvier
- Specs
- 150 hp Lycoming O-320; cruise speed about 100 knots (185 km/h)
Sources: The vehicles of Timothy Dalton's 007 – 007.com · Piper PA-18 Super Cub – Smithsonian
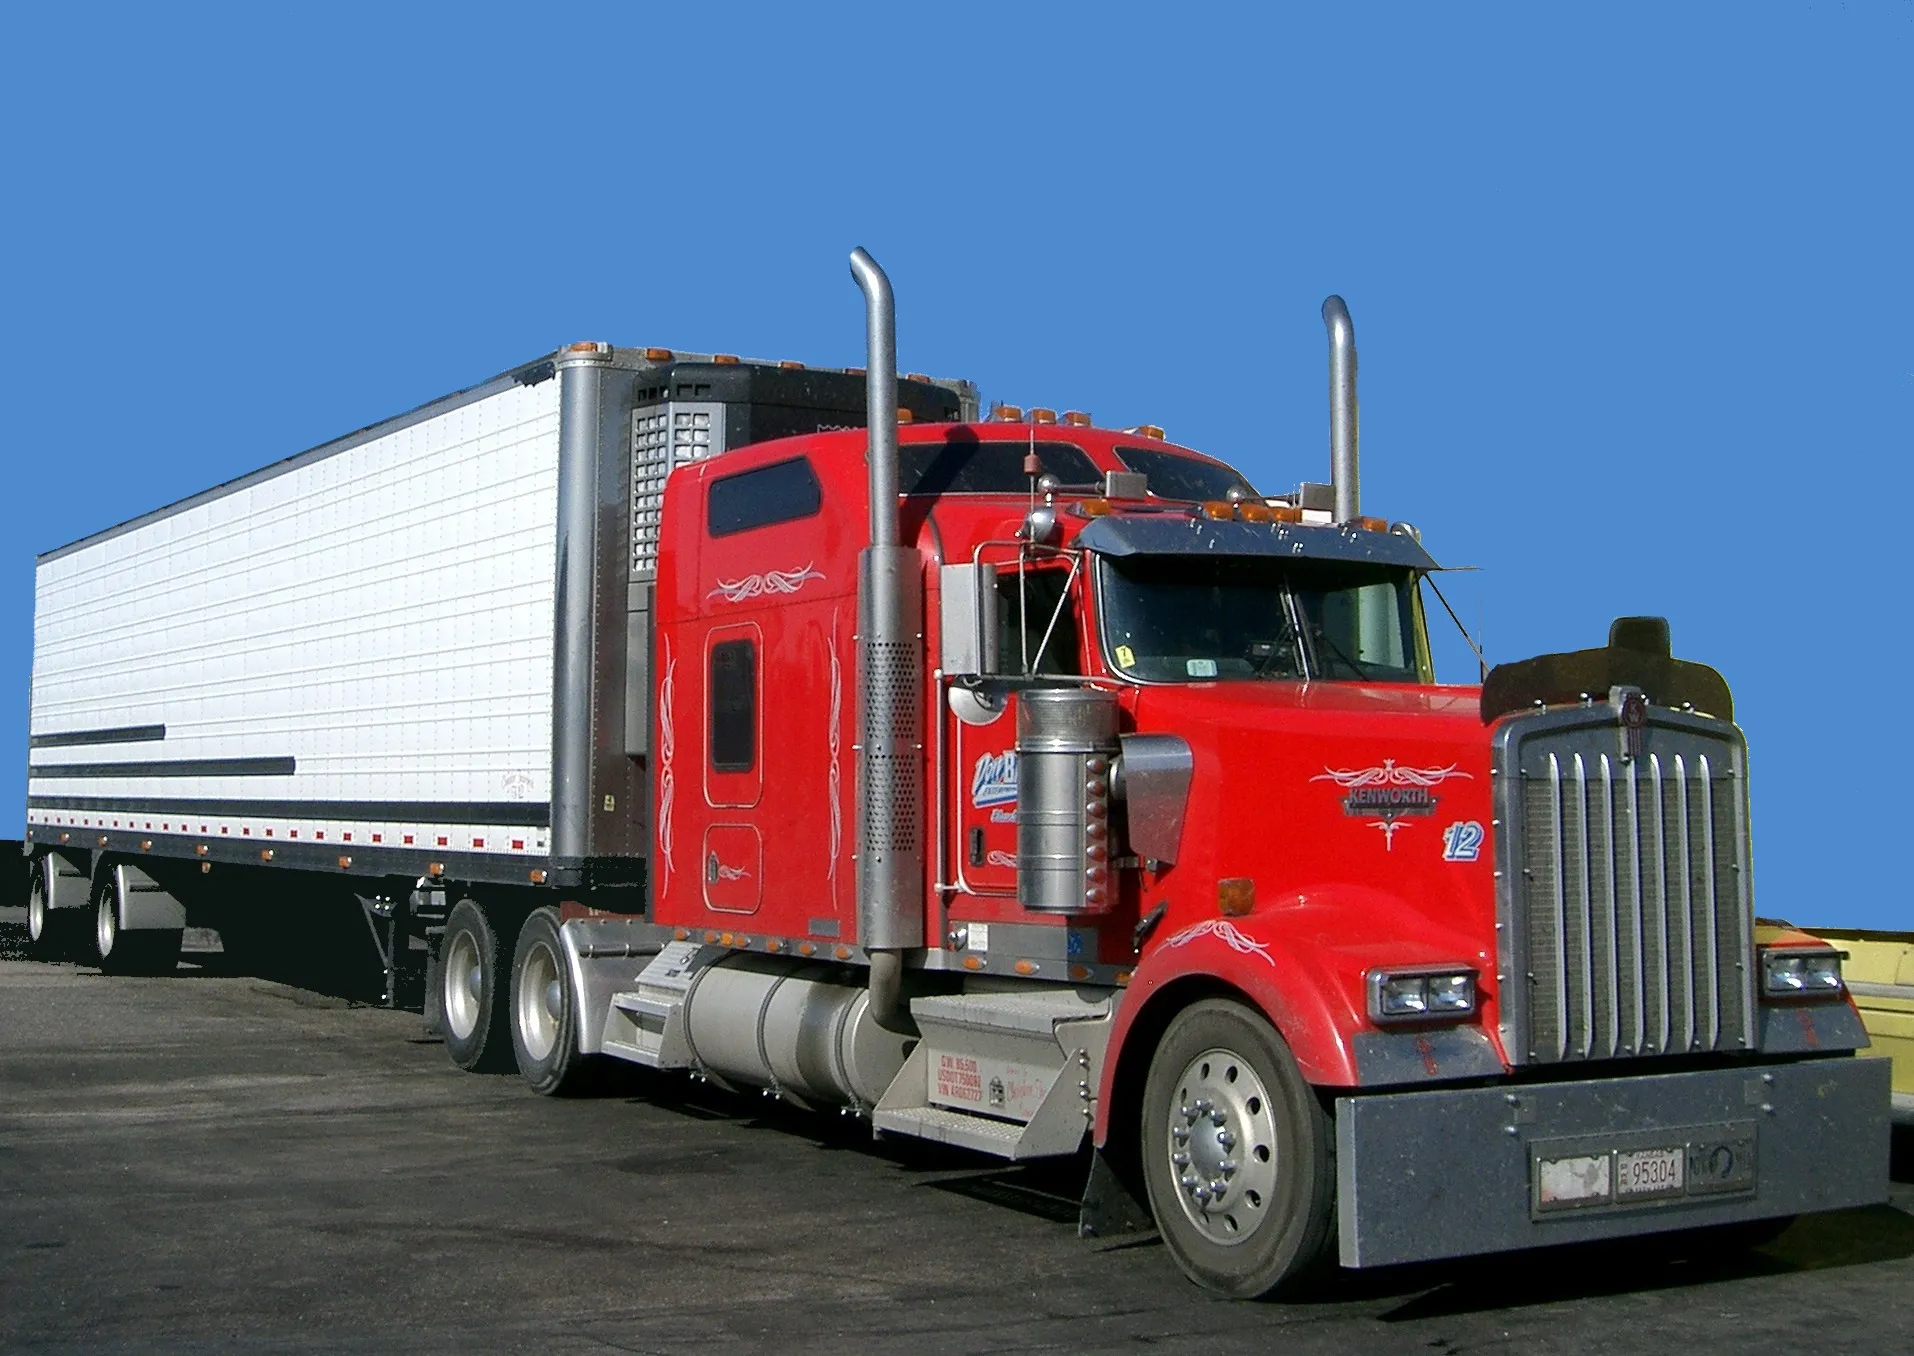
Kenworth W900Bs form Sanchez's tanker convoyPhoto: PRA · CC BY 2.5 · Wikimedia Commons Kenworth W900B
Car1989Petrol tankers carrying dissolved cocaine
Four tankers leave the destroyed Olympatec facility with Sanchez's final shipment. Bond fights through the convoy, balances one Kenworth on its right-side wheels to evade a Stinger missile and ducks another beneath a burning trailer. Pam takes over the final rig. Multiple real trucks and special conversions supported the entirely practical sequence.
- Driven by
- Sanchez's drivers, James Bond and Pam Bouvier
Sources: Shooting Licence to Kill's tanker chase – 007.com · The vehicles of Timothy Dalton's 007 – 007.com · Licence to Kill – AFI Catalog
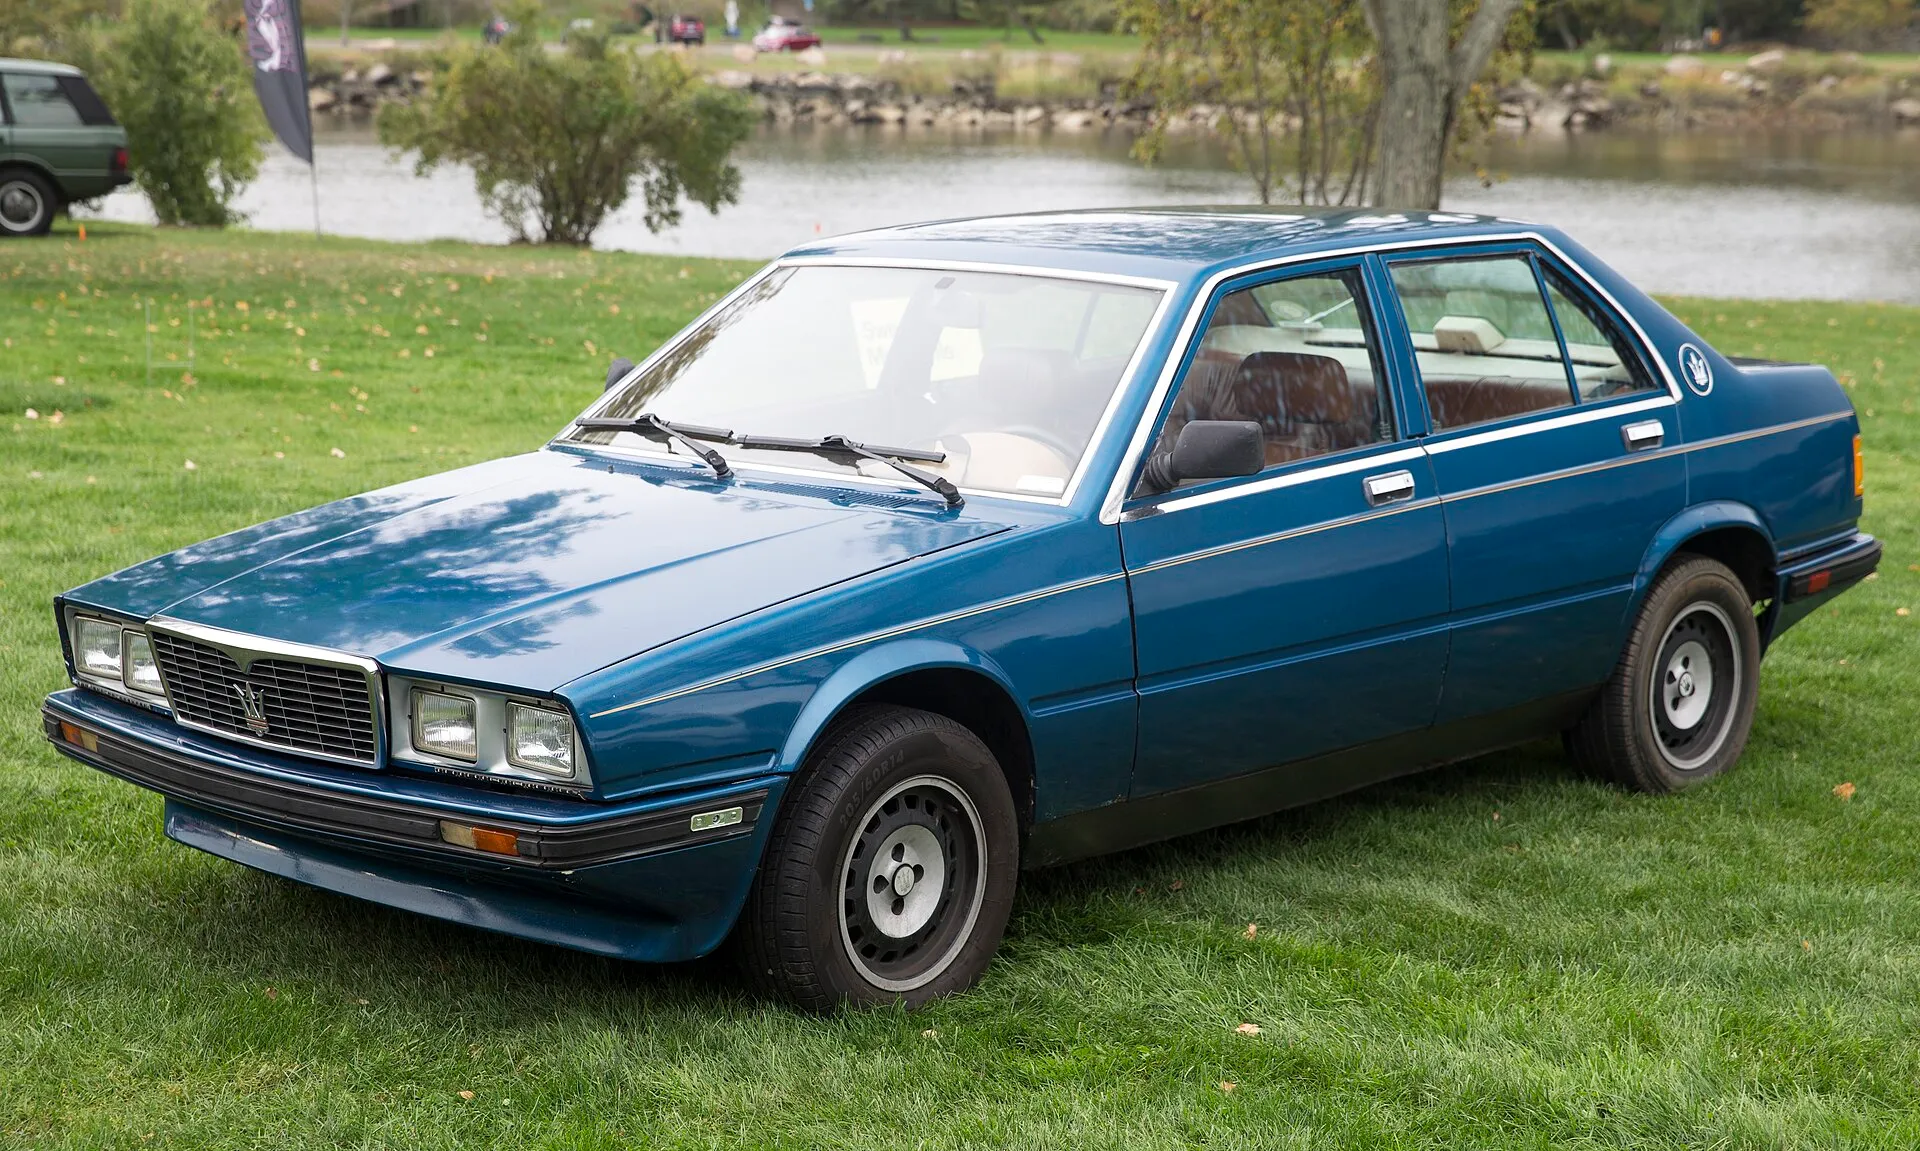
Sanchez pursues the convoy in a Biturbo saloonPhoto: Mr.choppers · CC BY-SA 3.0 · Wikimedia Commons Maserati Biturbo 425i
Car1987Dark saloon in the final pursuit
Sanchez and Truman-Lodge pursue the tankers in the four-door Biturbo saloon. After arguing about the lost shipment, Sanchez shoots his adviser beside the car and continues the chase alone.
- Driven by
- Franz Sanchez and Truman-Lodge
Sources: Licence to Kill vehicles – IMCDb
Jeep CJ-7
Car1976Off-roader carrying a Stinger team
An armed team pursues Pam in the open Jeep and prepares to fire a Stinger. The vehicle accompanies the convoy through the rocky terrain of Paso del Diablo.
- Driven by
- Sanchez's guards
Sources: Licence to Kill vehicles – IMCDb
.jpg)
.jpg)
_(4-12-2024).jpg)
.jpg)
_PAE_11JUL12_(7553419848).jpg)
.jpg)
.jpg)
_(14508113046).jpg)


Gadgets
Dentonite toothpaste and cigarette detonator
Q disguises plastic explosive as toothpaste. Bond applies the compound to the window of Sanchez's office and triggers it with a radio control concealed as a cigarette packet and cigarette.
Sources: Q-Labs gadgets – 007.com · Licence to Kill – 007.com
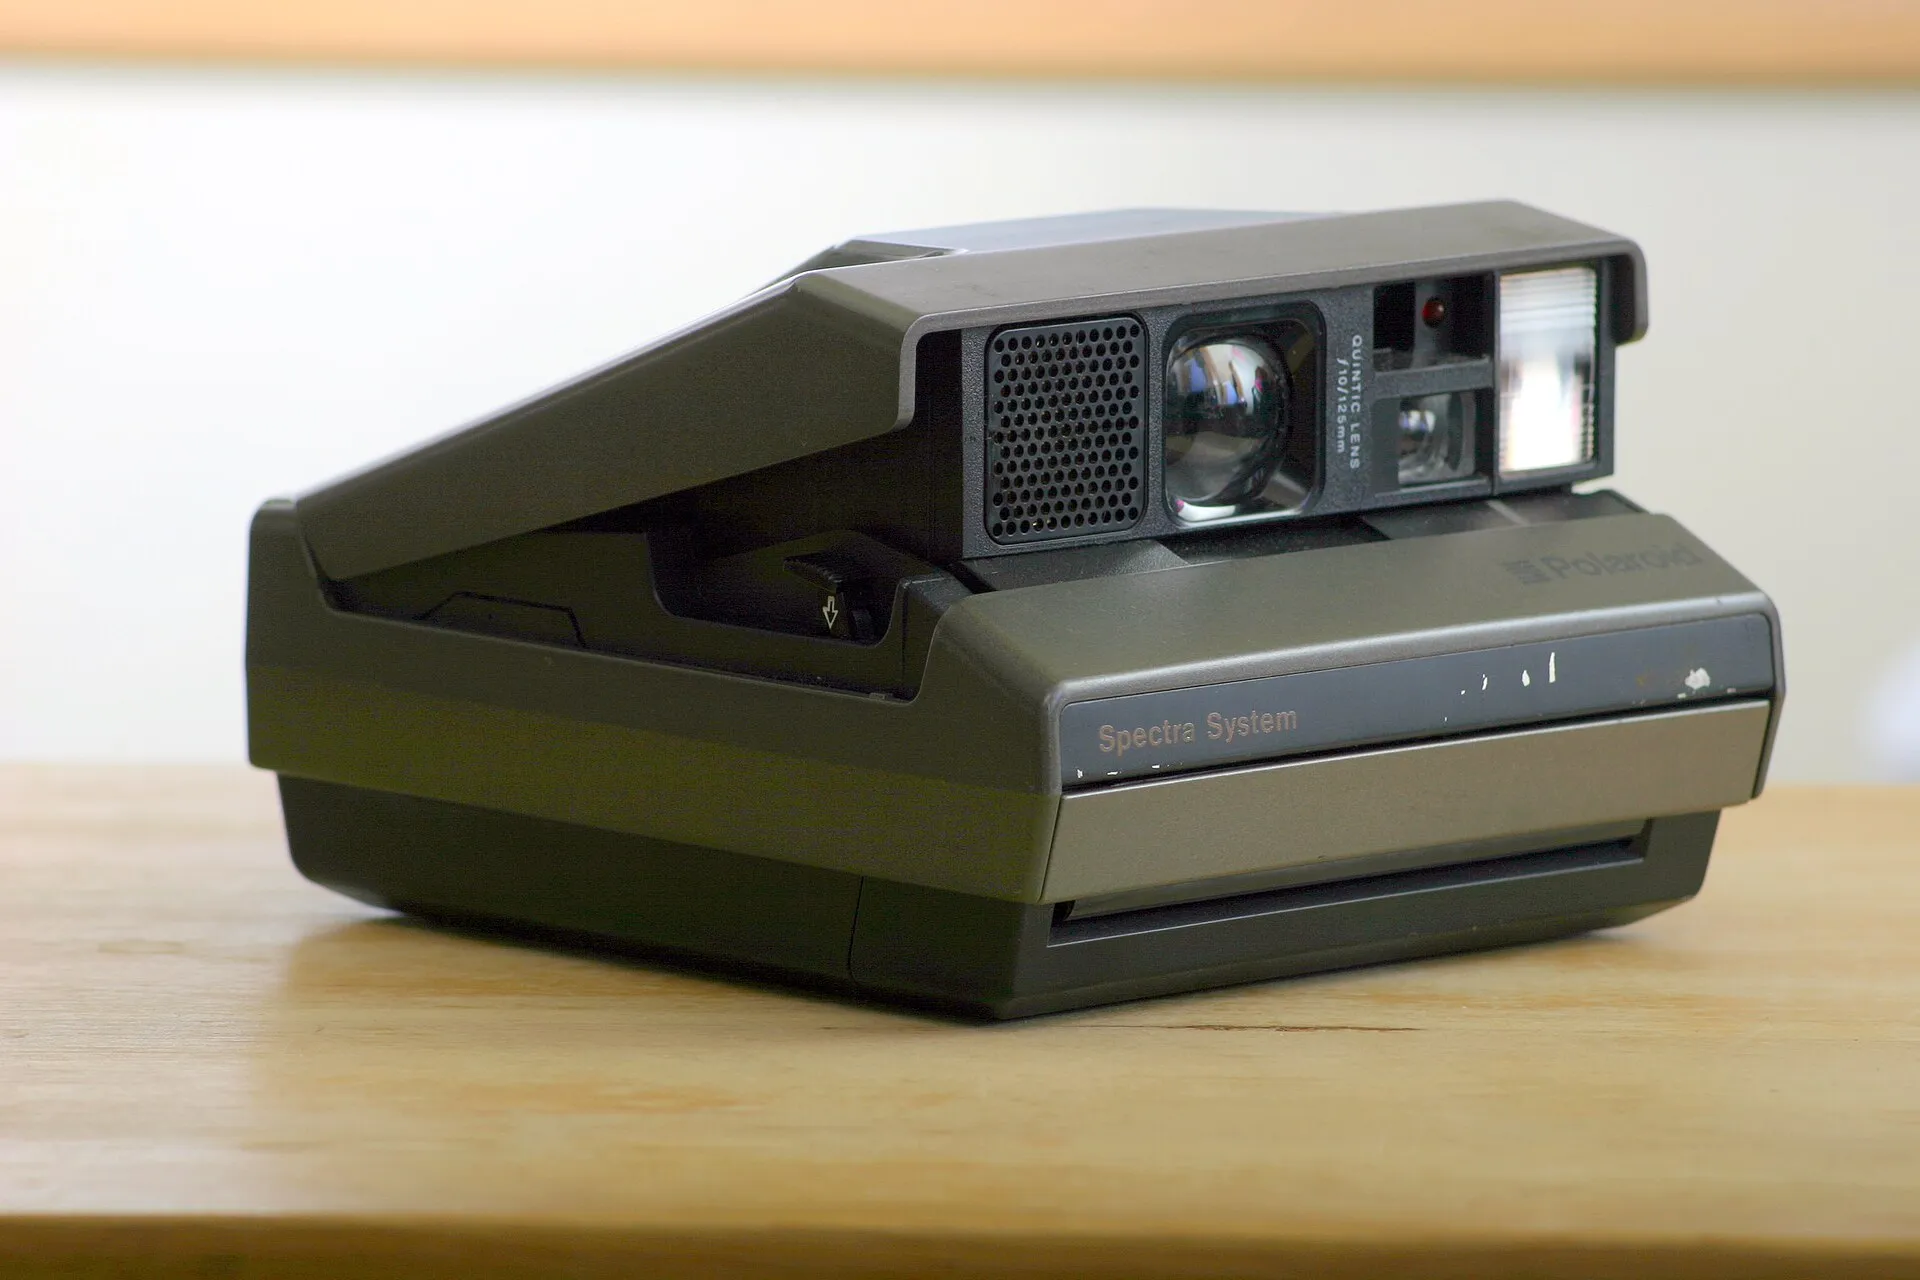
Q's instant camera conceals a laserPhoto: Andrew Butitta · CC BY-SA 2.0 · Wikimedia Commons Polaroid laser camera
The instant camera does more than take pictures: it conceals a laser. Q uses it for surveillance in the hotel room and accidentally aims the beam at Bond's crotch.
Sources: Licence to Kill – 007.com
Exploding alarm clock
An innocuous Q Branch travel alarm contains an explosive charge. It is armed through the alarm setting and forms part of the equipment Q brings to Isthmus City.
Sources: Licence to Kill – 007.com
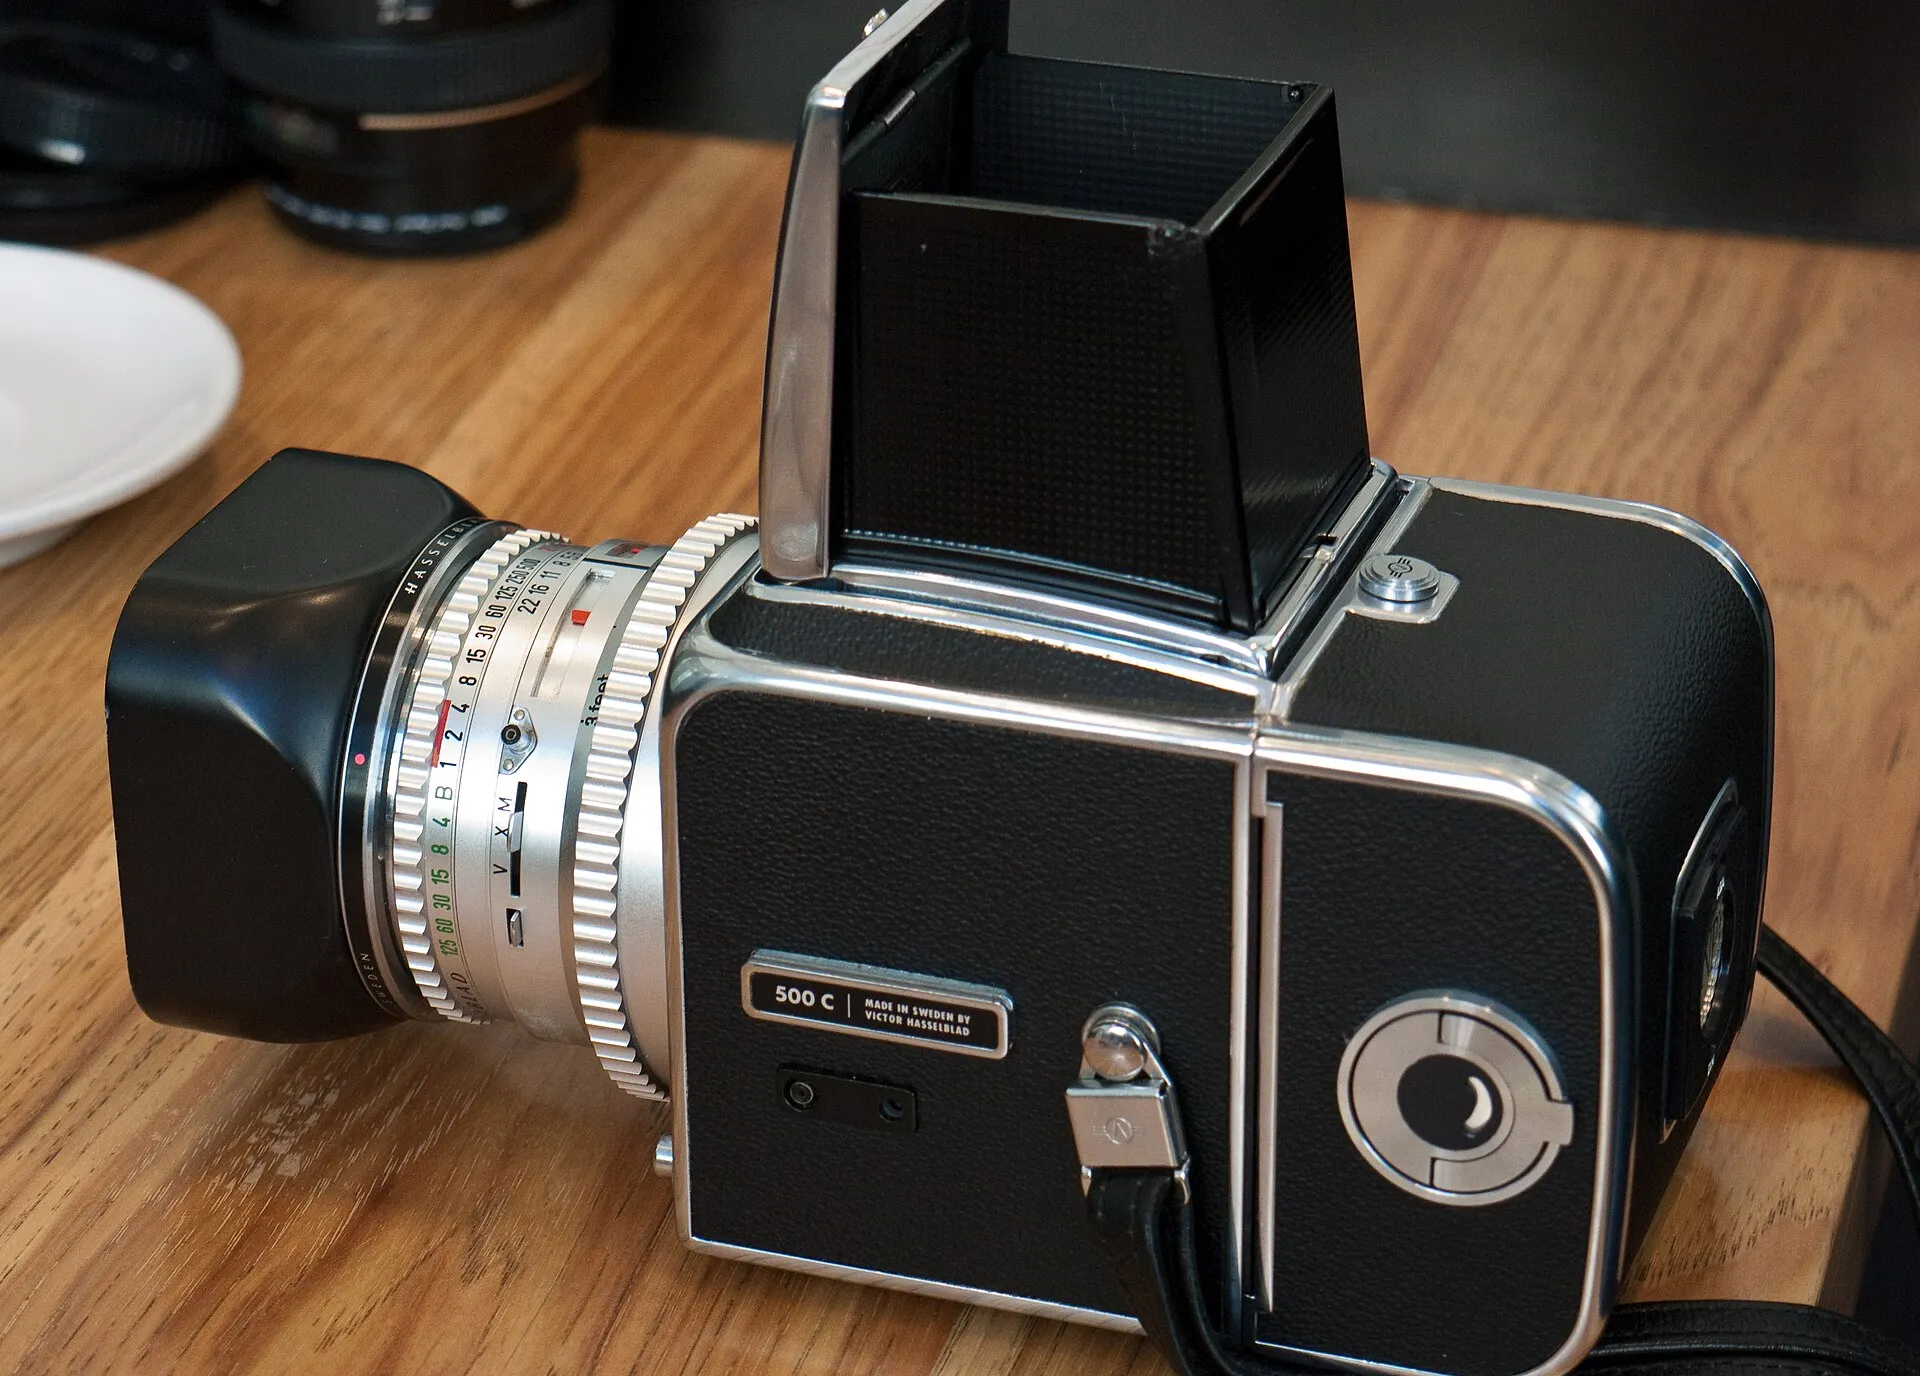
A Hasselblad camera disguises Q's precision riflePhoto: Dave Fayram · CC BY-SA 2.0 · Wikimedia Commons Hasselblad signature gun
The camera case converts into a take-down sniper rifle. Its grip recognises Bond's palm and locks out other shooters, causing Pam to miss when she takes the weapon.
Sources: Licence to Kill – 007.com
Rappelling cummerbund
Q's evening wear contains a thin load-bearing line. Bond anchors it on the casino roof and lowers himself down the building to Sanchez's office.
Sources: Licence to Kill – 007.com
Manta-ray disguise
A flat black cover imitates the silhouette of a manta ray. Bond hides beneath it to approach Krest's vessel WaveKrest without being detected.
Sources: Licence to Kill – 007.com
Broom radio
Q conceals his radio equipment inside a street broom. Posing as a cleaner, he can work outside the hotel and watch Bond without attracting attention.
Sources: Spotlight on Q – 007.com
Iguana-tail whip
A guard in Sanchez's casino carries an iguana on his shoulder. Its artificially extended tail can be used as a whip to keep inquisitive guests at a distance.
Sources: Licence to Kill – 007.com
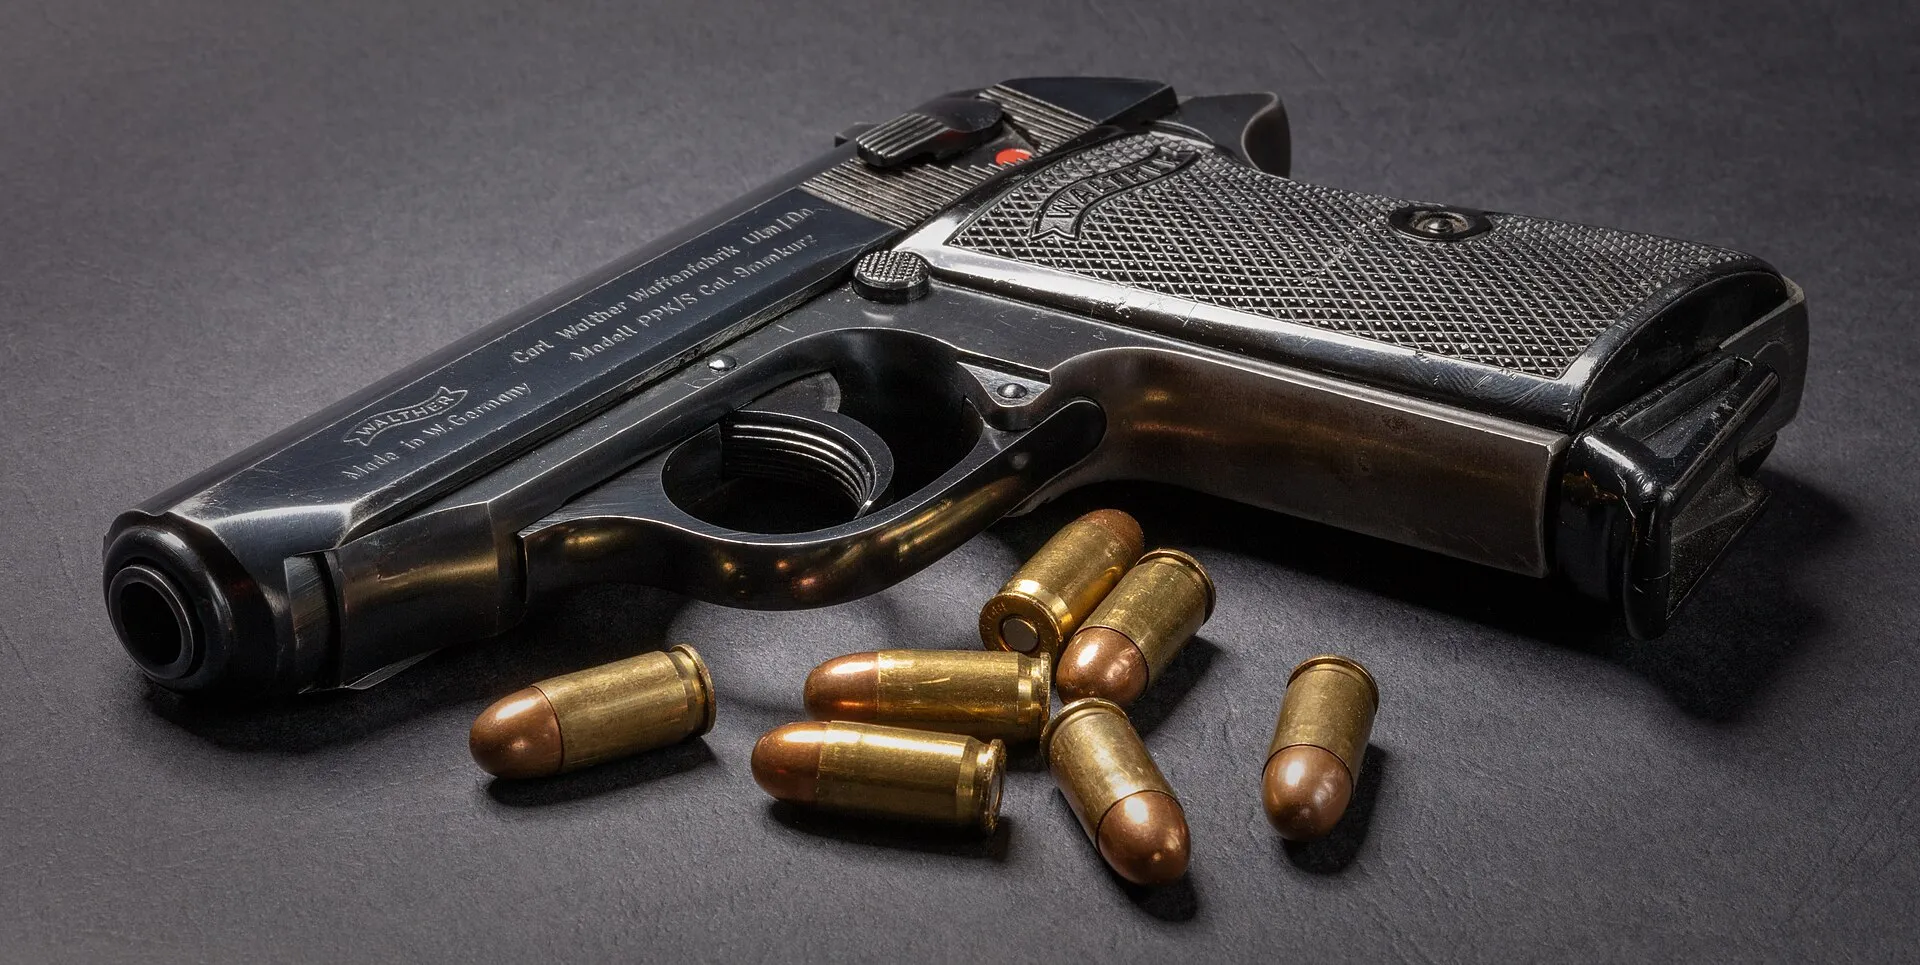
Bond retains the PPK despite losing his licencePhoto: Tomascastelazo · CC BY-SA 4.0 · Wikimedia Commons Walther PPK 7.65 mm
Bond carries the compact Walther as his service pistol. It remains part of his private pursuit of Sanchez even after M strips him of his weapon and licence in Key West.
Sources: Licence to Kill – 007.com
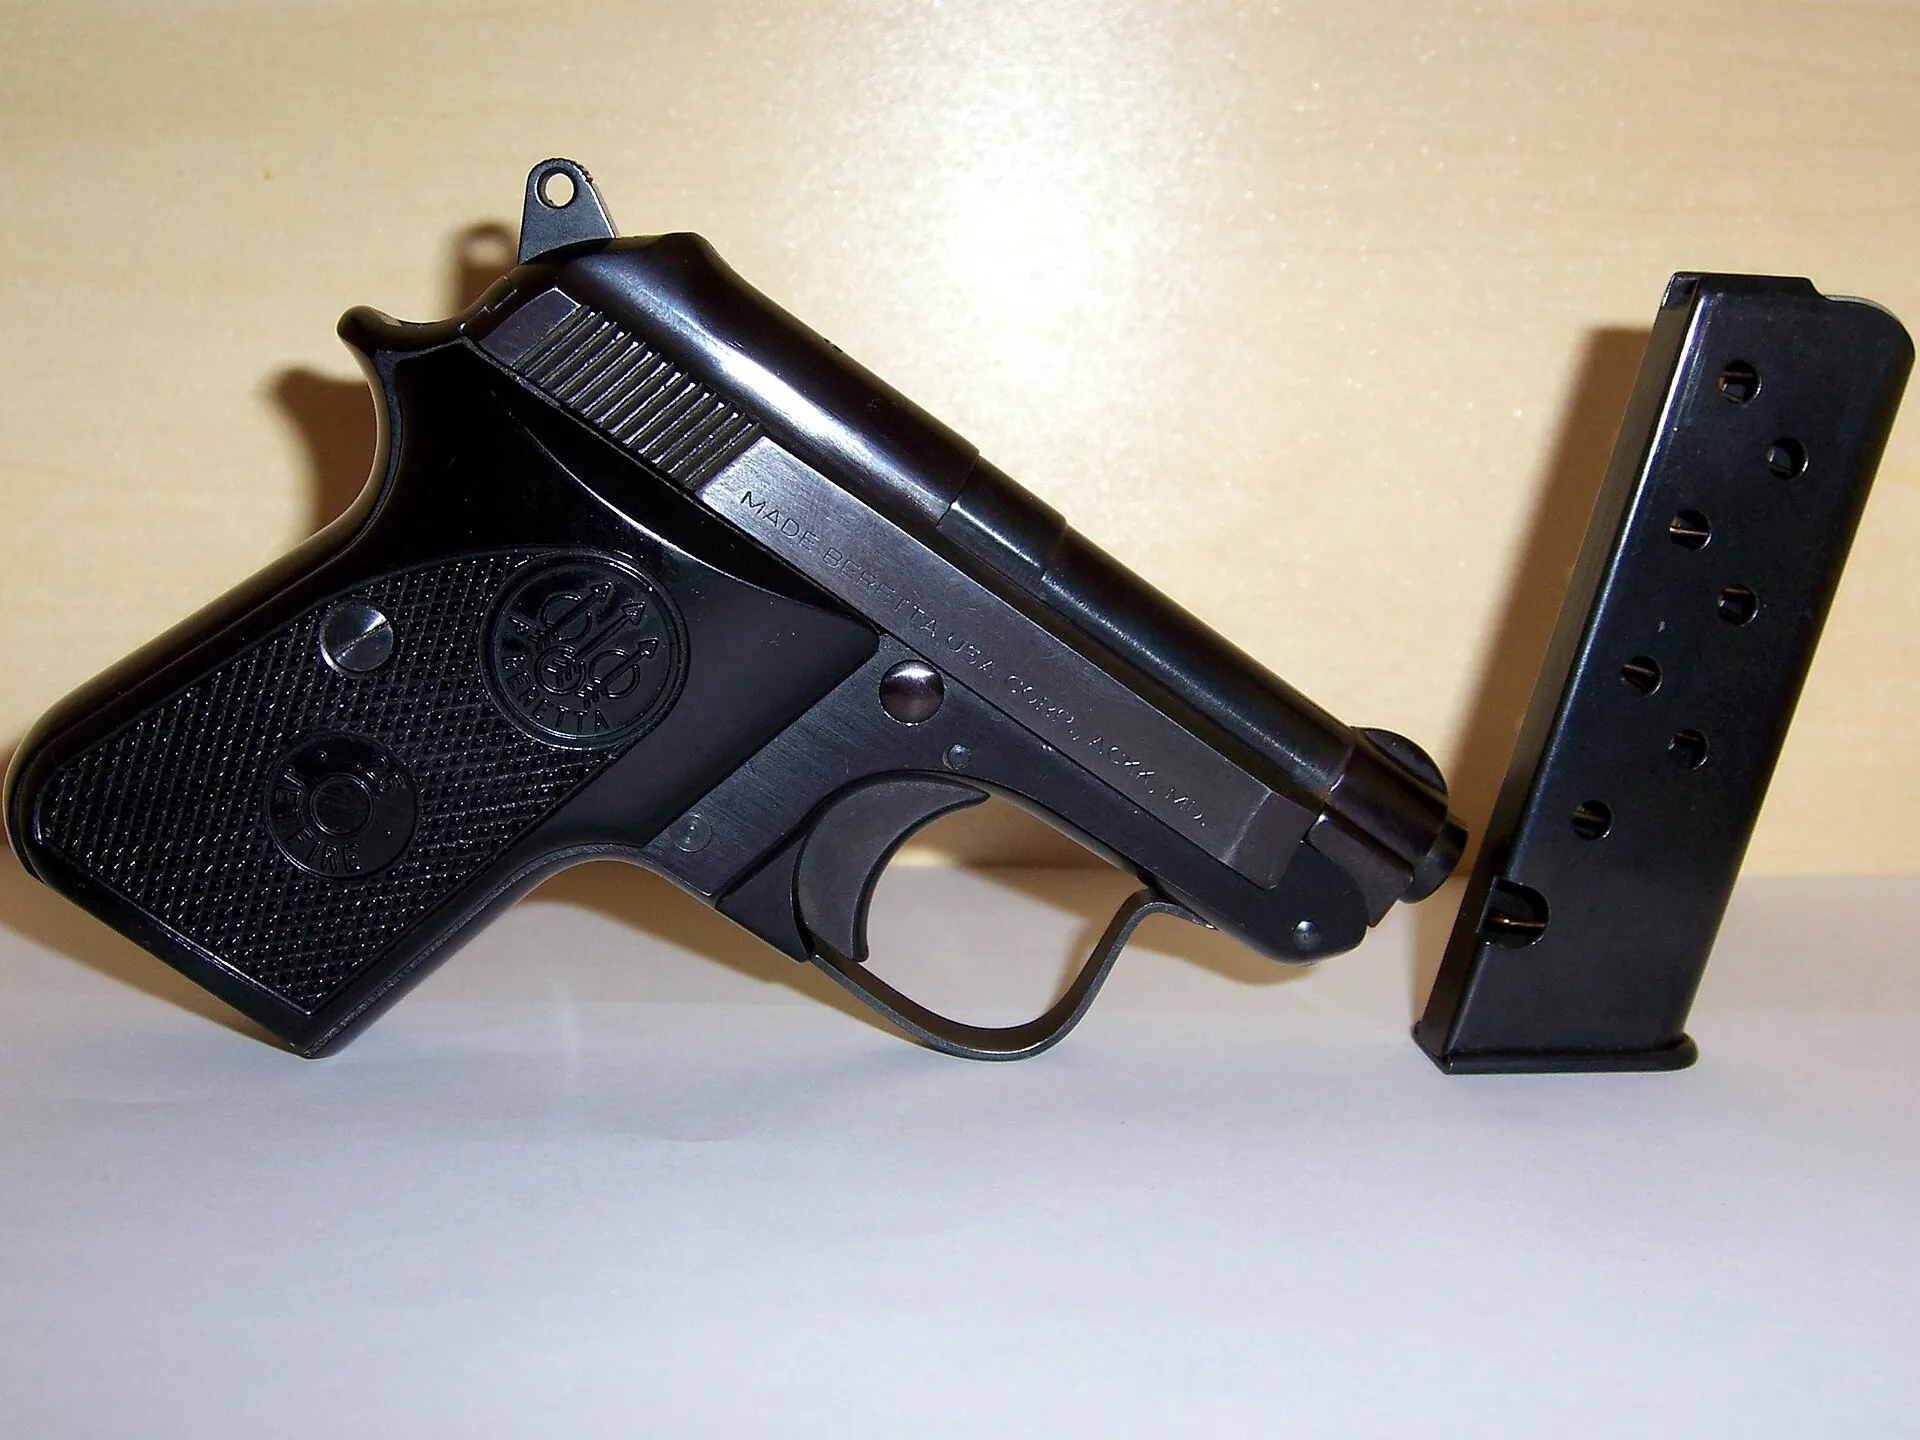
Pam carries a compact Beretta 950 JetfirePhoto: AuburnPilot · Public domain · Wikimedia Commons Beretta 950 Jetfire
Pam Bouvier carries the small pocket pistol concealed at her meeting in the Barrelhead Bar. She uses it in the gunfight with Dario and his men.
Sources: Licence to Kill firearms – IMFDB
Kevlar body armour
Sanchez equips his organisation with ballistic vests. The protection makes his guards at the Olympatec complex more resistant to small-arms fire.
Sources: Licence to Kill – 007.com
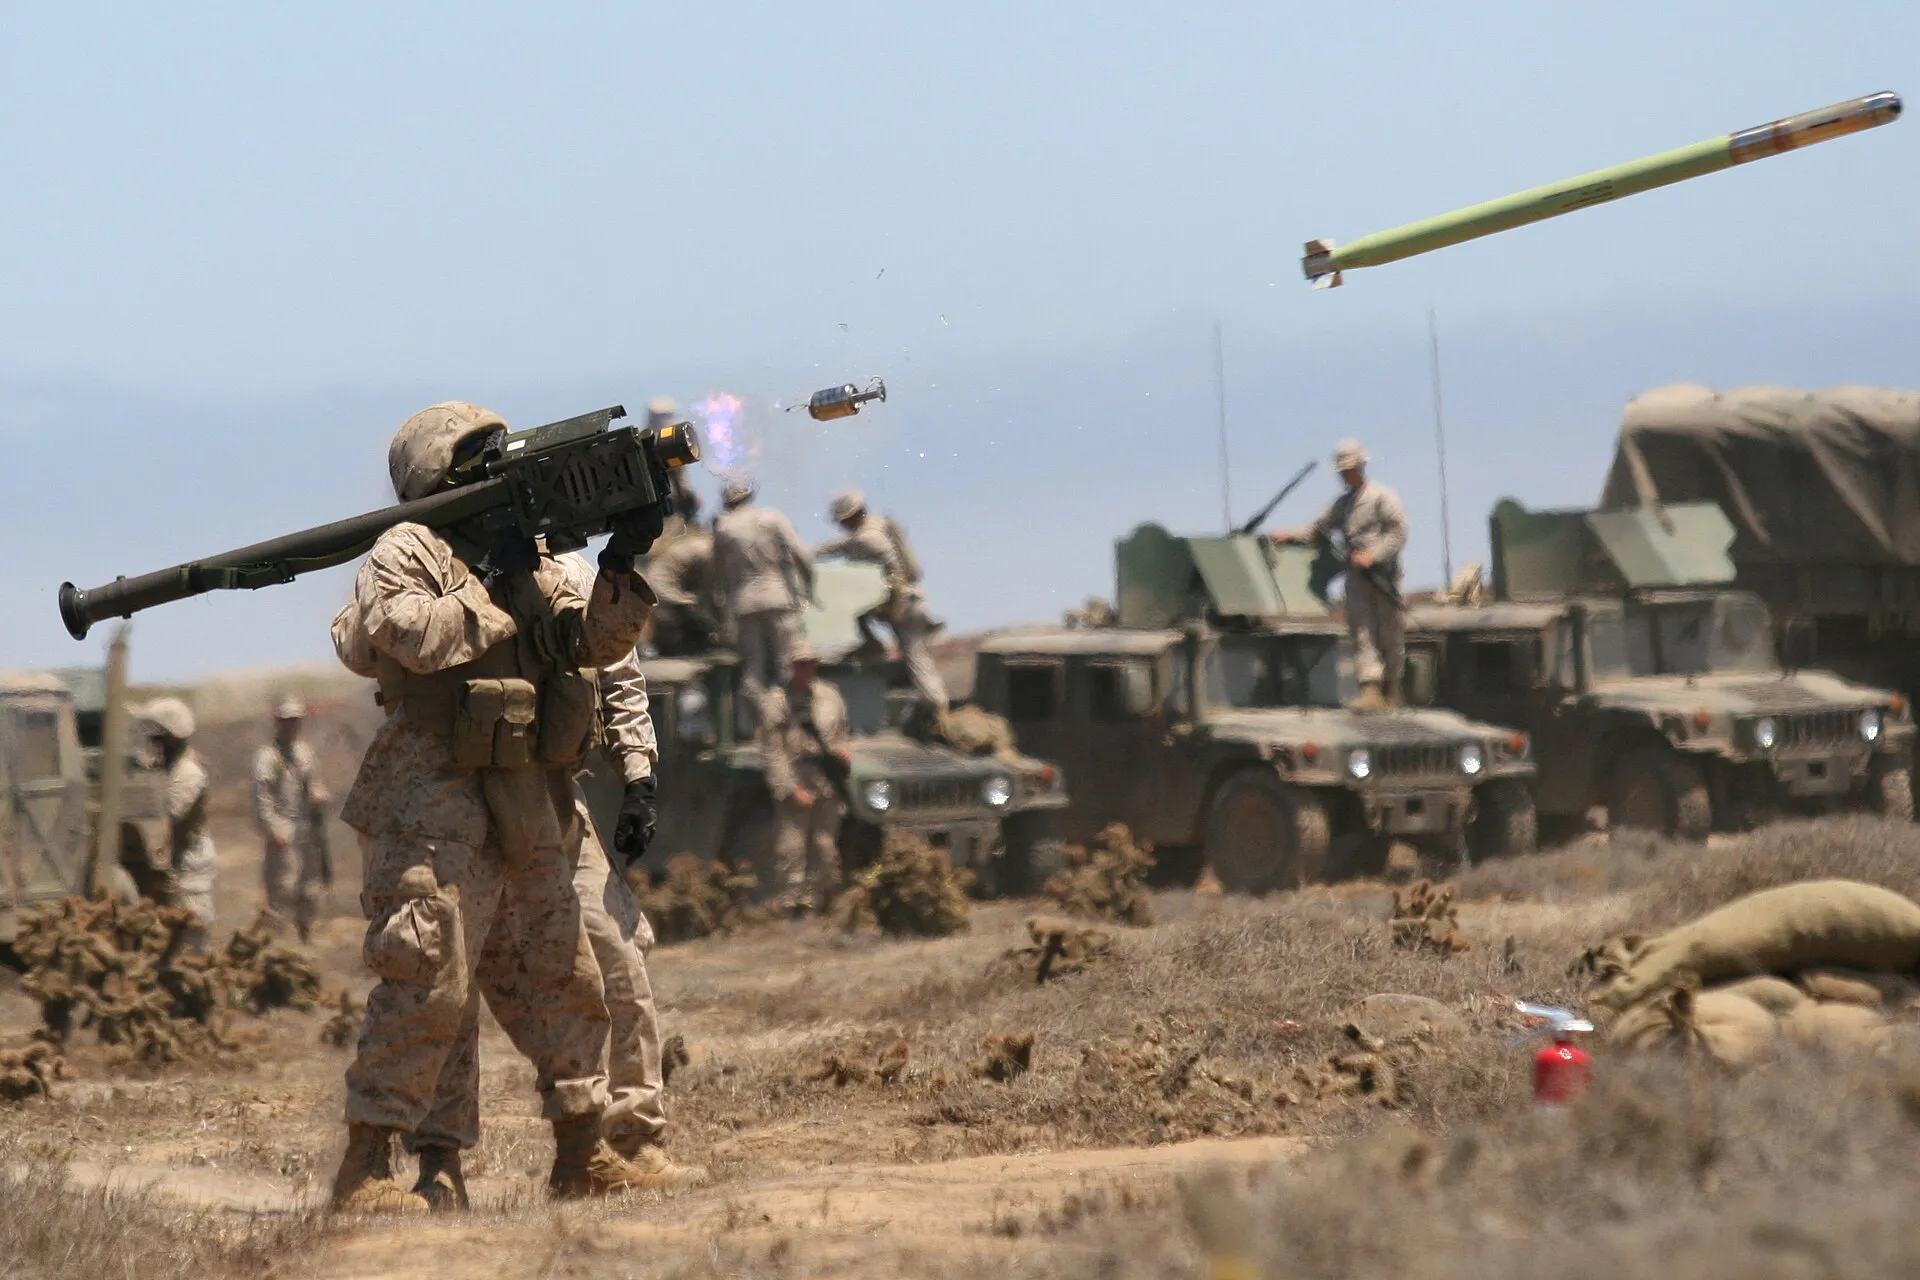
Stinger missiles defend Sanchez's facility and convoyPhoto: Christopher O'Quin, U.S. Marine Corps · Public domain · Wikimedia Commons FIM-92 Stinger
Portable surface-to-air missiles protect Sanchez's remote facility. Heller plans to use them as leverage against his boss; during the finale they threaten Pam's helicopter.
Sources: Licence to Kill – 007.com
Decompression chamber
Krest uses WaveKrest's pressure chamber for diving operations. Sanchez locks him inside and releases the pressure abruptly after Bond hides stolen money in the chamber.


Production and trivia
- Licence to Kill was the first Bond film whose title did not come from an Ian Fleming work. The screenplay nevertheless draws on Live and Let Die, including Leiter's mauling by a shark, and on The Hildebrand Rarity for Milton Krest and WaveKrest.
- The harder, more personal story was tailored to Timothy Dalton's serious interpretation of Bond. Sanchez is not a would-be world conqueror but a drug entrepreneur whom Bond destroys from within by cultivating mistrust.
- Robert Davi prepared Sanchez through research into Colombian cartels and a deliberately developed Spanish cadence. The producers had noticed him in the television film Terrorist on Trial.
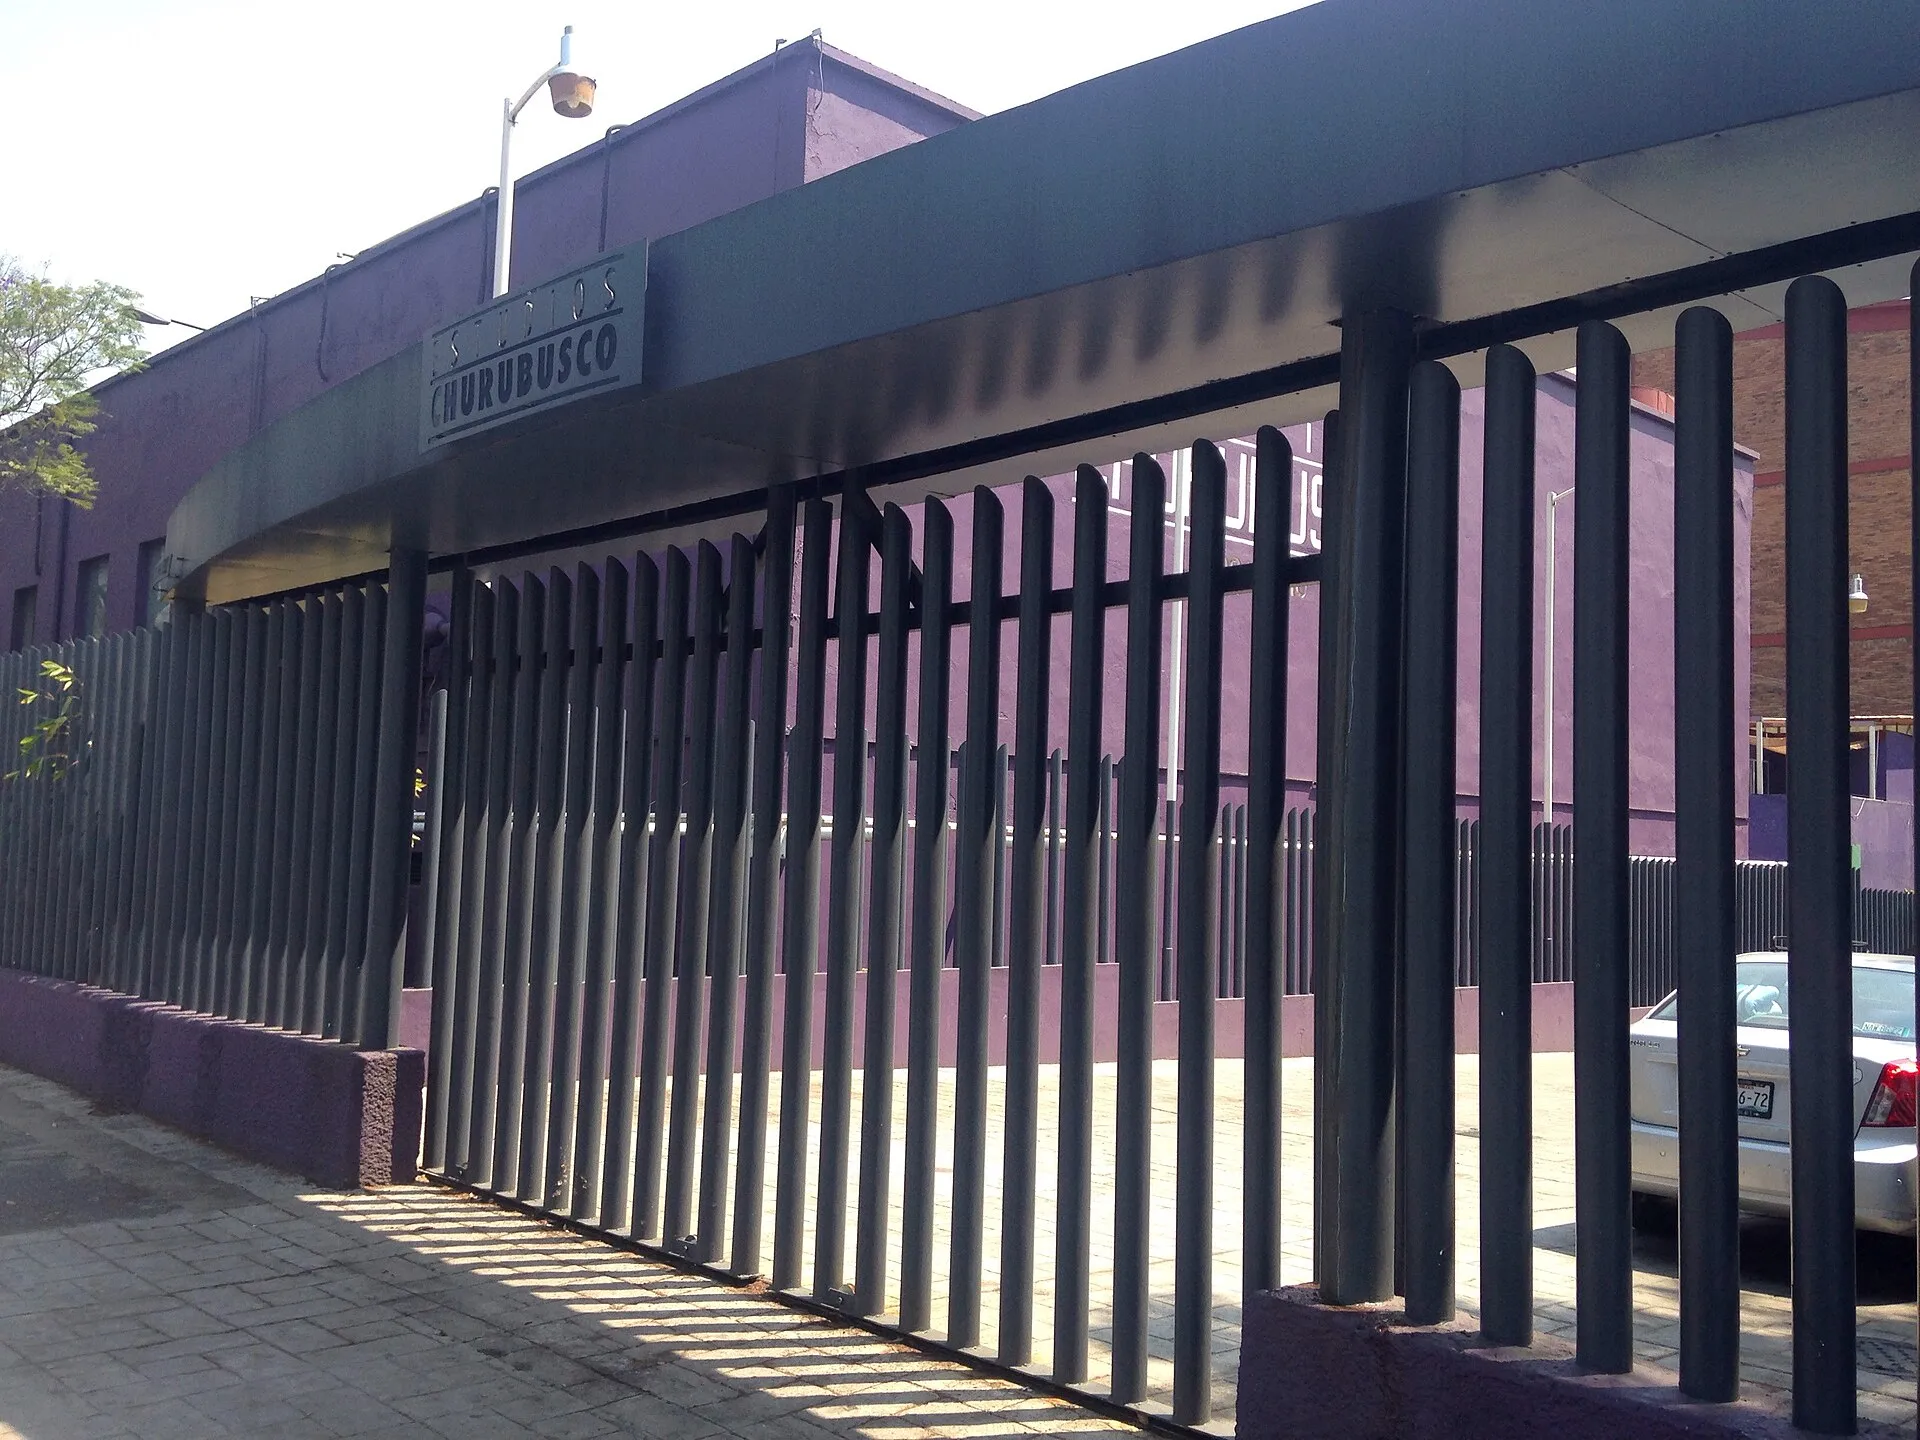
- Filming began on 18 July 1988. The production occupied four of the eight stages at Estudios Churubusco in Mexico City, where interiors, the laboratory and major sets were built instead of at Pinewood.
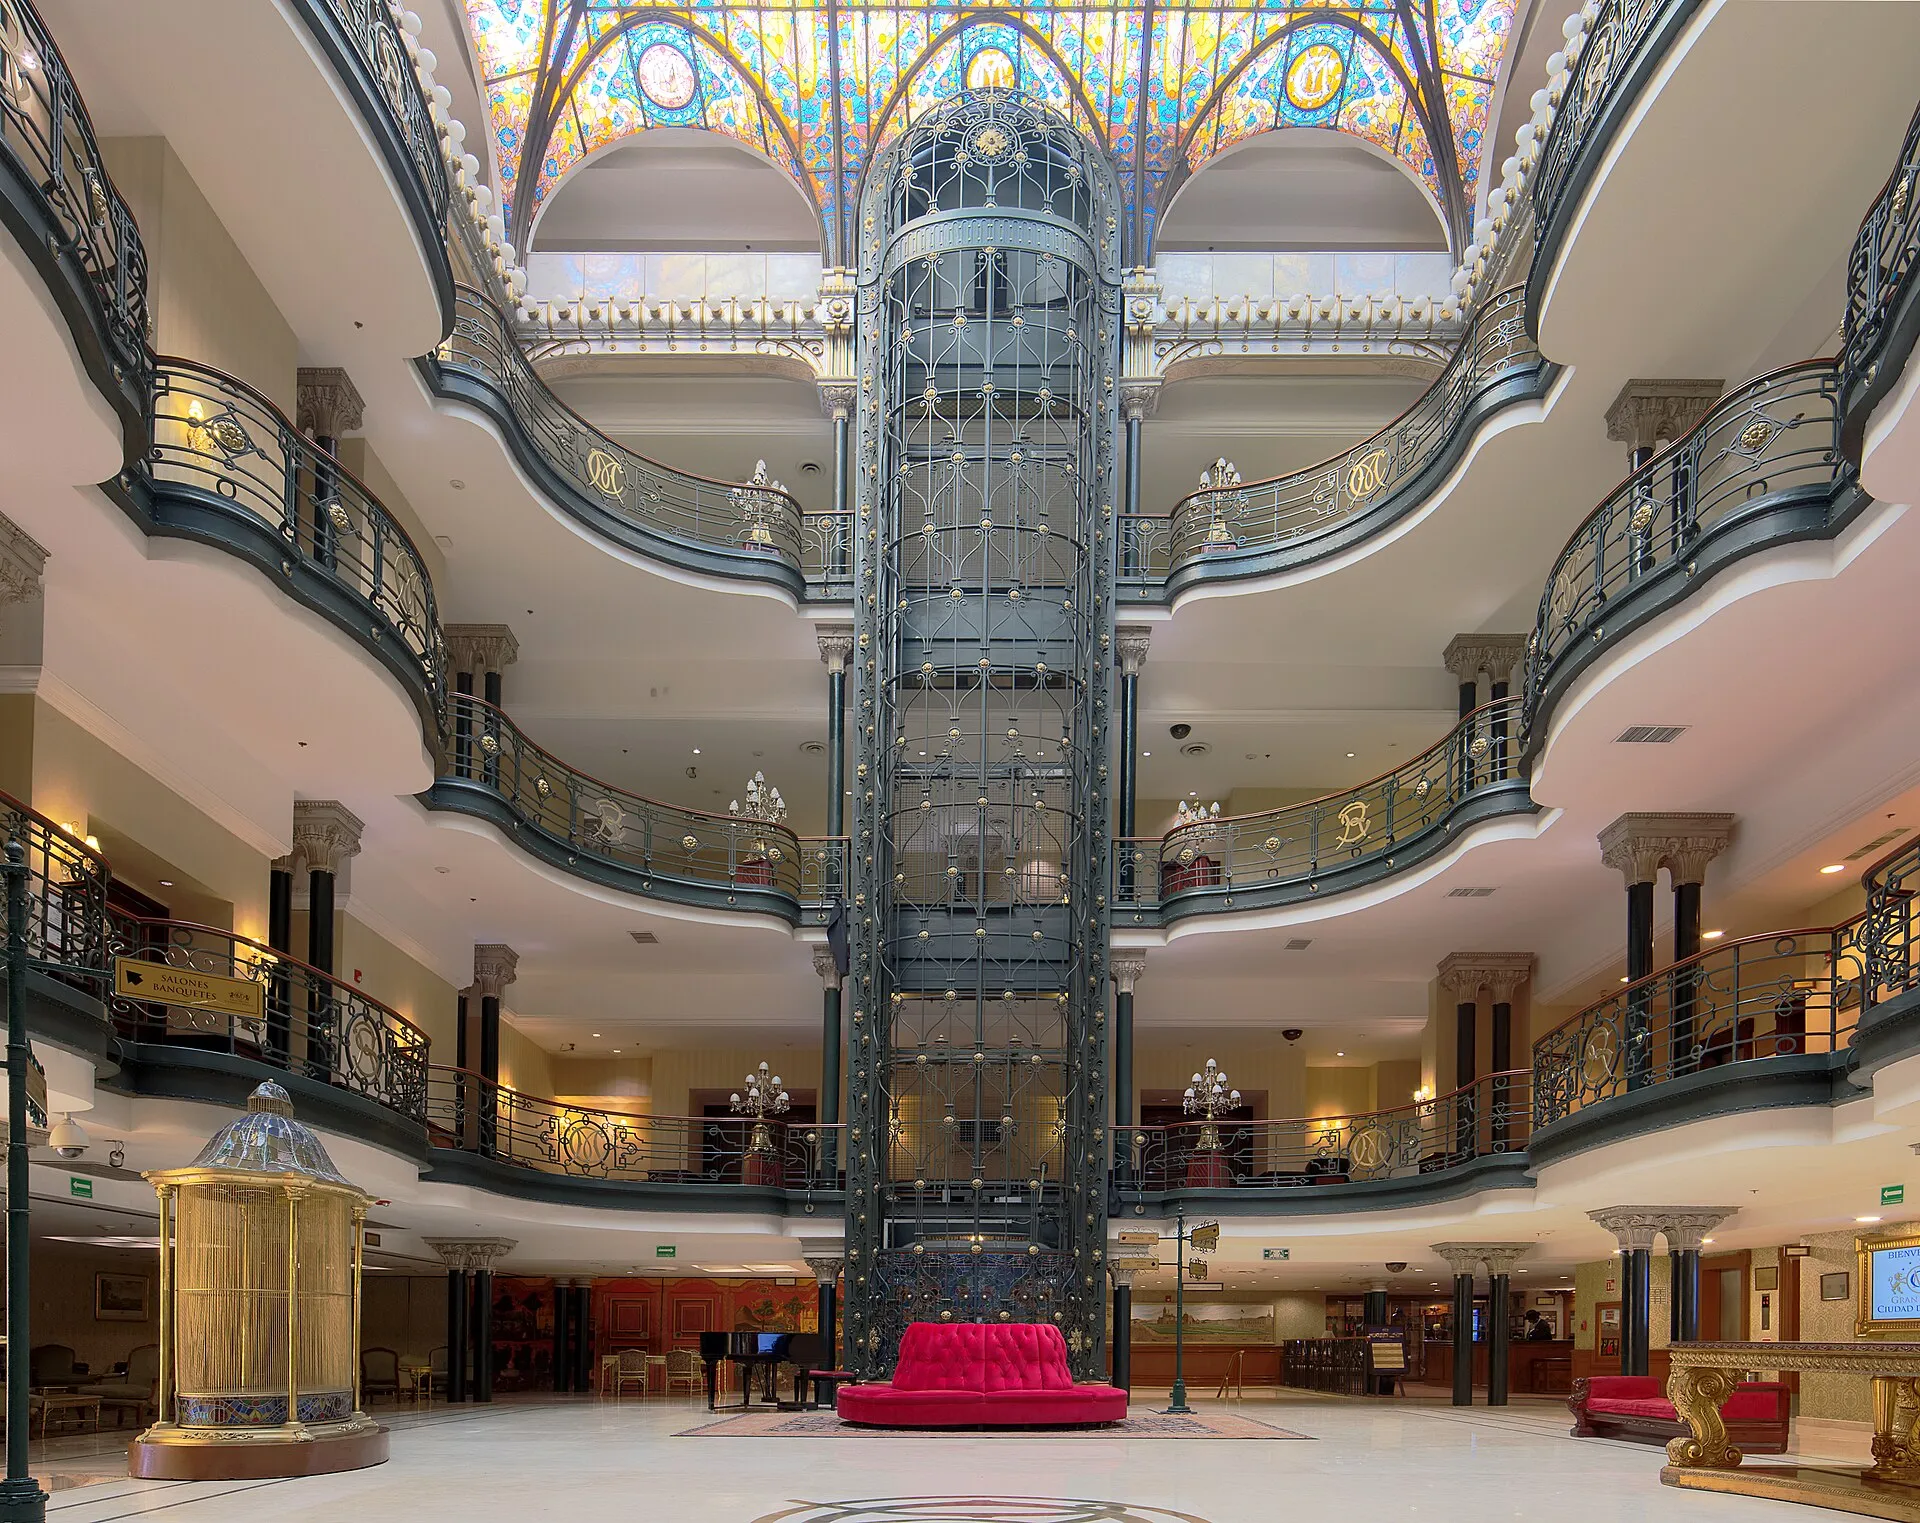
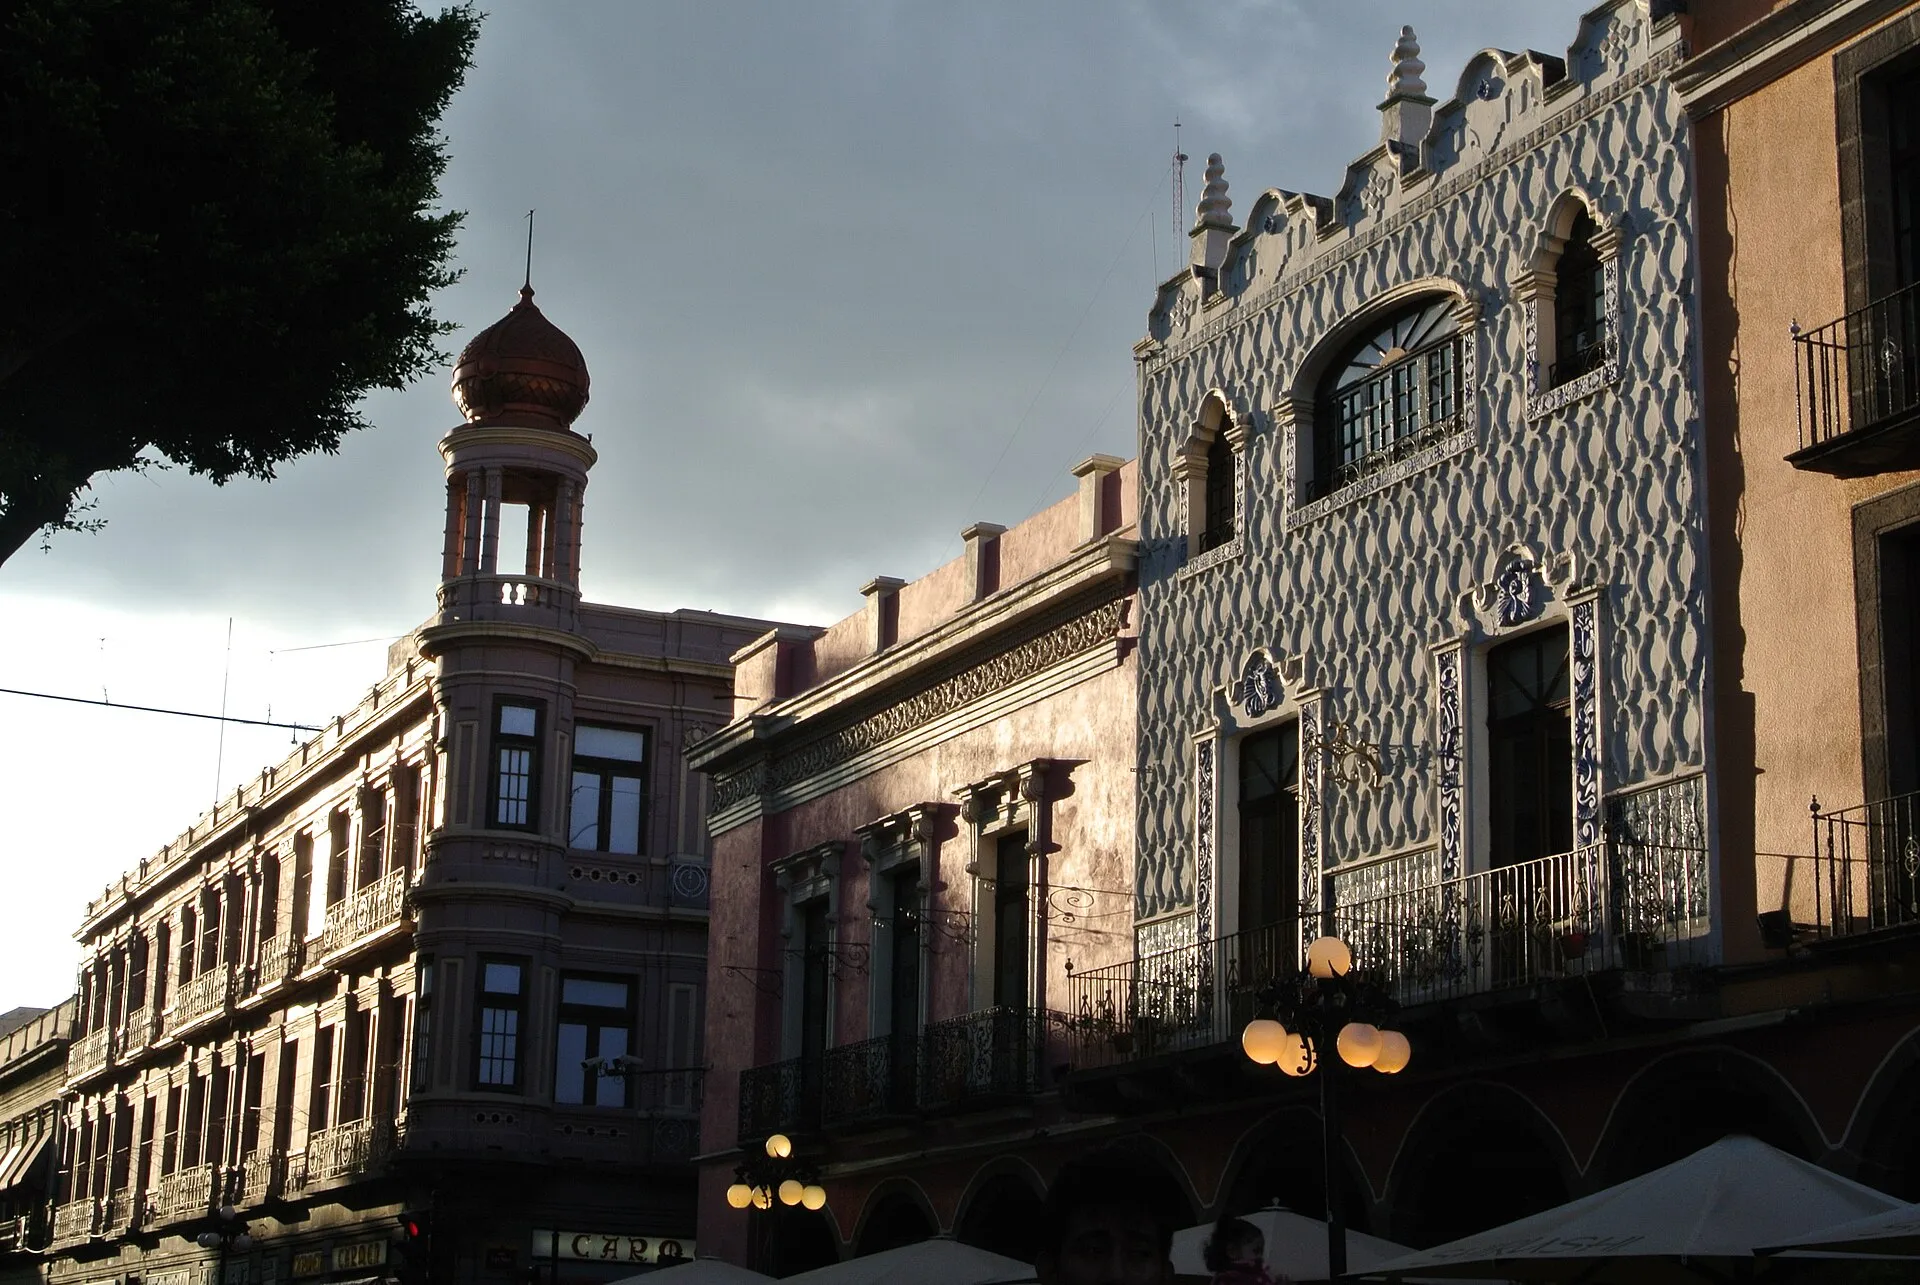
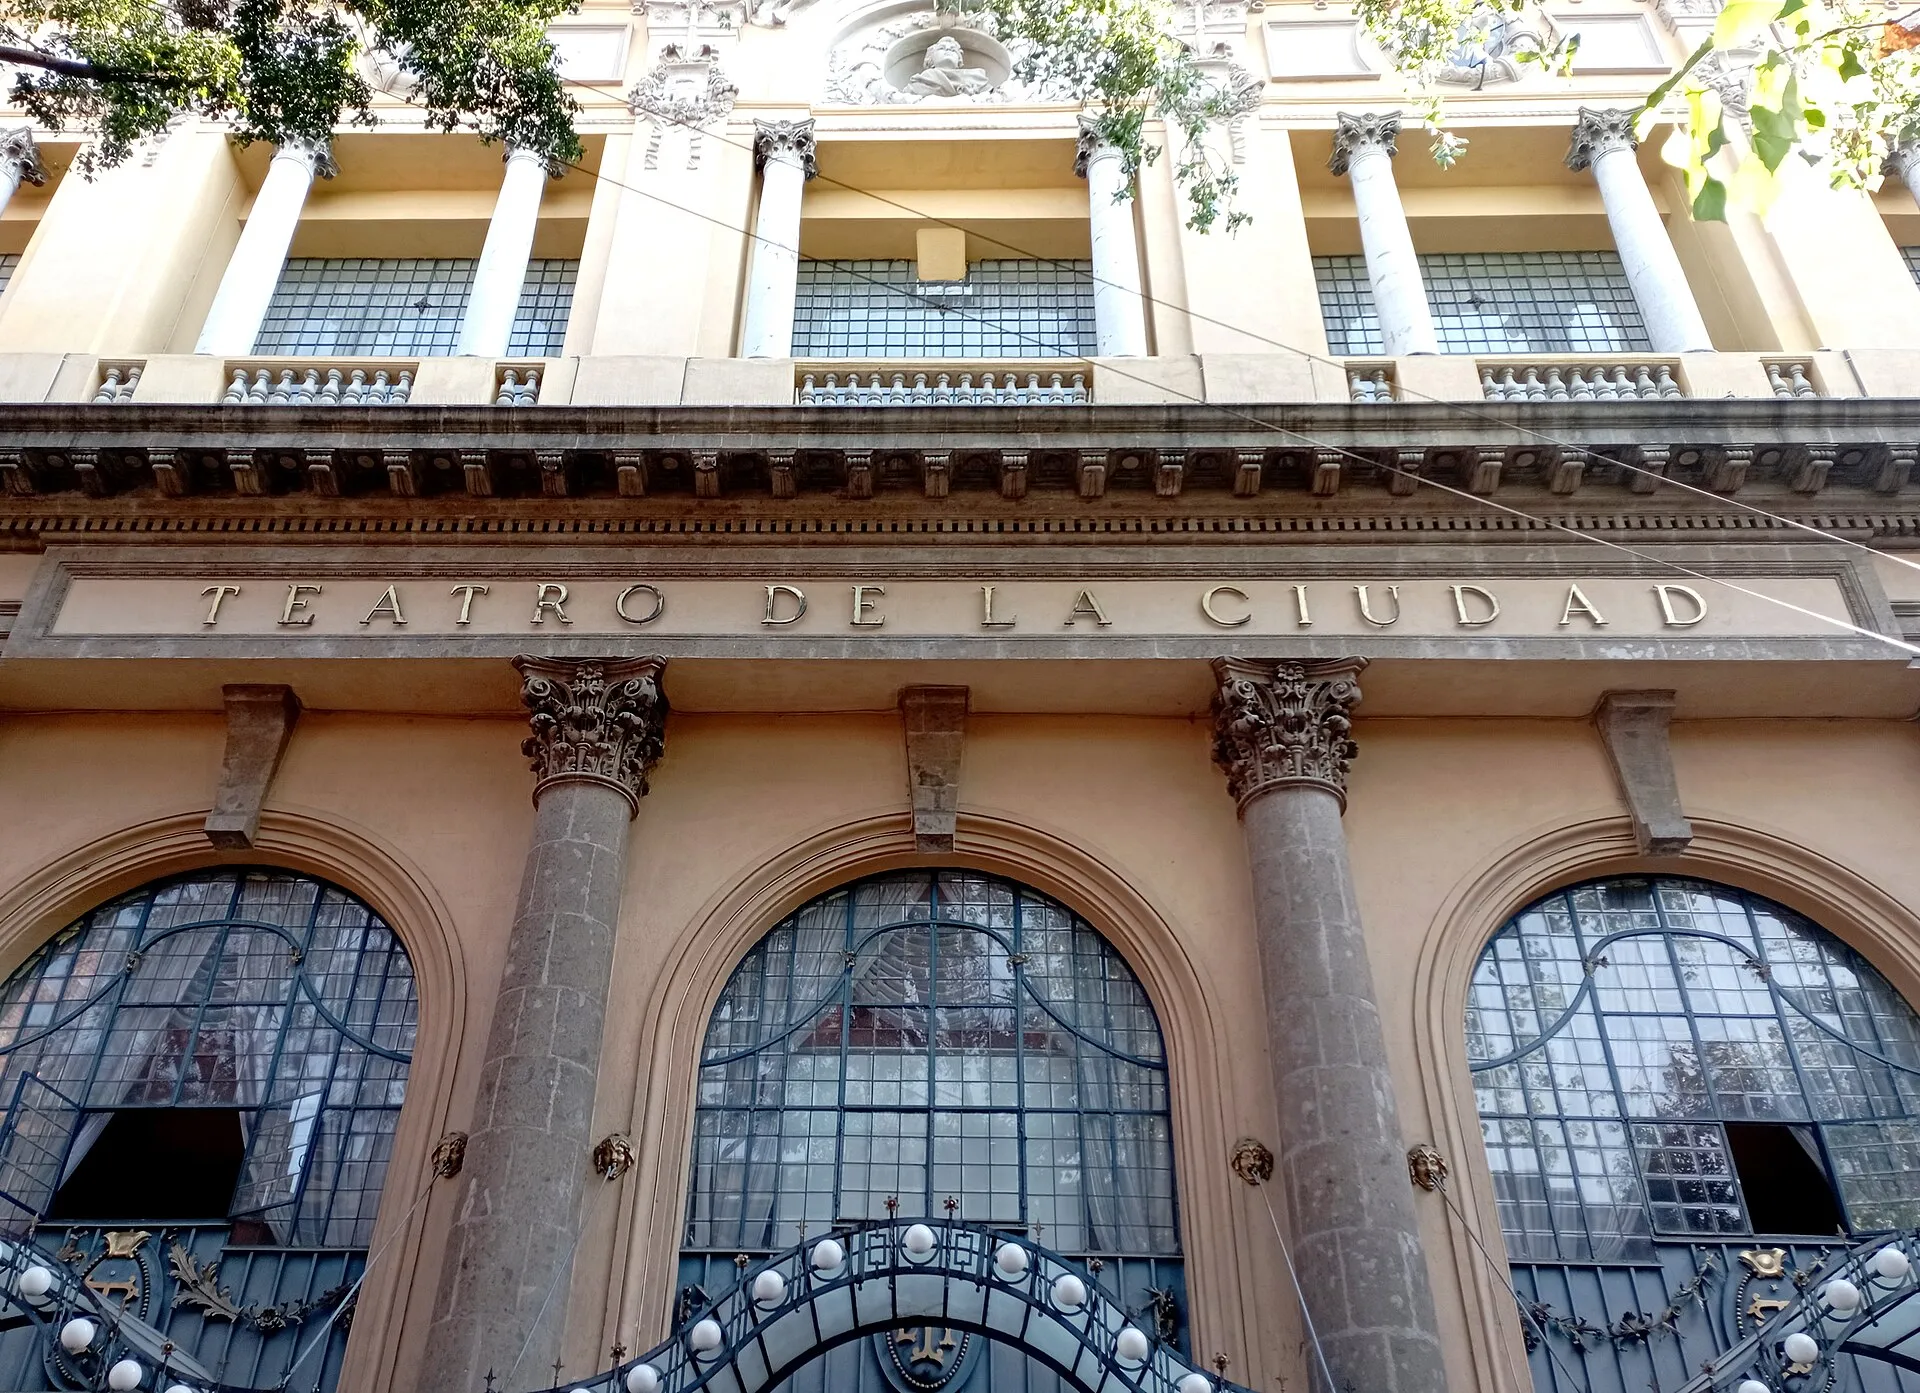
- Mexico City portrayed the fictional capital, Isthmus City. The Gran Hotel, Casino Español, Teatro de la Ciudad and Palacio Postal supplied ornate façades and interiors for the hotel, casino and government quarter.
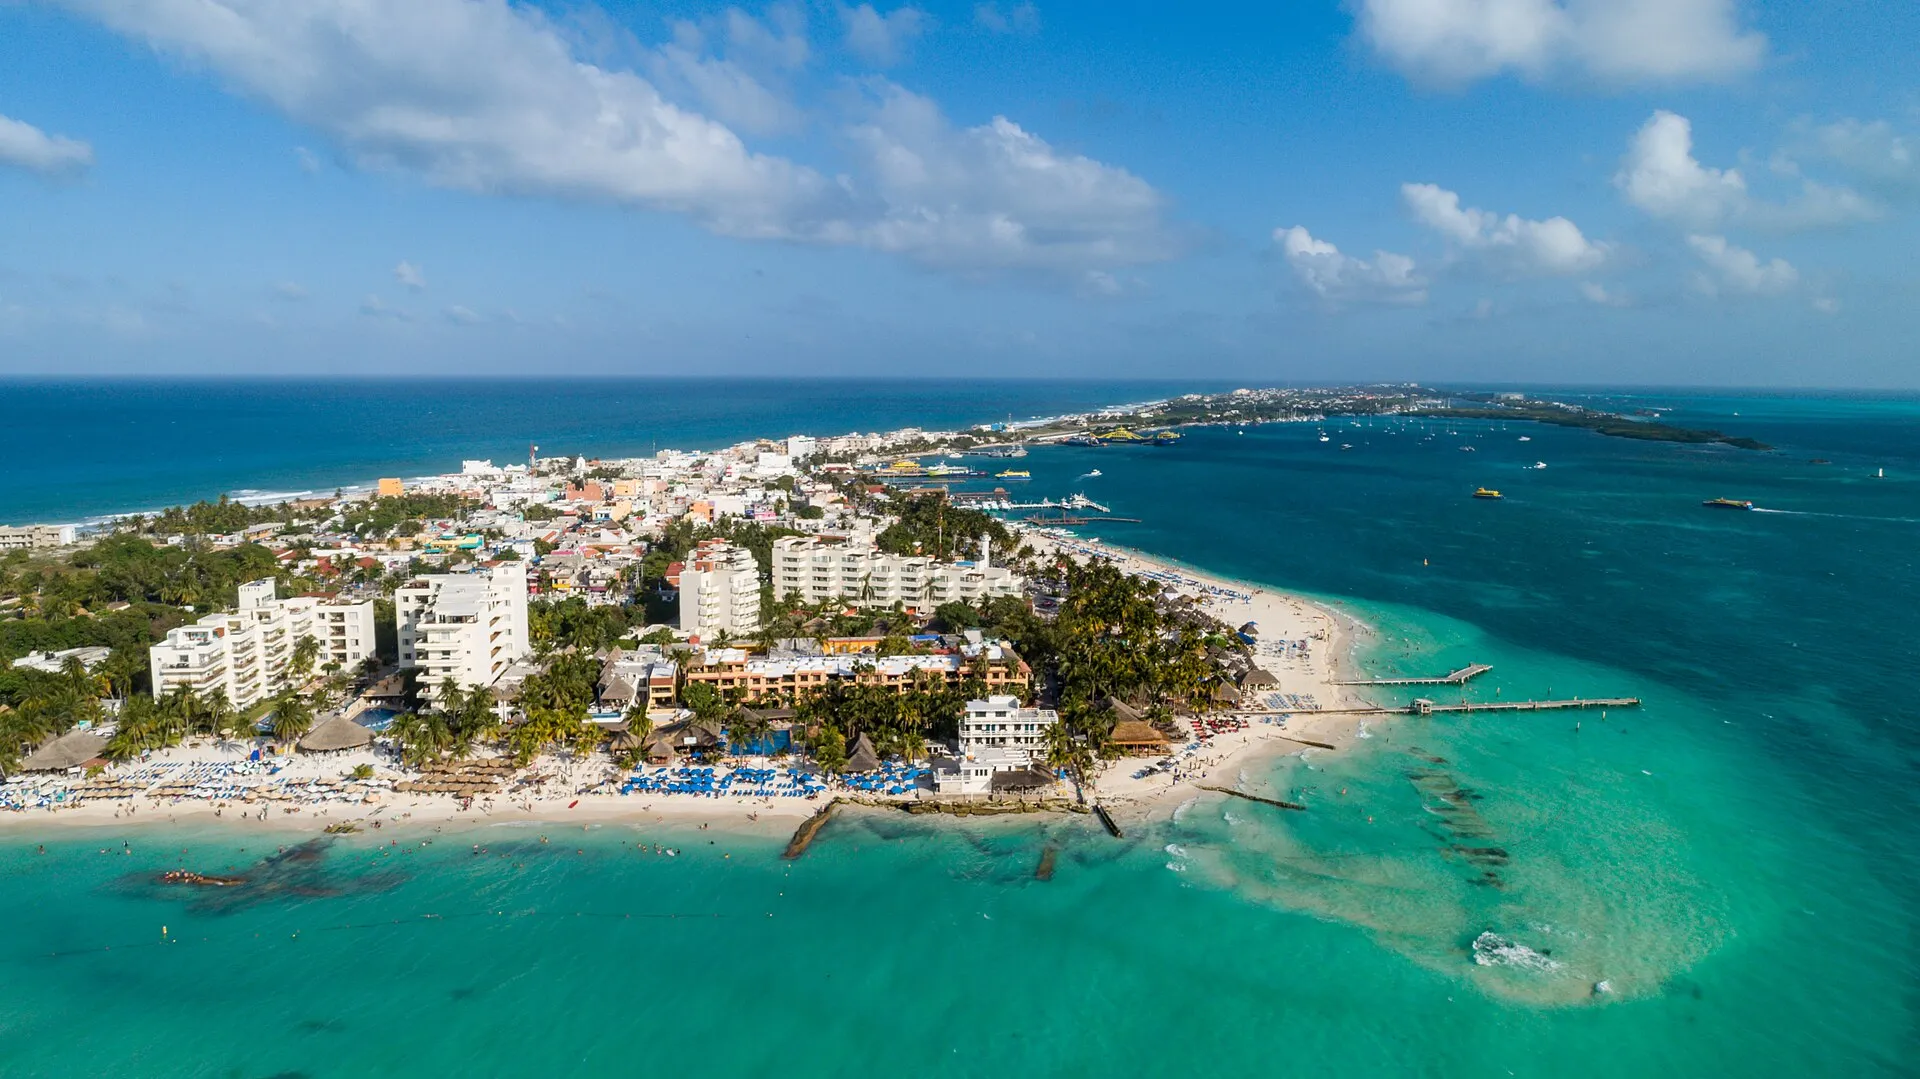
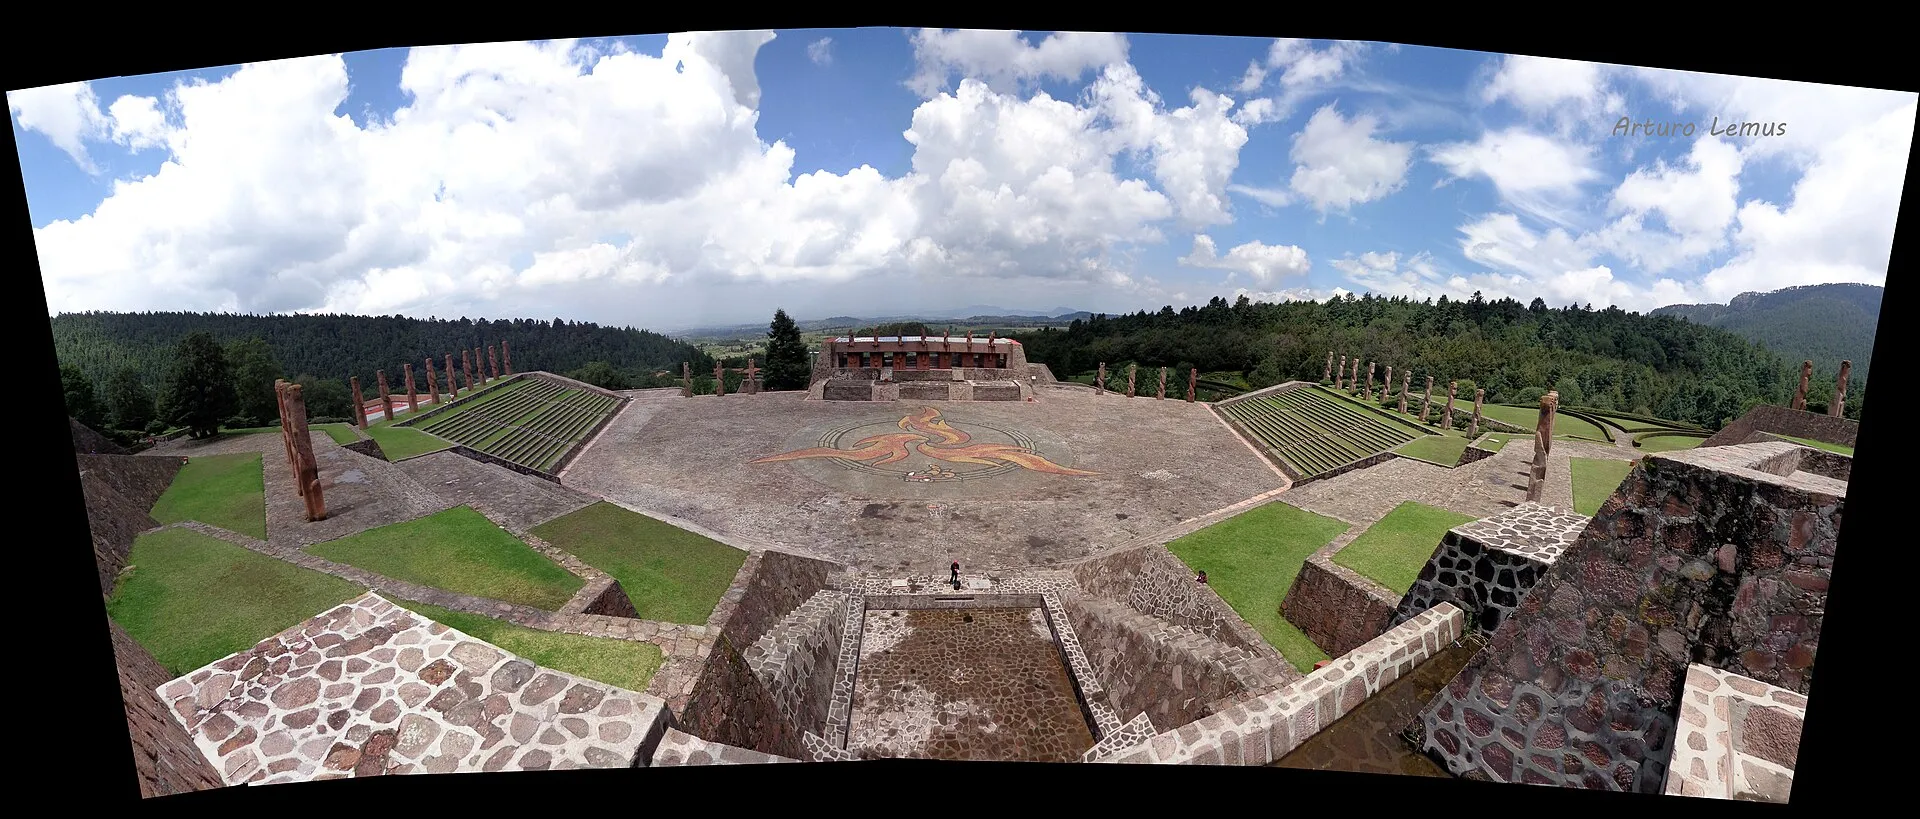
- The Centro Ceremonial Otomí near Temoaya portrayed the Olympatec Institute. Sanchez's residence was filmed at Villa Arabesque in Acapulco, while Isla Mujeres supplied the tropical coastal imagery.
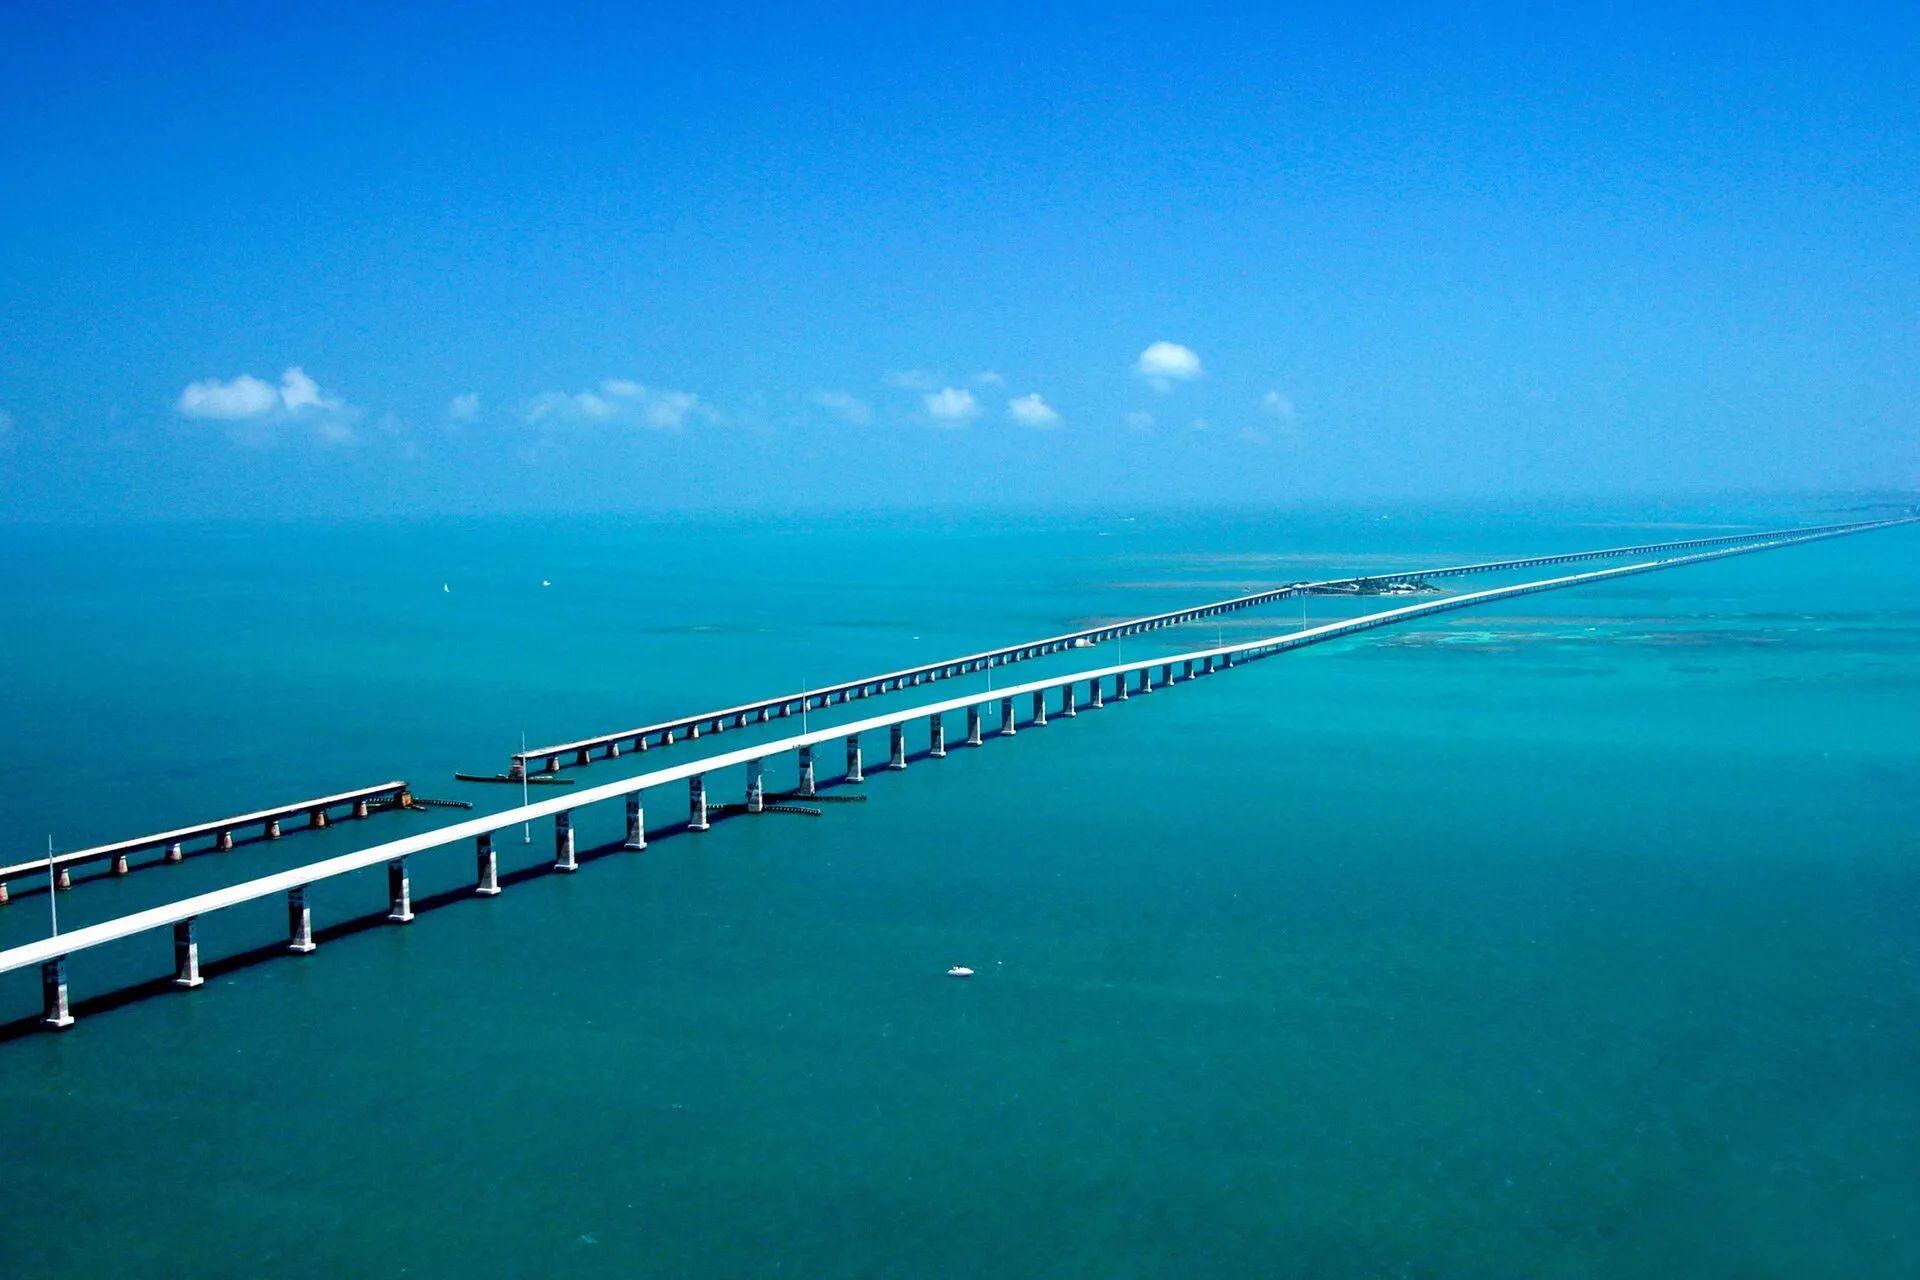
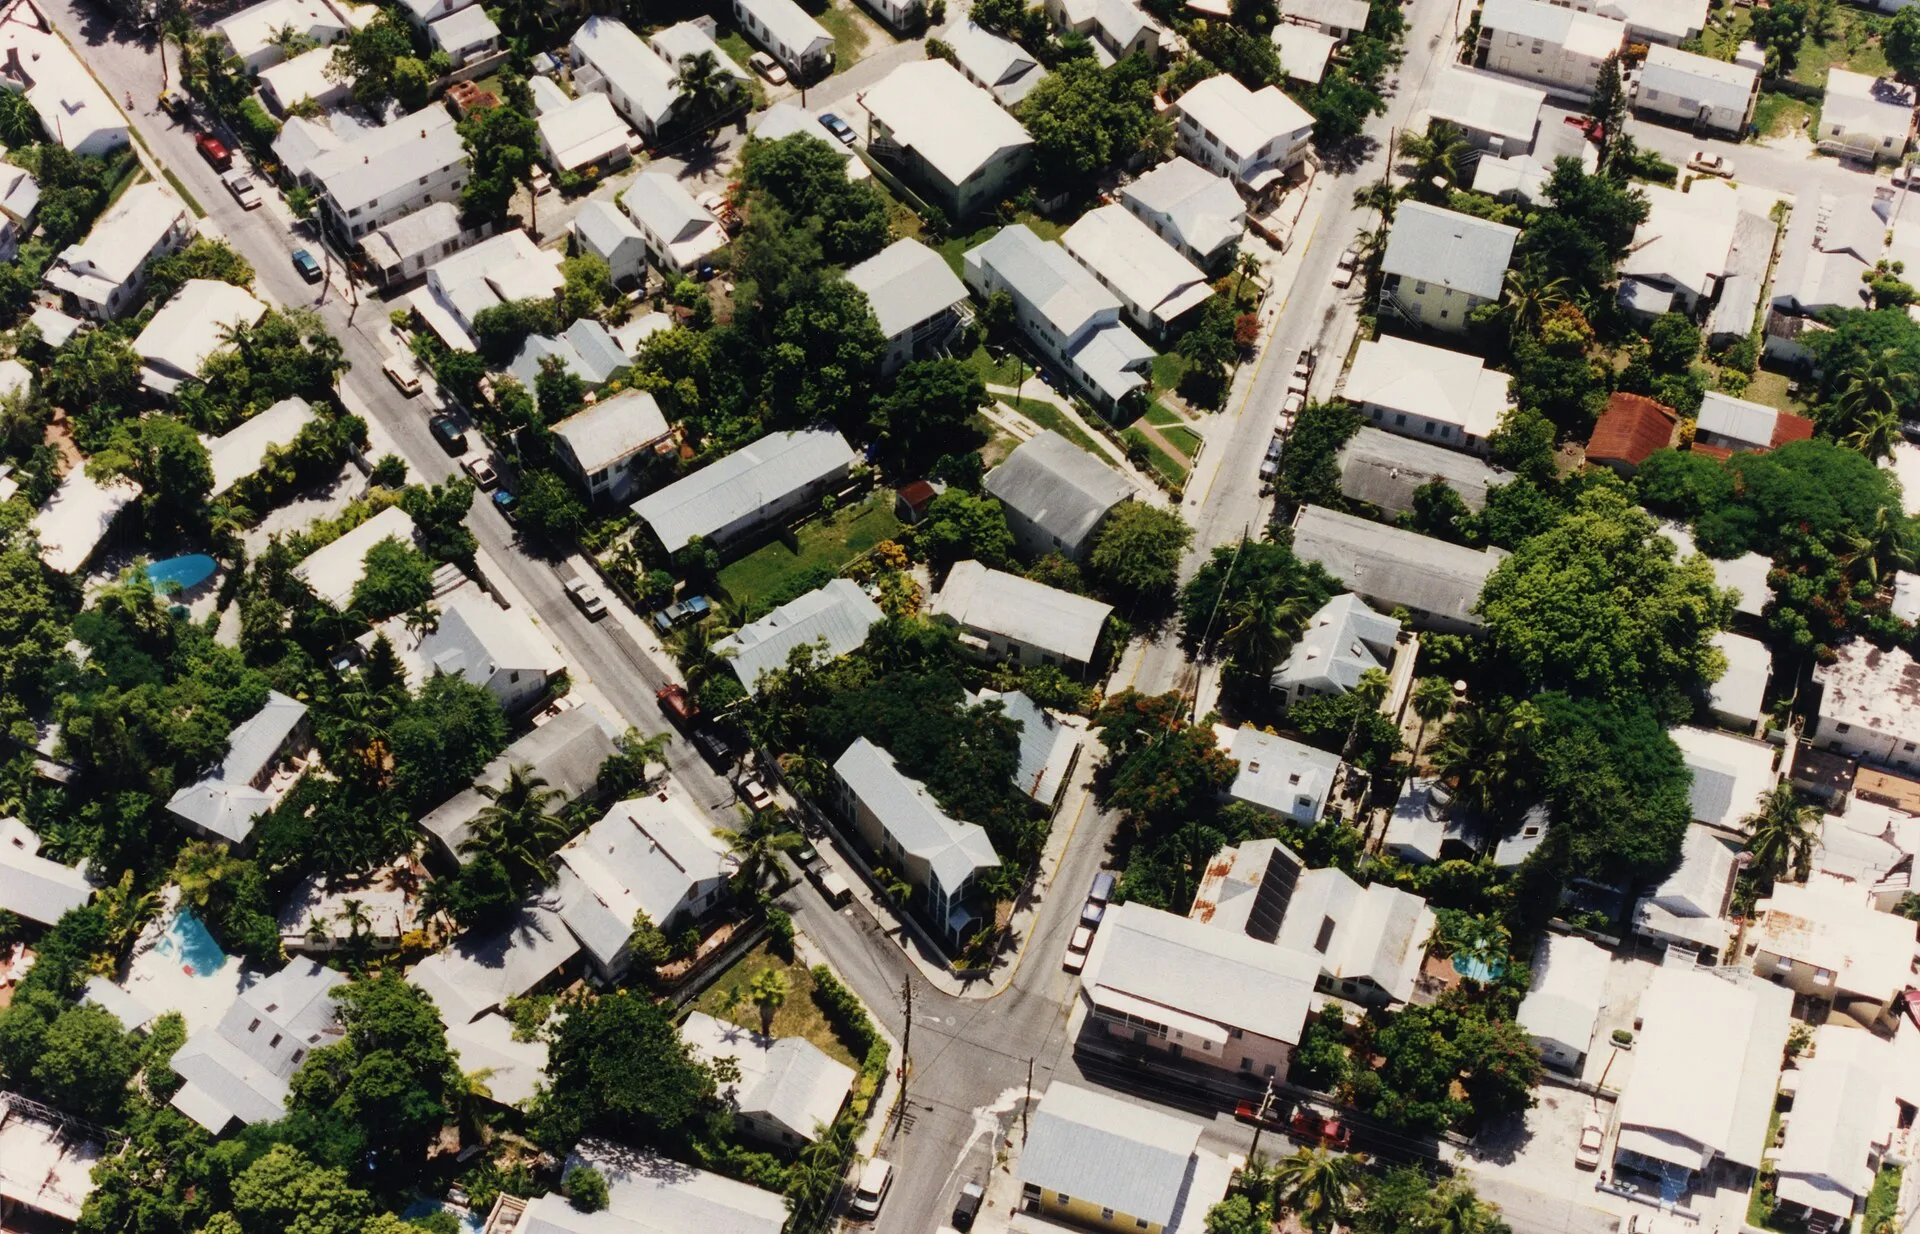
- The company spent four weeks filming in and around Key West, including the airport, Garrison Bight, Hemingway House, St Mary Star of the Sea, Seven Mile Bridge and Sugarloaf Key airfield.
- The tanker chase was filmed on the old La Rumorosa road west of Mexicali. The second unit spent 46 days on the sequence; all its major stunts were performed with real vehicles and without digital effects.
- Stunt coordinator Rémy Julienne worked with Kenworth chief engineer Larry Orr on specially modified trucks capable of side and front-wheel stunts. The three specialist vehicles were known internally as Pamela 1, 2 and 3.
- Dave Reinhardt performed the barefoot waterskiing in Bond's speedboat escape, with Dalton's closer shots added later. Simon Crane and pilot Corkey Fornof carried out the aerial stunt in which Bond drops onto Sanchez's Cessna.
- Michael Kamen scored a Bond film for the first time after John Barry's long run ended with The Living Daylights. Gladys Knight's title song reached number six on the UK singles chart and remained on the chart for eleven weeks.
- The film was John Glen's fifth and final Bond directing assignment, and the last series contribution by writer Richard Maibaum, title designer Maurice Binder, cinematographer Alec Mills, Robert Brown as M and Caroline Bliss as Moneypenny.
- Desmond Llewelyn received his largest story role to that point as Q leaves the laboratory, travels to Isthmus and works as Bond's field partner. David Hedison returned from Live and Let Die as the first actor to play Felix Leiter twice.
- In Britain the film became the first Bond entry classified 15, even after violent detail was reduced for cinemas. Its world premiere took place at the Odeon Leicester Square on 13 June 1989.
- It was Timothy Dalton's second and final Bond film and the last produced by Albert R. Broccoli. The subsequent rights and contractual disputes kept the series out of cinemas until 1995.
Images
.jpg)




.jpg)
.jpg)







Sources
- Licence to Kill – 007.com(en)accessed 8 September 2026
- Focus of the Week: Licence to Kill – 007.com(en)accessed 8 September 2026
- The vehicles of Timothy Dalton's 007 – 007.com(en)accessed 8 September 2026
- Shooting Licence to Kill's tanker chase – 007.com(en)accessed 8 September 2026
- Licence to Kill waterski escape – 007.com(en)accessed 8 September 2026
- Q-Labs gadgets – 007.com(en)accessed 8 September 2026
- Spotlight on Q – 007.com(en)accessed 8 September 2026
- Licence to Kill – AFI Catalog(en)accessed 8 September 2026
- Licence to Kill – BBFC(en)accessed 8 September 2026
- Licence to Kill – The Numbers(en)accessed 8 September 2026
- Lizenz zum Töten – JamesBond.de(de)accessed 8 September 2026
- Lizenz zum Töten – Deutsche Synchronkartei(de)accessed 8 September 2026
- Gladys Knight: Licence to Kill – Official Charts(en)accessed 8 September 2026
- Licence to Kill film locations – Movie-Locations.com(en)accessed 8 September 2026
- Licence to Kill vehicles – IMCDb(en)accessed 8 September 2026
- Licence to Kill aircraft – IMPDb(en)accessed 8 September 2026
- Licence to Kill firearms – IMFDB(en)accessed 8 September 2026
- Piper PA-18 Super Cub – Smithsonian(en)accessed 8 September 2026
- Used Aircraft Report: Beech Baron 55 – AOPA(en)accessed 8 September 2026
- Cessna 172P information manual(en)accessed 8 September 2026