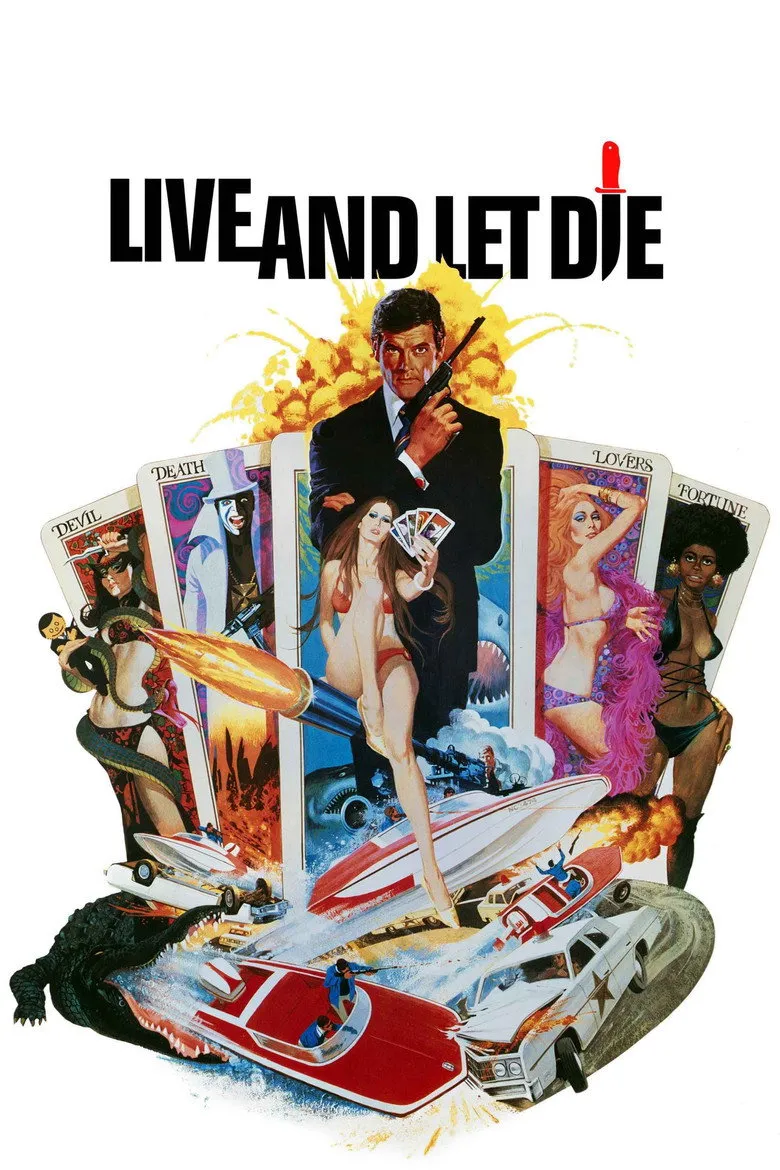
Film no. 8 · 1973 · Moore era
 Live and Let Die
Tarot, voodoo and heroin – Roger Moore's first outing between Harlem, the Caribbean and the bayous
TMDB rating: 6.5 / 10 · View on TMDB
Plot
Within hours three British agents are killed: one in the assembly hall of the United Nations in New York, one at a voodoo ceremony on the Caribbean island of San Monique, one in a funeral procession in New Orleans. M wakes James Bond at dawn in his flat and sends him to New York to watch Dr. Kananga, the prime minister of San Monique. Driving in from the airport, Bond's chauffeur is killed by a poison dart. The trail leads to a Harlem restaurant called the Fillet of Soul and to the mob boss Mr Big, whose reader Solitaire sizes Bond up with her tarot cards.
On San Monique Bond's contact Rosie Carver turns out to be working for the other side and dies before she can talk. Bond sails to Solitaire's house, deals her a stacked deck and seduces her – which costs her the gift of second sight. Together they find the poppy fields that supply Kananga's heroin: as Mr Big he intends to give away two tons of it, ruin his competitors and then own the market. The two escape to the airfield in a double-decker bus.
In New Orleans Bond and Solitaire walk into another trap. Kananga leaves Bond stranded on a crocodile farm; he escapes across the animals' backs, blows up the drug laboratory and flees by speedboat through the bayous with Sheriff J. W. Pepper in pursuit. Back on San Monique Bond destroys the poppy fields and saves Solitaire from being sacrificed. In Kananga's underground base the fight ends above the shark pool.
Facts
- James Bond
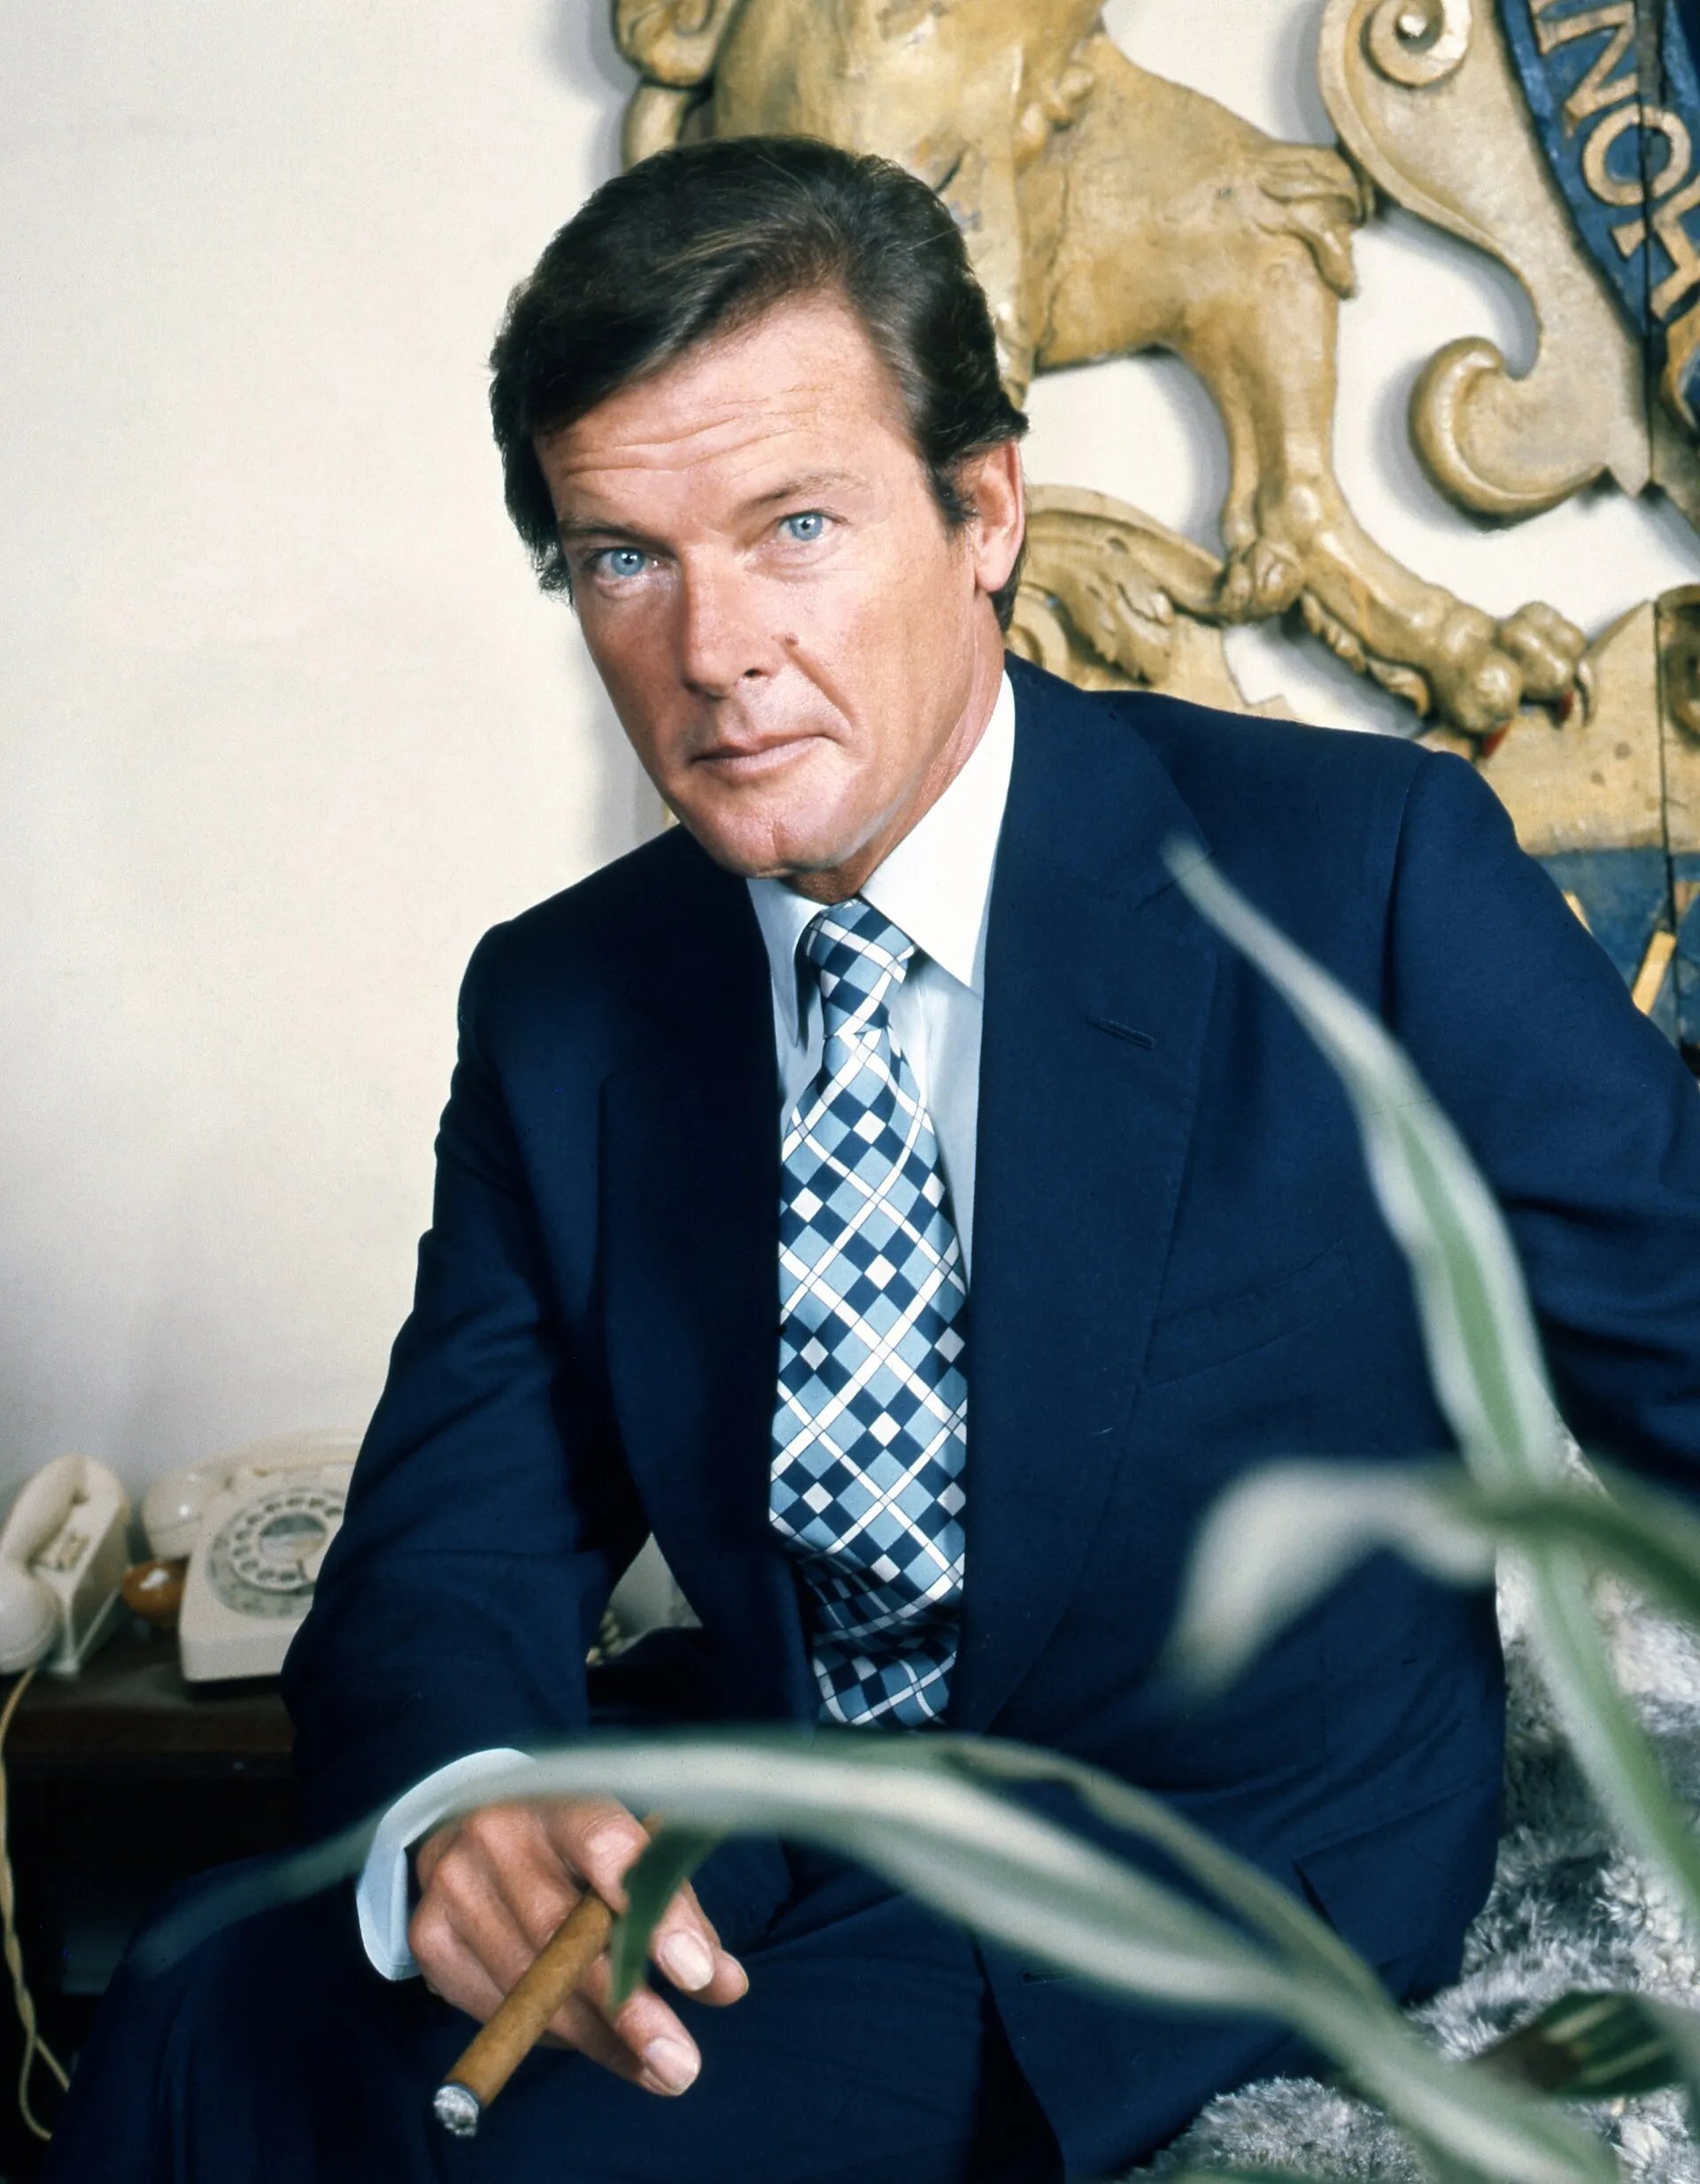
- Roger Moore
- Director
- Guy Hamilton
- Screenplay
- Tom Mankiewicz
- Producers
- Harry Saltzman and Albert R. Broccoli
- Music
- George Martin
- Title song
- „Live and Let Die“Paul McCartney and Wings
- Based on
- Ian Fleming: „Live and Let Die“1954
- Running time
- 121 minutes
- Budget
- $7 million
- Box office
- $162 millionworldwide (Wikipedia en, citing The Numbers); the most successful Bond film up to that point
- Release
- UK: 6 July 1973US: 27 June 1973Germany: 19 December 1973
Travel route and filming locations
Gold numbers trace Bond's journey through the story, light markers show the real filming locations. Each layer can be hidden separately.
Bond's route · 12 stops
M and Miss Moneypenny turn up at dawn and put Bond onto Dr. Kananga; the Italian agent Miss Caruso disappears into the wardrobe.
London, Bond's flat → New York · ≈ 5,565 km
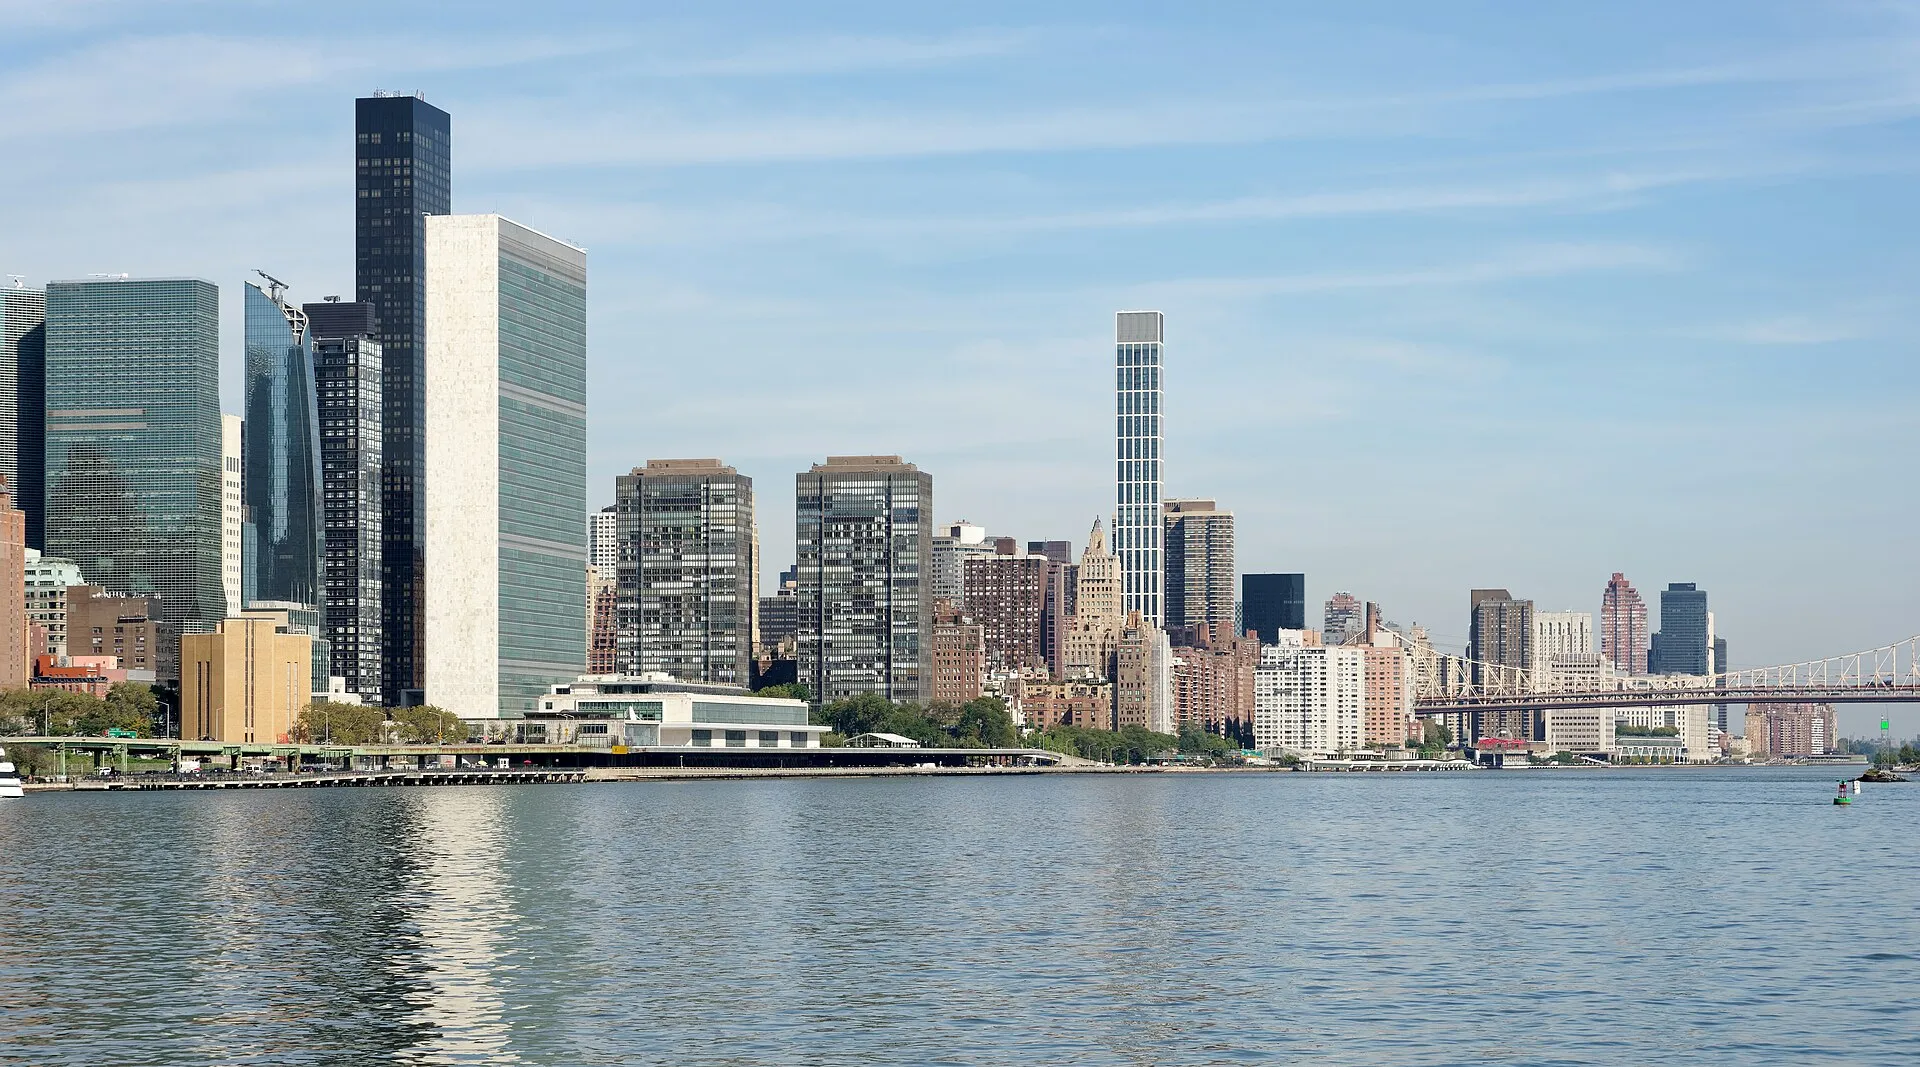
In the pre-title sequence a British agent dies here in the United Nations assembly hall. Bond lands in New York and on the drive into town his CIA chauffeur is killed by a poison dart.
New York → Harlem, New York · ≈ 7 km
A voodoo shop leads Bond to the Fillet of Soul restaurant and so to Mr Big. Solitaire reads his cards, Tee Hee bends his Walther PPK, and only the CIA man Strutter gets him out.
Harlem, New York → San Monique, coast · ≈ 2,509 km
Fictional Caribbean island state, filmed in Jamaica. Bond takes a bungalow and meets Rosie Carver and Quarrel Jr.; Rosie turns out to be Kananga's double agent and is shot before she can talk.
San Monique, coast → San Monique, Solitaire's house · ≈ 9 km
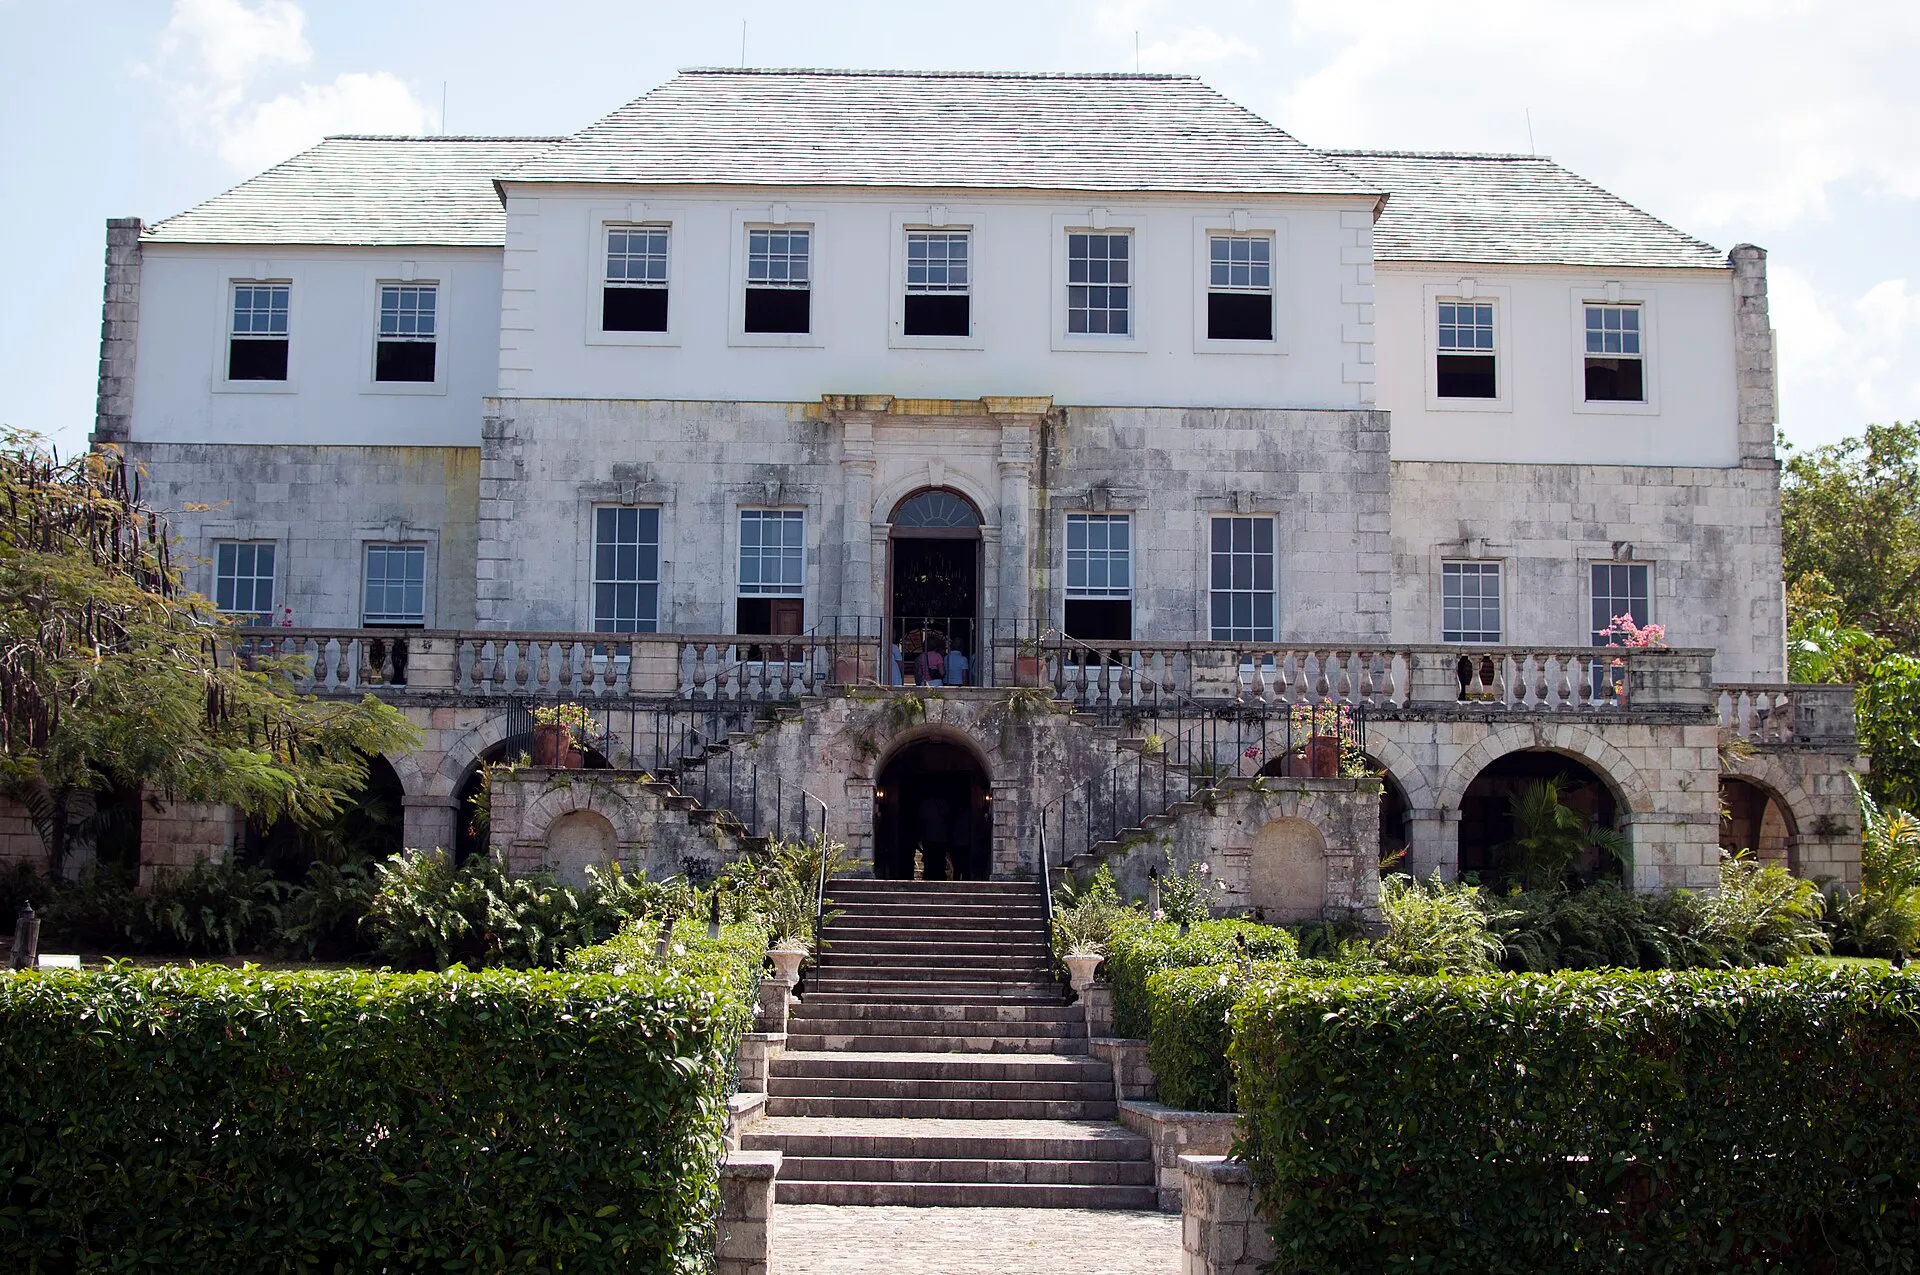
Fictional location, filmed at Rose Hall Great House near Montego Bay. Bond deals Solitaire a deck made up entirely of "The Lovers" and seduces her; she loses both her second sight and Kananga's protection.
San Monique, Solitaire's house → San Monique, poppy fields · ≈ 12 km
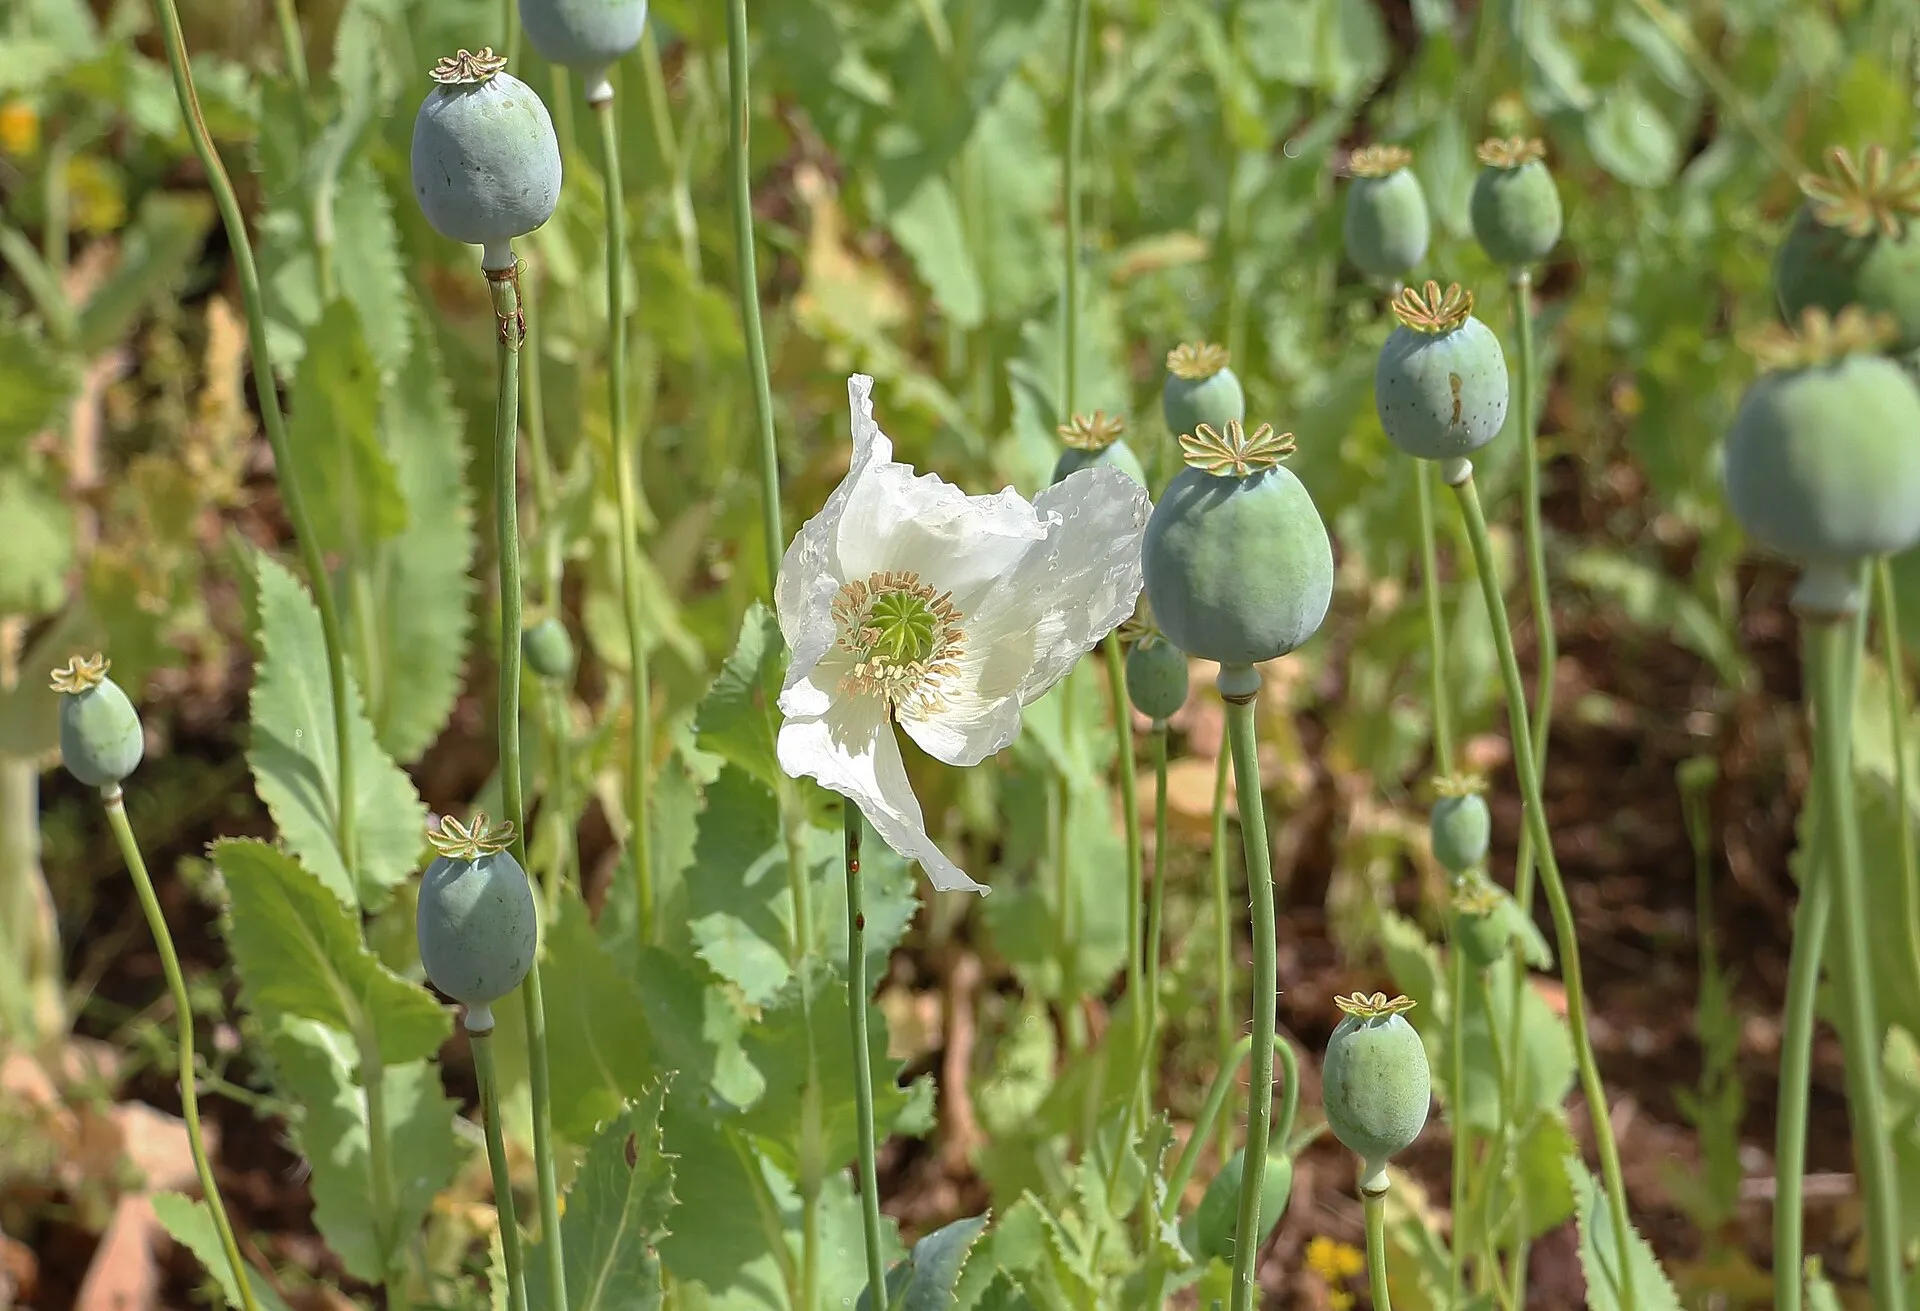
Behind the island's hills lie the opium poppy fields that supply Kananga's heroin. Mr Big peels off his mask and reveals himself as Kananga; Bond and Solitaire escape to the airfield in a double-decker bus.
San Monique, poppy fields → New Orleans, airfield · ≈ 1,811 km
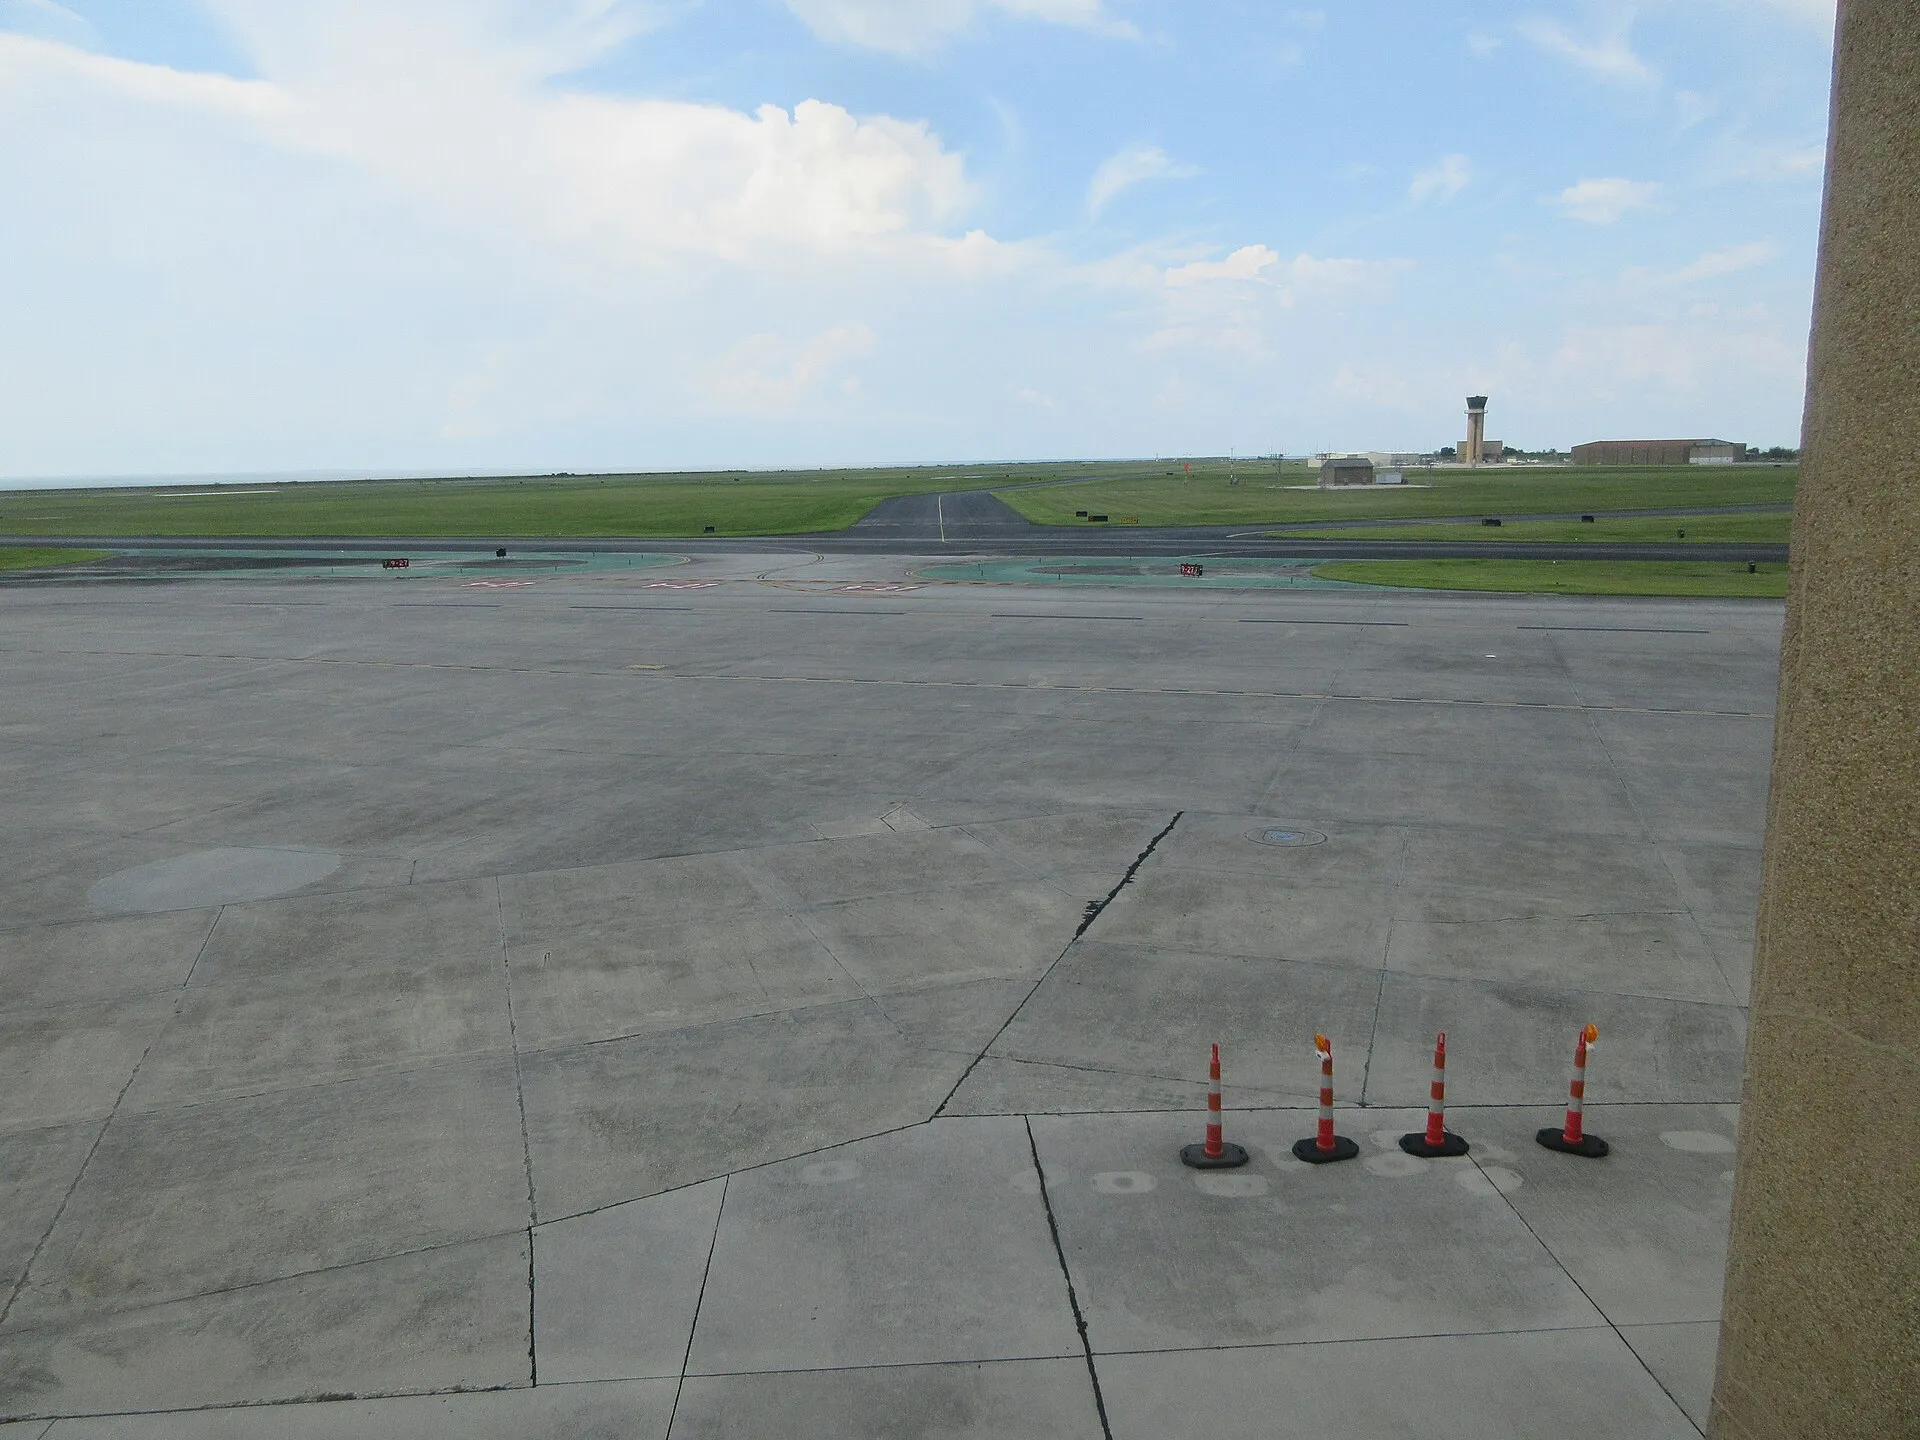
On the apron of the Bleeker Flying School Kananga's men chase Bond between the parked aircraft. He commandeers a Cessna along with student pilot Mrs Bell and shears off its wings driving through a hangar.
New Orleans, airfield → New Orleans, French Quarter · ≈ 10 km
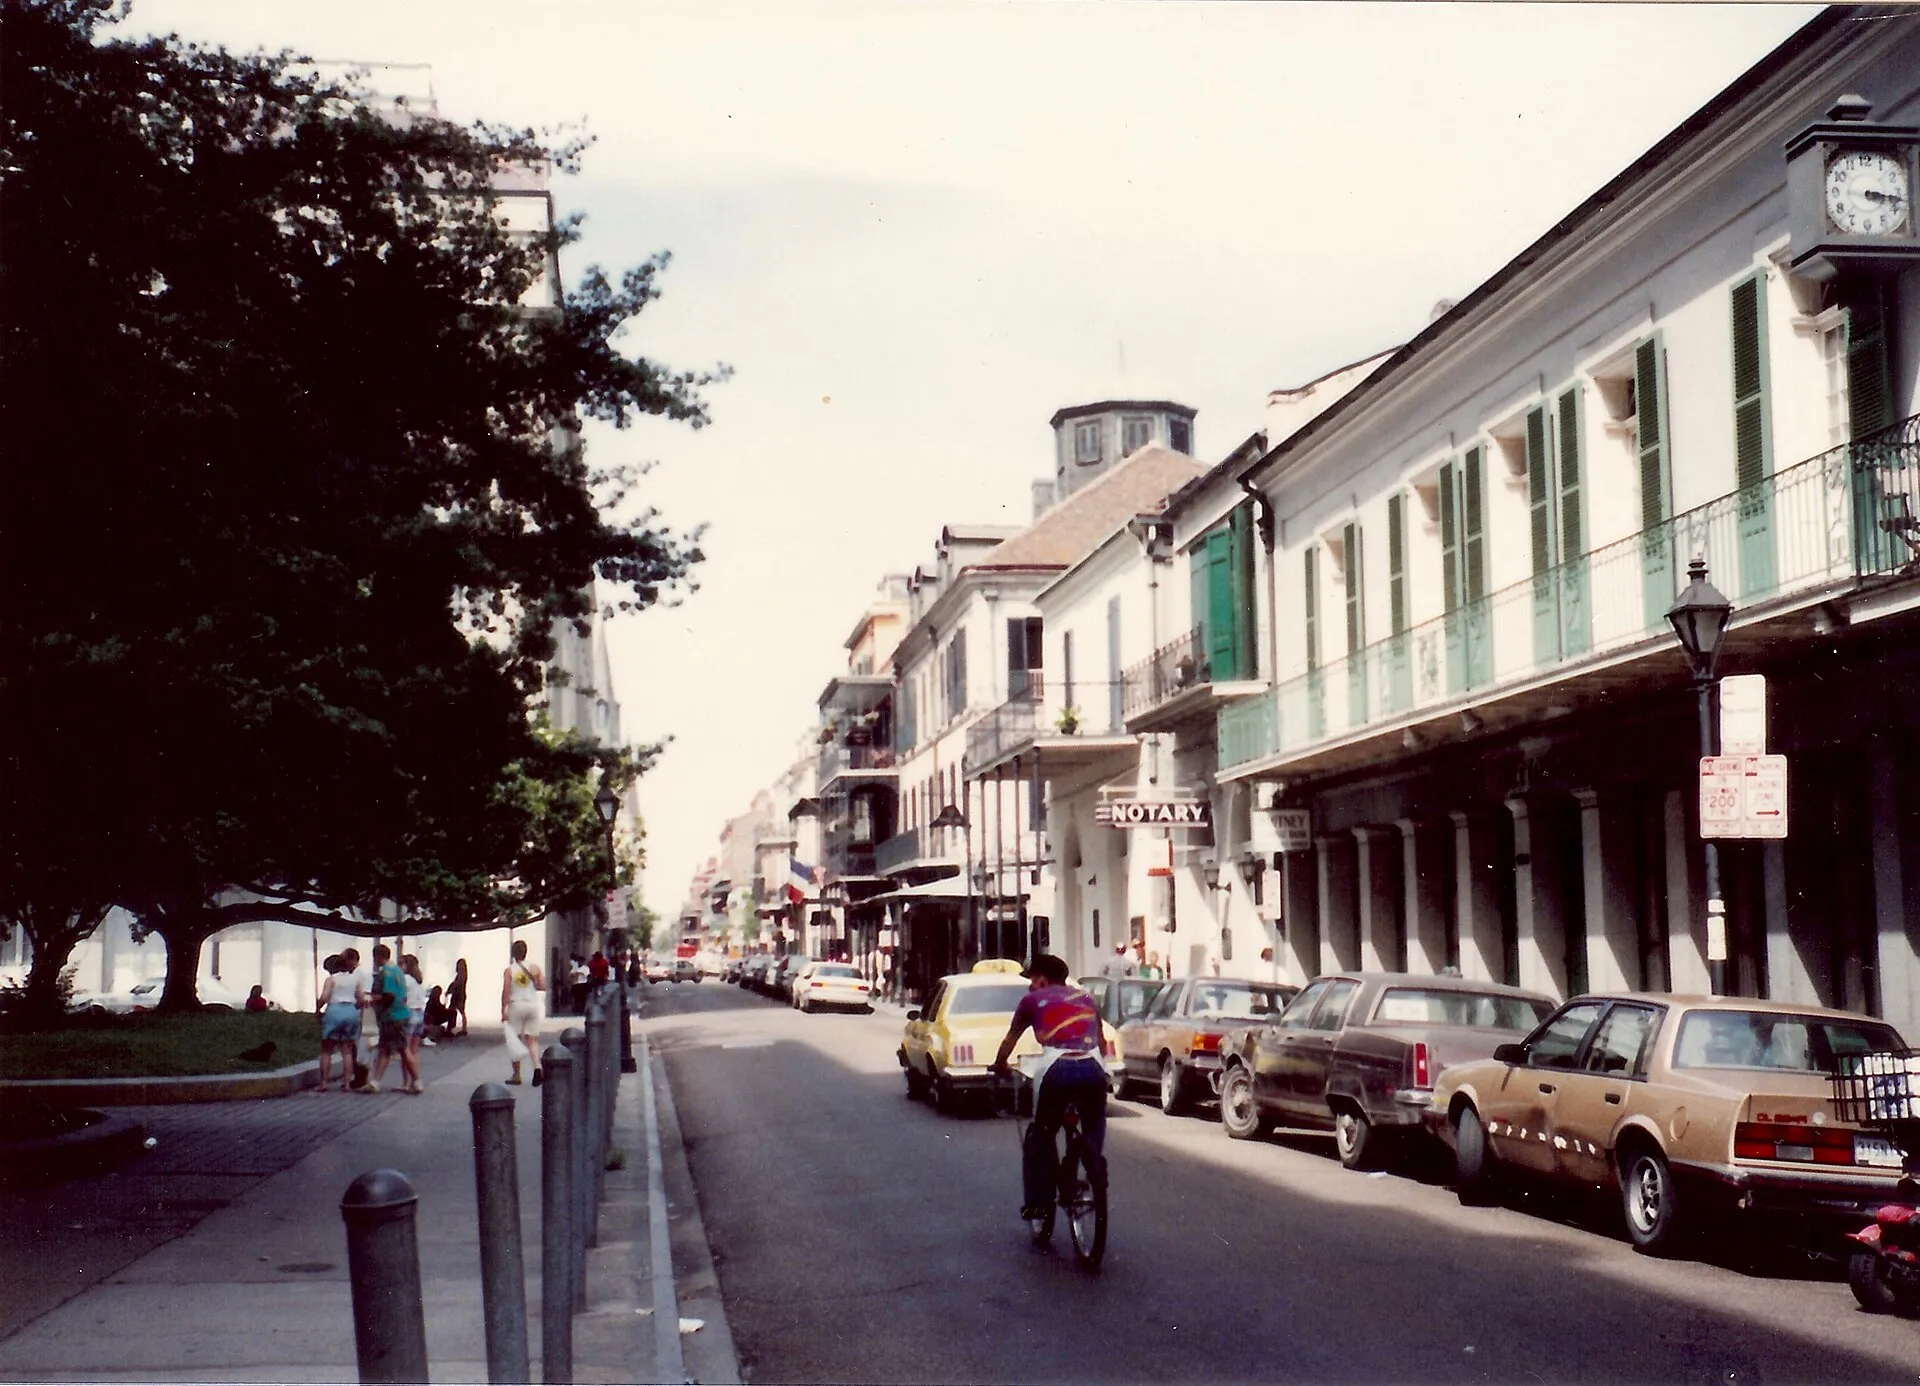
This is where agent Hamilton was stabbed in the middle of a jazz funeral in the pre-title sequence. In the local Fillet of Soul Bond now vanishes through a revolving wall and falls into Kananga's hands.
New Orleans, French Quarter → Kananga's crocodile farm and the bayous · ≈ 28 km
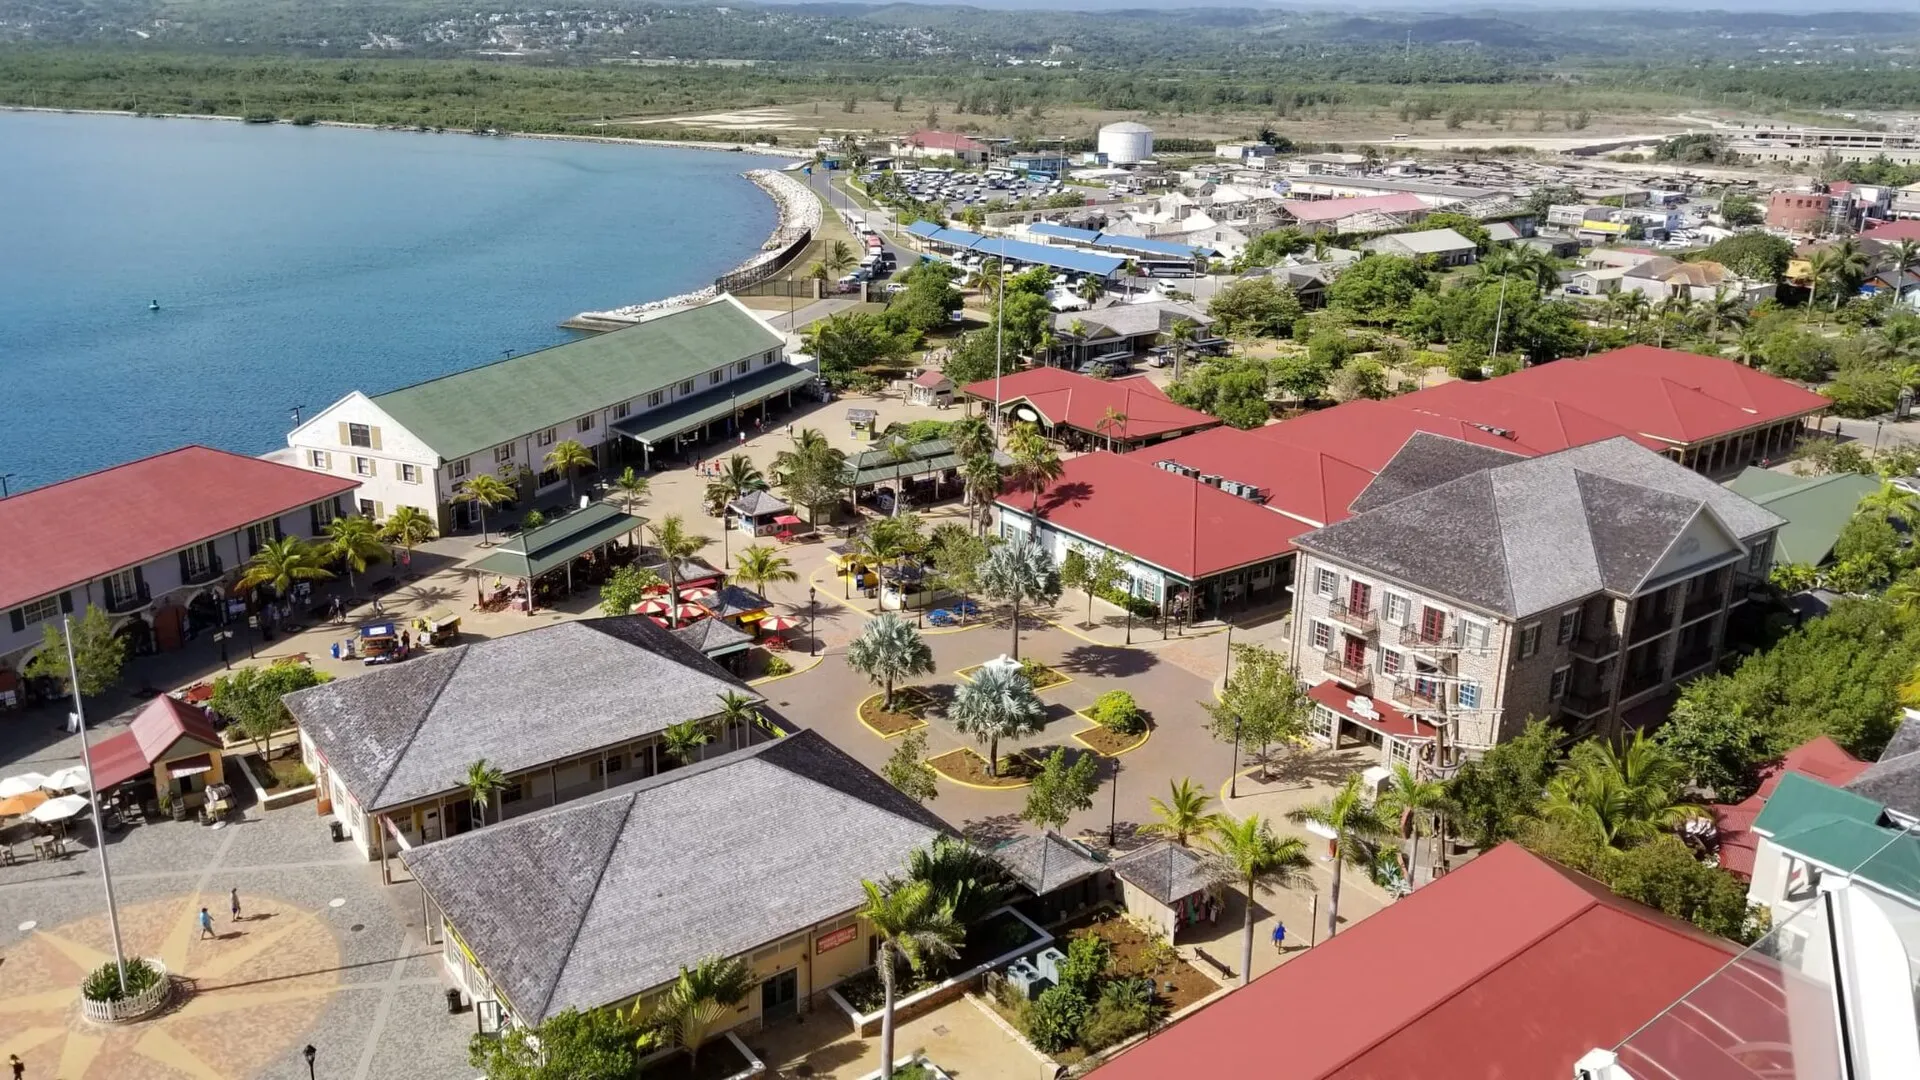
Fictional farm in the swamps outside New Orleans, filmed in Falmouth, Jamaica and at Irish Bayou. Bond escapes across the crocodiles' backs, blows up the heroin laboratory and flees by speedboat through the canals while Sheriff J. W. Pepper takes up the chase.
Kananga's crocodile farm and the bayous → San Monique, graveyard · ≈ 1,783 km
Fictional location, filmed on a purpose-built set between Montego Bay and Falmouth. Bond and Quarrel Jr. blow up the poppy fields; at the voodoo ceremony Solitaire is to be sacrificed, and Bond knocks Baron Samedi into a casket full of snakes.
San Monique, graveyard → San Monique, Kananga's underground complex · ≈ 36 km
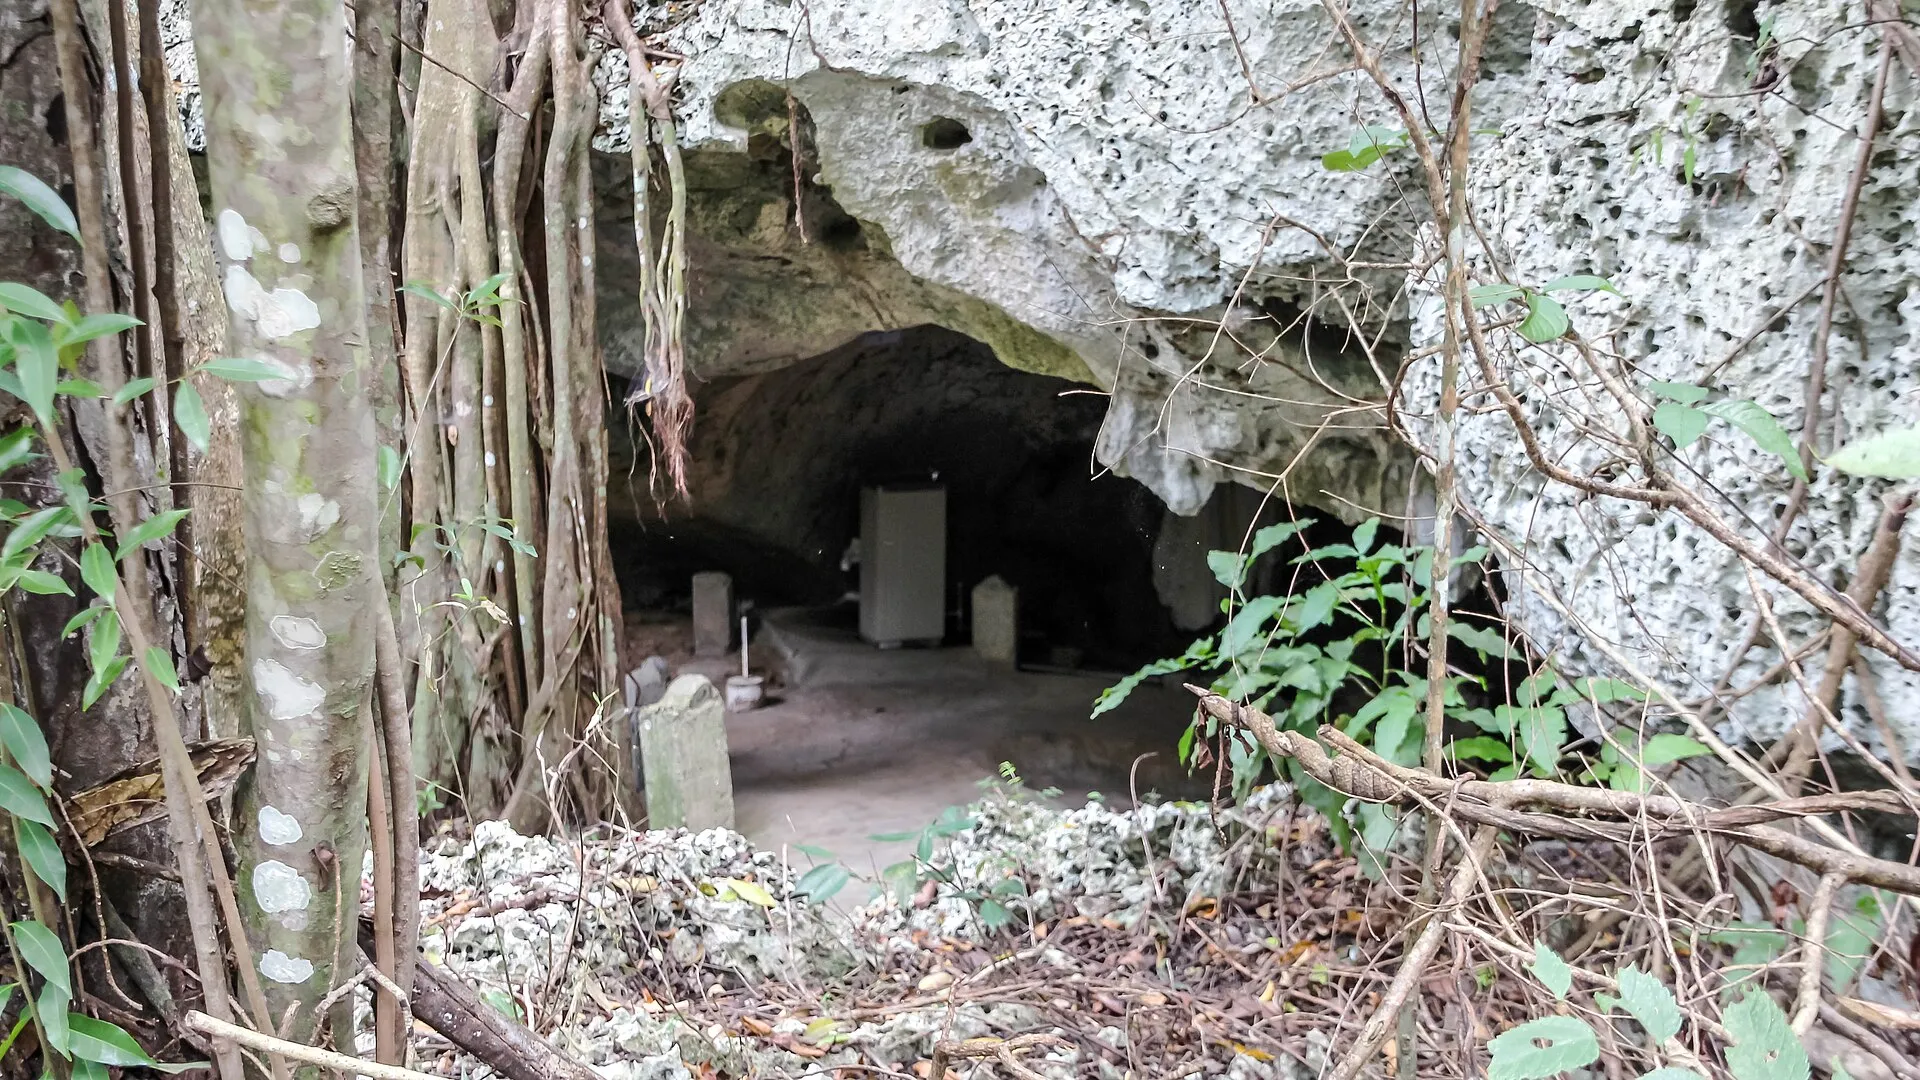
Fictional headquarters beneath the graveyard, filmed in the Green Grotto Caves near Discovery Bay. Above the shark pool Bond forces a compressed-gas pellet into his opponent's mouth, inflating him until he bursts.
San Monique, Kananga's underground complex → On the train · ≈ 19 km
The film leaves the train's destination open. Tee Hee climbs aboard for revenge; Bond cuts the wires of his prosthesis and throws him out of the window. On the roof sits Baron Samedi, laughing.
Filming locations · 18
Pre-title sequence: the British delegate dies in the assembly hall as his headphones deliver a lethal tone
The voodoo shop where Bond follows the trail of Mr Big's organisation
doubles for Lenox Avenue at 124th Street, Harlem (United States)
Exteriors of the Fillet of Soul and the streets standing in for Harlem
The few genuine Harlem shots, including the brawl after Bond's escape from the restaurant
The car chase after Whisper kills Bond's driver with a poison dart
The jazz funeral with the Olympia Brass Band in which agent Hamilton and later a henchman are stabbed
The Bleeker Flying School, Bond's flight with Mrs Bell and the chase among the parked aircraft
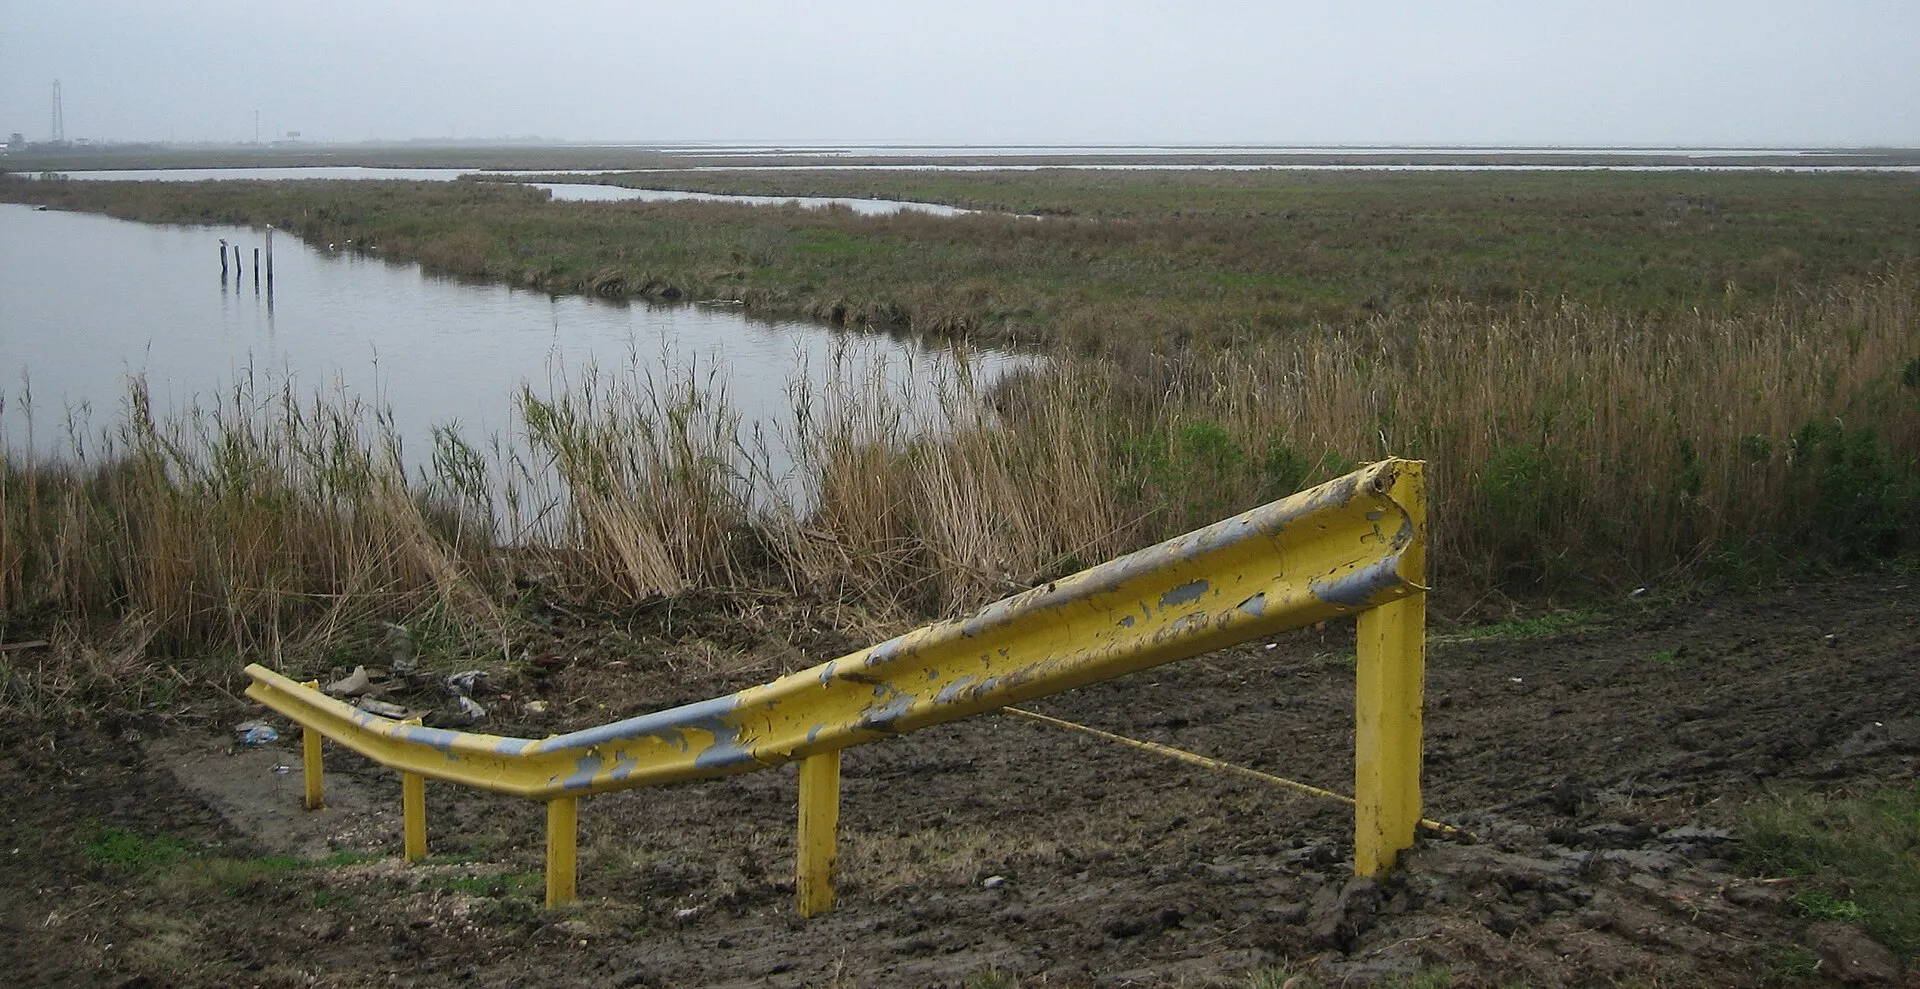
Most of the boat chase including the ramp jump; the canals around Treasure Isle were used over twenty-four shooting days, with flooding interrupting work several times
Further stretches of the boat chase and the death of the henchman Adam among the rusting wrecks
Arrival shots in Louisiana; the airport was still called Moisant Field at the time
doubles for San Monique
Kananga's underground complex with the shark pool and jetty – the setting of the finale
doubles for Kananga's crocodile farm outside New Orleans (United States)
The crocodile pool, Bond's run across the animals and the destruction of the heroin lab; the "Trespassers will be eaten" sign really did hang on the gate
doubles for San Monique
Kananga's residence with Solitaire's card room; the waterfall behind the house lies on Bond and Solitaire's escape route
doubles for San Monique
Bond's bungalow on San Monique and the veranda where Rosie Carver serves breakfast
doubles for San Monique
The double-decker bus chase with its sheared-off top deck, plus the derelict wharf where Bond boards the yacht
doubles for San Monique
A purpose-built graveyard for the voodoo ceremonies and Baron Samedi's appearances
doubles for San Monique
Baron Samedi's cabaret act for the tourists and further hotel scenes on San Monique
Interiors: Bond's flat, the Fillet of Soul restaurants with their revolving walls, Kananga's cave headquarters with the shark pool and the train compartment of the final fight
Characters and cast
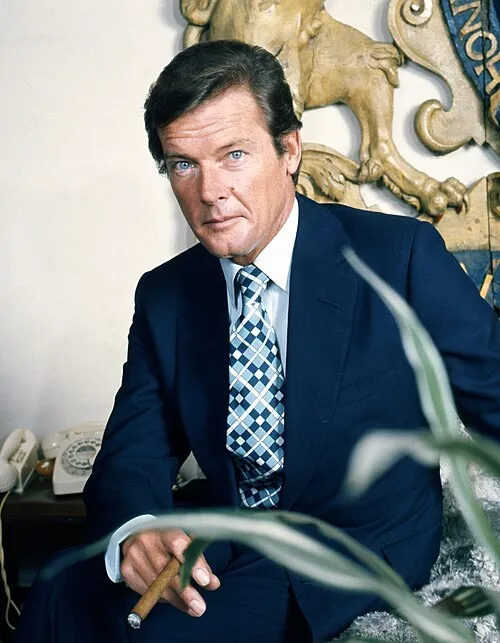
Bond girls
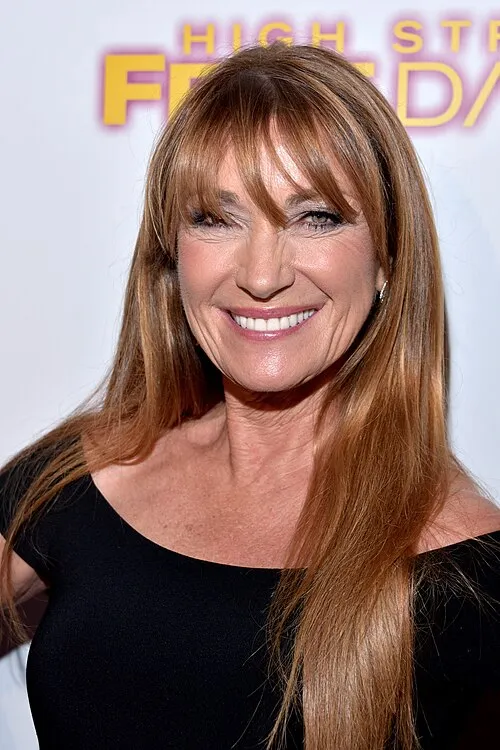
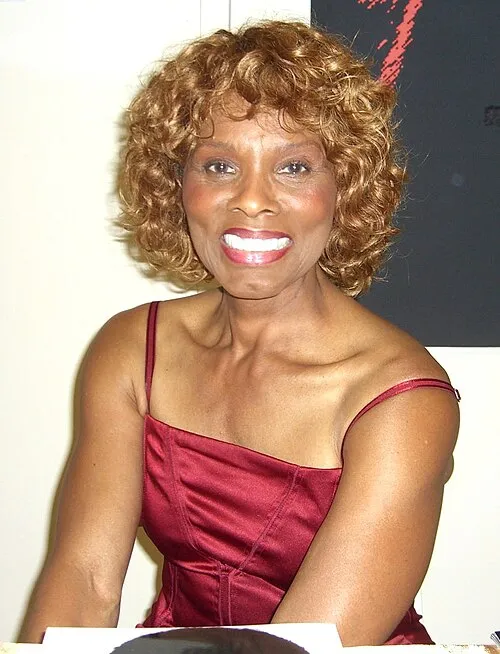
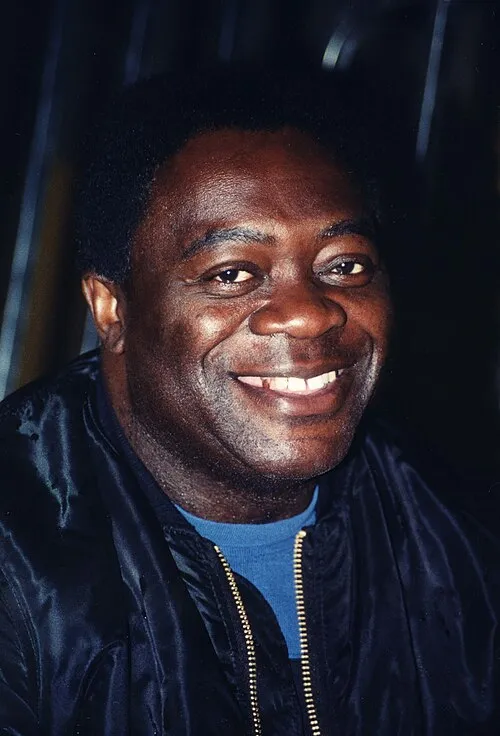
Henchmen
- Tee Hee JohnsonJulius W. HarrisHenchman with a steel prosthetic arm who bends Bond's Walther PPK with his pincer
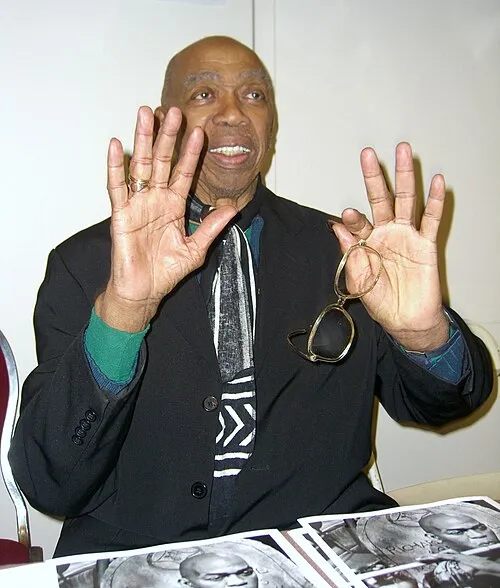 Baron SamediGeoffrey HolderThe Trinidadian dancer and choreographer plays the laughing voodoo spirit and staged the ceremonies himself
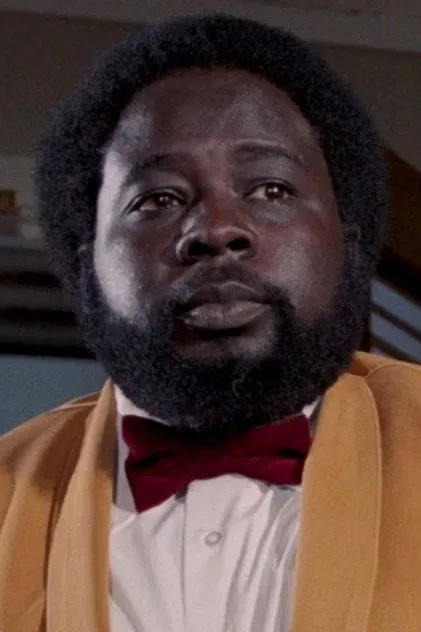 WhisperEarl Jolly BrownThe whispering killer who shoots Bond's driver with a poison dart from a car window
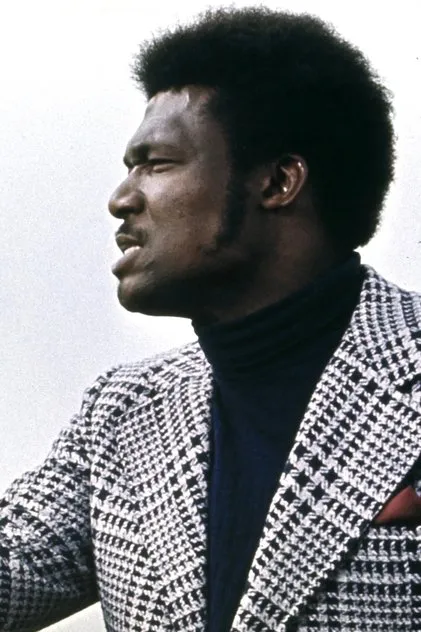 AdamTommy LaneChases Bond through the bayous and meets his end in a boatyard
Allies
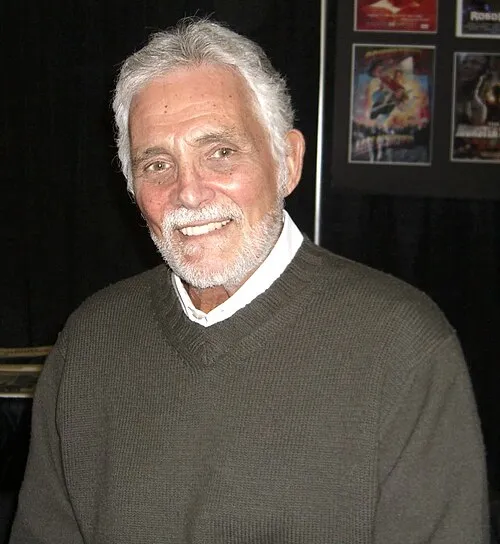
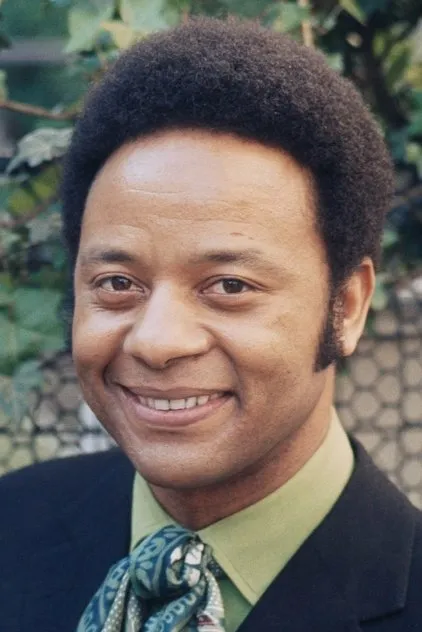
MI6
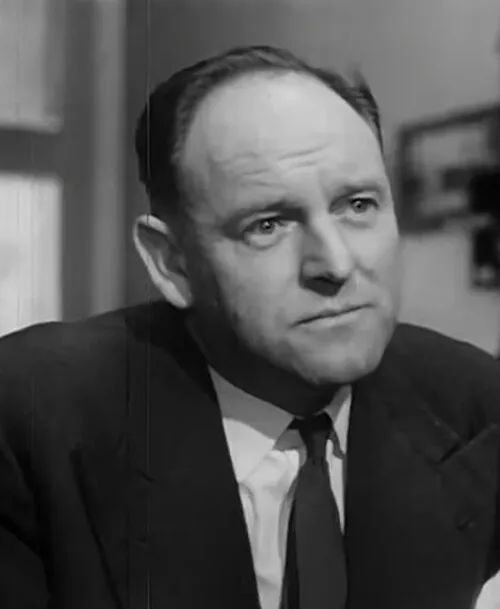
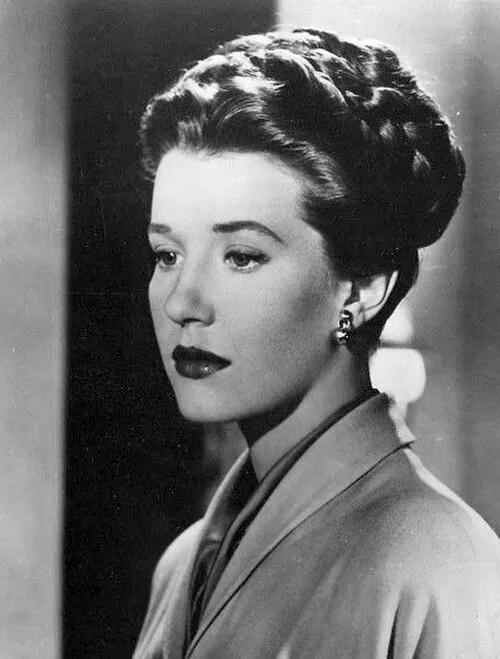
Others
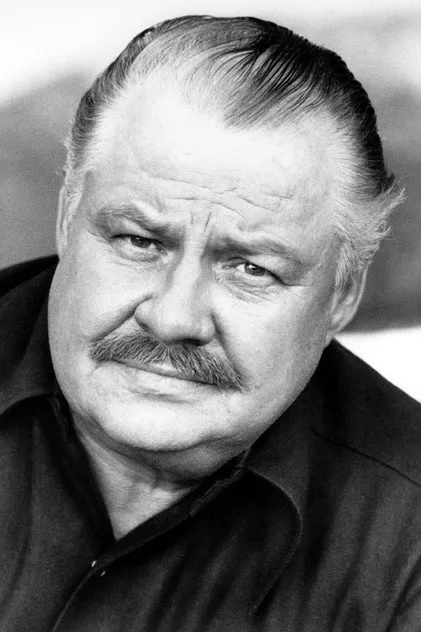 Sheriff J. W. PepperClifton JamesCreated as a foil to Bond; James returned in the following film, The Man with the Golden Gun
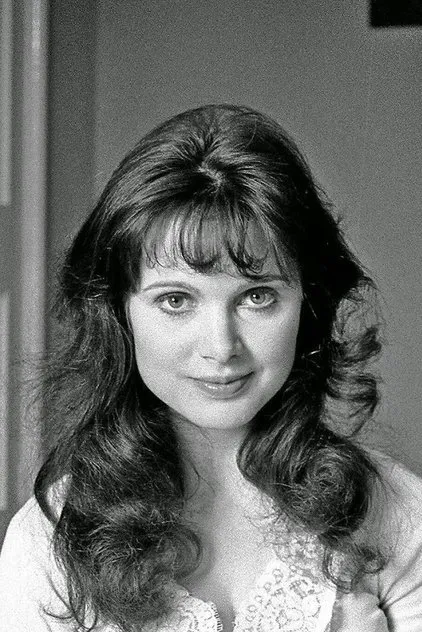 Miss CarusoMadeline SmithItalian agent who hides from M in the wardrobe; Roger Moore recommended her for the part
- Mrs. BellRuth KempfStudent pilot whose lesson Bond turns into a chase across the apron
- Sängerin im Fillet of SoulB. J. ArnauPerforms her own version of the title song in the film
Vehicles & Gadgets
Vehicles
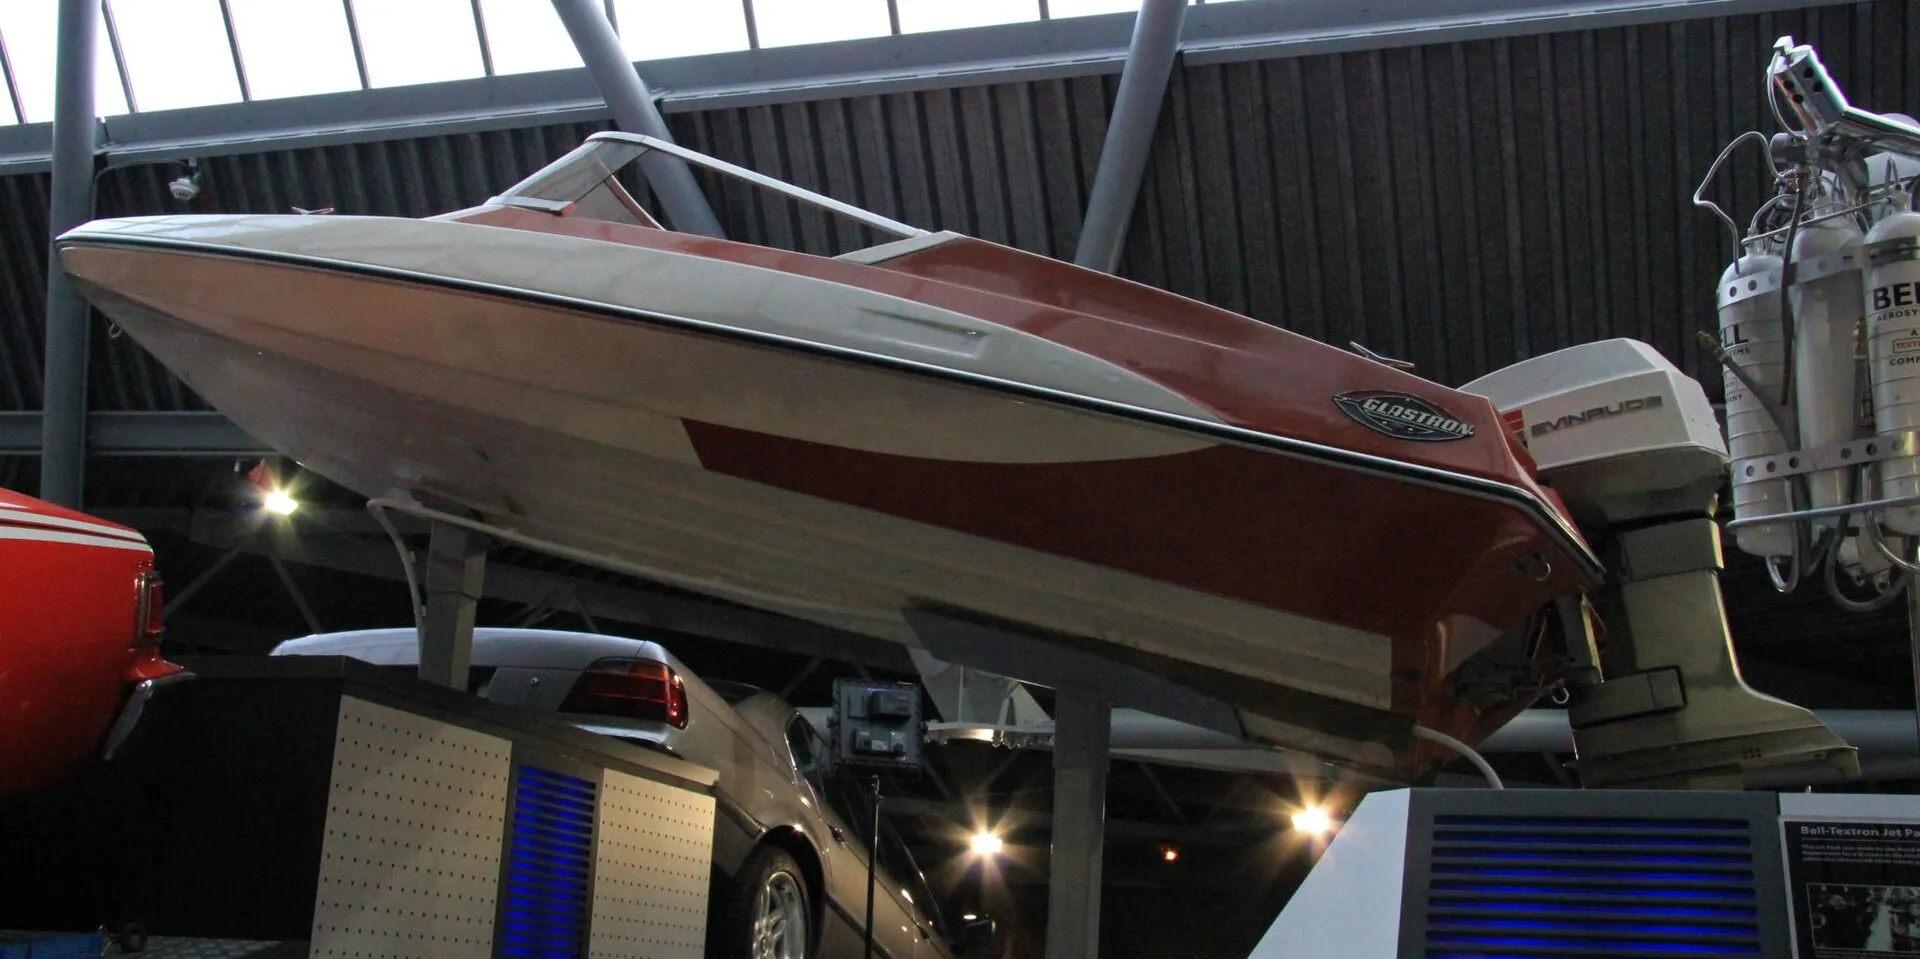
One of the Glastron boats from the bayou chase; an identical craft made the record jump of some 34 metresPhoto: Karen Roe from Bury St Edmunds, Suffolk, UK · CC BY 2.0 · Wikimedia Commons Glastron GT-150
Boat1972Bond's first speedboat in the extended chase through the bayous
Bond escapes the crocodile farm in the red-and-white GT-150 and leads a chase through Louisiana's waterways. For the major jump, the boat received centrally mounted steering and small guide rails on the hull; stunt driver Jerry Comeaux performed the record-setting leap. One of the surviving screen boats is now in the National Motor Museum collection at Beaulieu.
- Driven by
- James Bond
- Specs
- Evinrude Starflite outboard; 135 hp; approximately 15 ft long
Sources: 007.com: Live And Let Die Boat Chase · 007.com: Live And Let Die at 50 · Bond Lifestyle: Glastron GT-150
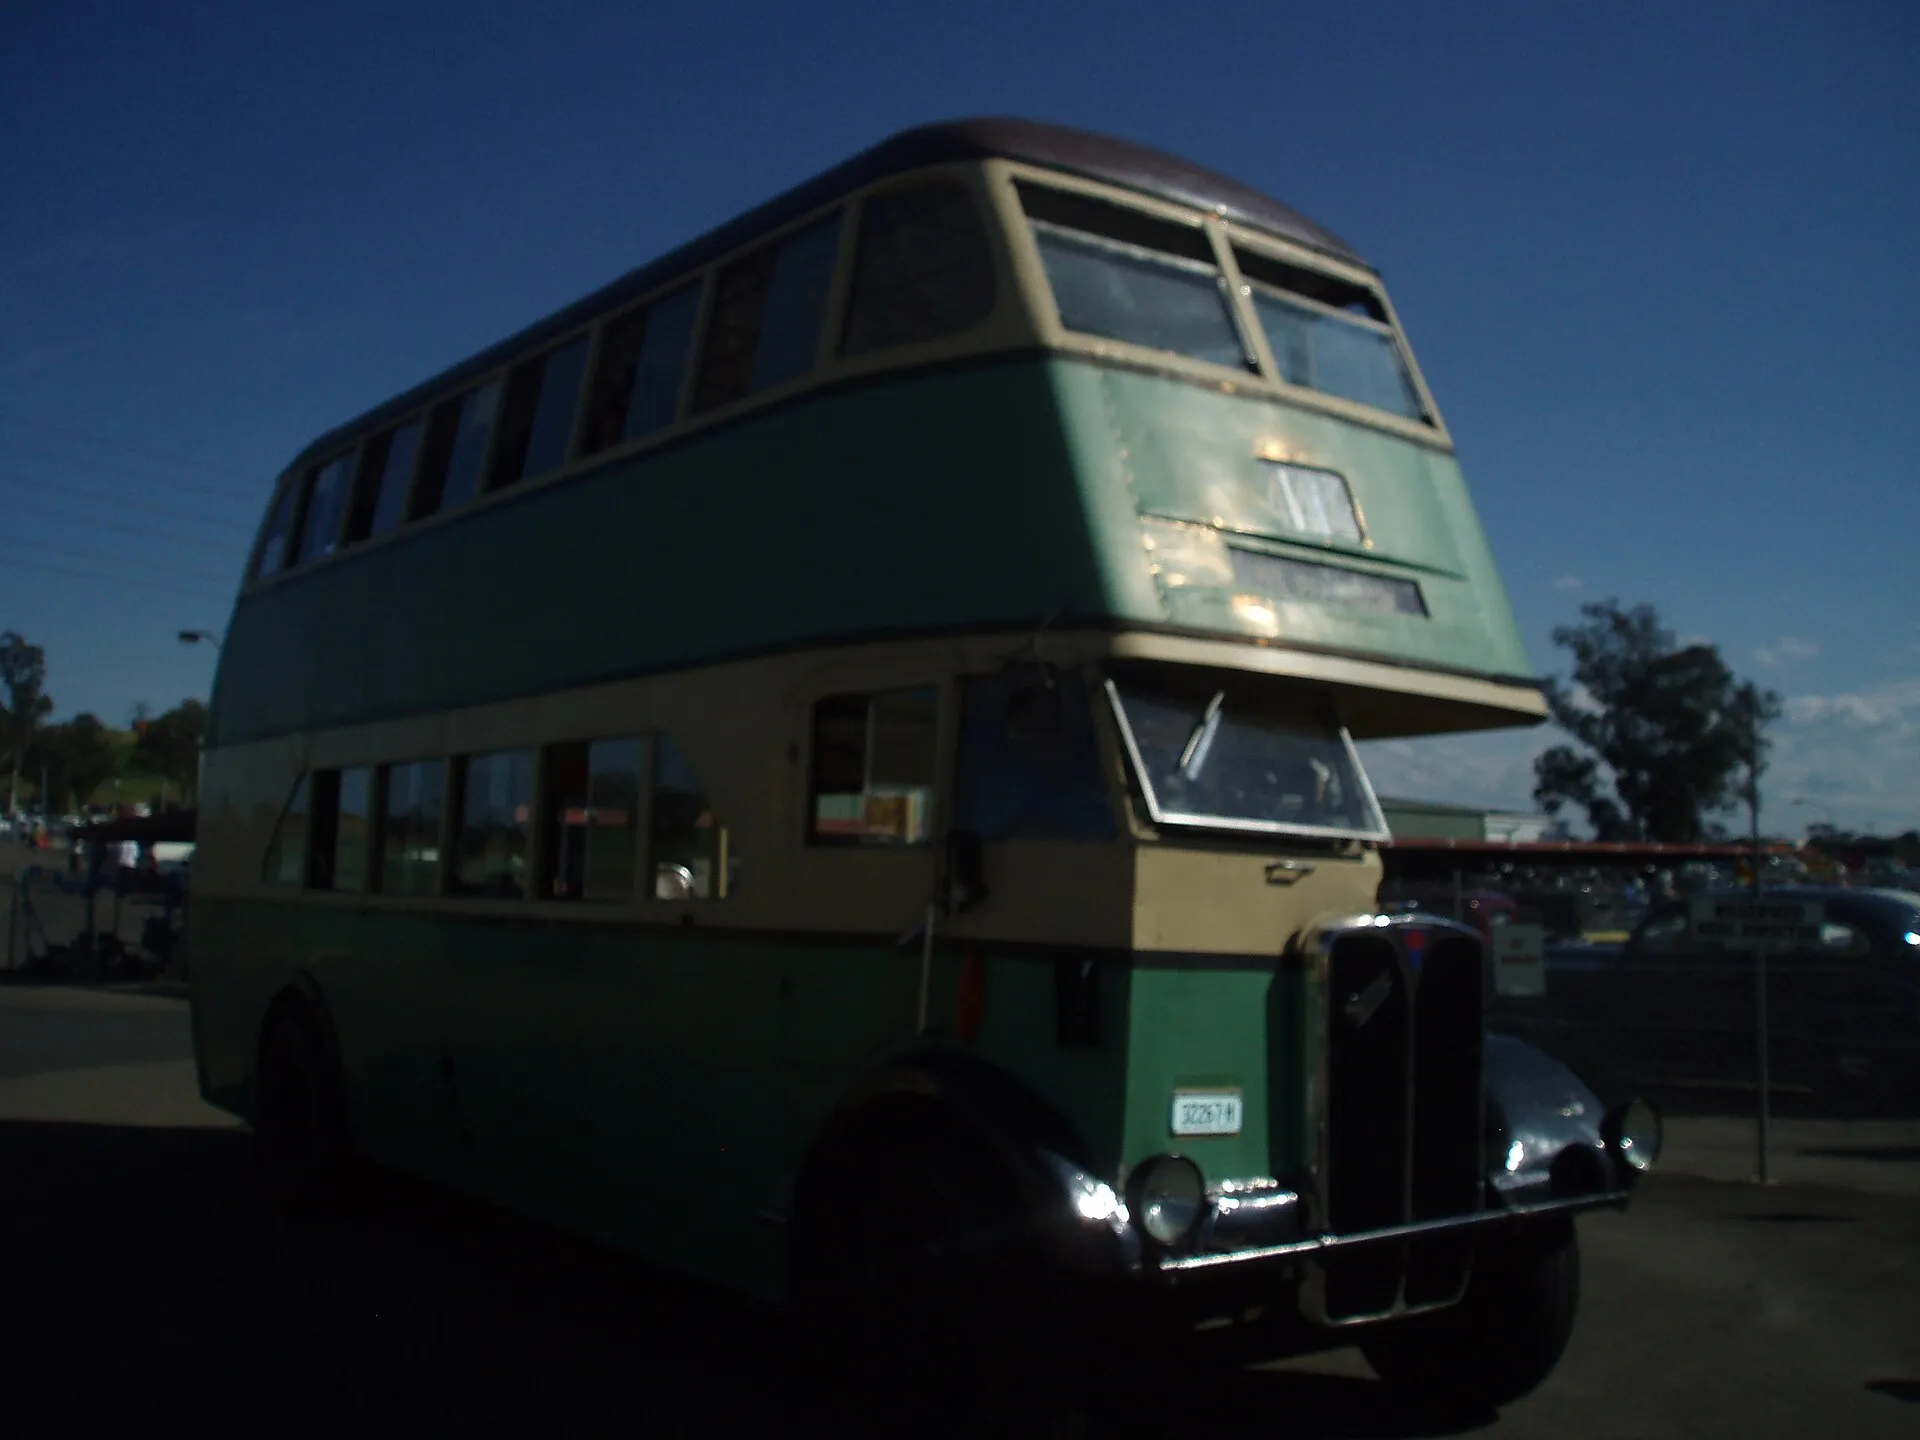
An AEC Regent III from the same year as screen vehicle RT246; Bond's bus was painted blue for San MoniquePhoto: sv1ambo · CC BY 2.0 · Wikimedia Commons AEC Regent III RT
Other1947London double-decker RT246, painted blue for the escape across San Monique
Bond commandeers the service bus and drives Solitaire through the island's roadblocks. A low bridge neatly removes the upper deck; for the stunt it was mounted on rollers so it could slide backwards. Roger Moore trained to drive the double-decker, while London Transport instructor Maurice Patchett performed the bridge stunt.
- Driven by
- James Bond; Solitaire
- Specs
- 9.6 L AEC A204 diesel engine; air-operated preselector gearbox
Sources: 007.com: Live And Let Die at 50 · IMCDb: 1947 AEC Regent III RT246 · London Bus Museum: AEC Regent III RT
Chevrolet / Dunham Coach Corvorado
Car1973Flamboyant custom car used by Mr Big's organisation, with a poison-dart launcher in its side mirror
Whisper follows Bond's Chevrolet in the long red custom car and kills its driver with a poison dart fired from the side mirror. Les Dunham's Corvorado combines the basic shape of a Chevrolet Corvette C3 with an extended front styled after the Cadillac Eldorado. Its flamboyant appearance suits Mr Big's carefully staged criminal world.
- Driven by
- Whisper
Sources: 007.com: Live And Let Die – Fahrzeuge und Gadgets · IMCDb: 1973 Chevrolet Corvette C3 Corvorado
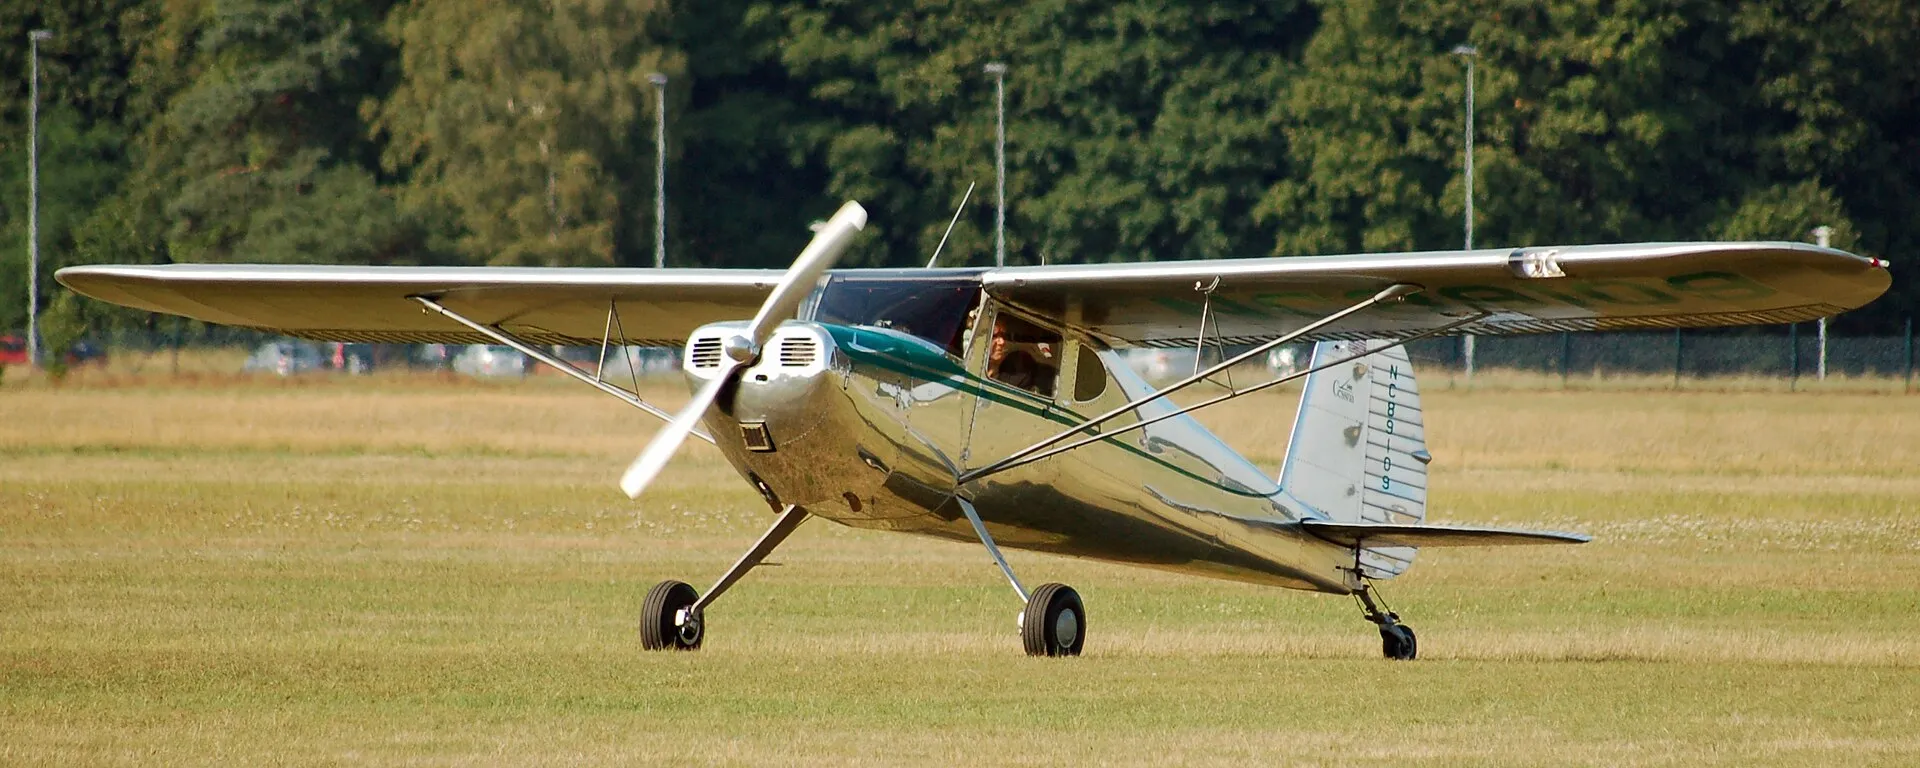
A Cessna 140 – Bond turns this aircraft type into an improvised escape vehicle at the Bleeker Flying SchoolPhoto: Huhu Uet · CC BY 3.0 · Wikimedia Commons Cessna 140
AircraftBleeker Flying School trainer used in Bond's chaotic escape across the airfield
Bond commandeers the two-seat high-wing aircraft during Mrs Bell's first flying lesson but never gets airborne. Instead he races across the apron, collides with buildings and loses both wings while passing through a hangar. The sturdy Cessna continues rolling as a bare fuselage before the escape ends.
- Driven by
- James Bond; Mrs Bell as passenger
- Specs
- Continental C-85-12F flat-four; 85 hp; maximum speed 120 mph
Sources: IMPDb: Live And Let Die · Museo Nacional Aeronáutico y del Espacio: Cessna 140
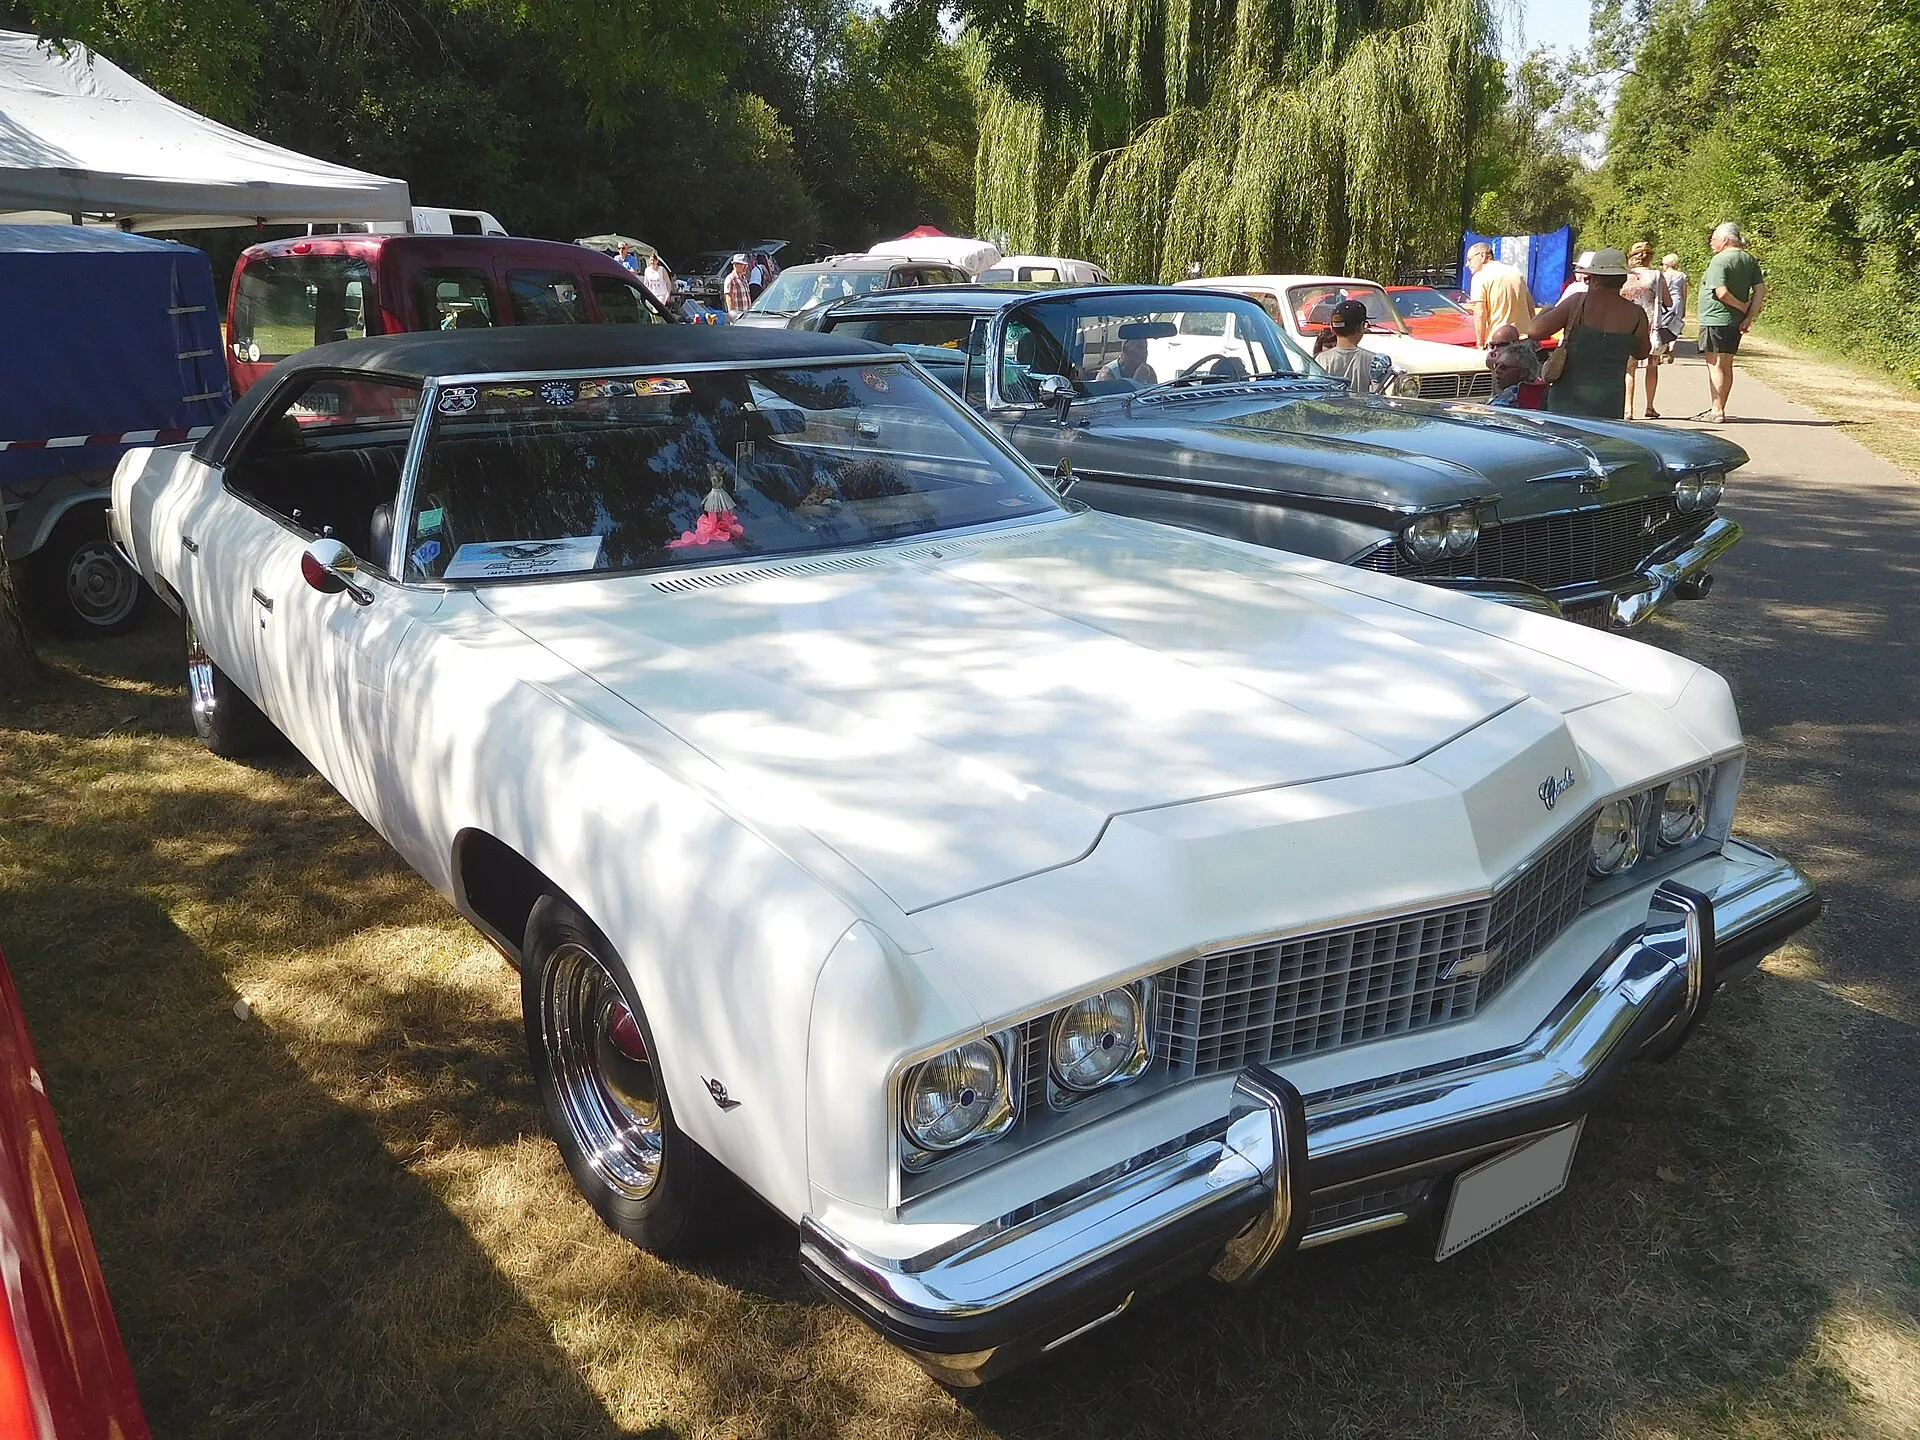
A 1973 Chevrolet Impala; in the film Bond rides from the New York airport in a black saloon of this typePhoto: Cjp24 · CC BY-SA 4.0 · Wikimedia Commons Chevrolet Impala
Car1973Bond's car from the New York airport; after the attack he steers it from the rear seat
A CIA chauffeur collects Bond at the airport and drives him towards Manhattan in a black Impala saloon. Whisper hits the driver with a poison dart from the neighbouring Corvorado. Bond reaches the wheel from the rear seat and brings the driverless car to a halt after a hazardous ride.
- Driven by
- CIA chauffeur Charlie; subsequently James Bond
Sources: 007.com: Live And Let Die – Fahrzeuge und Gadgets · IMCDb: Live And Let Die
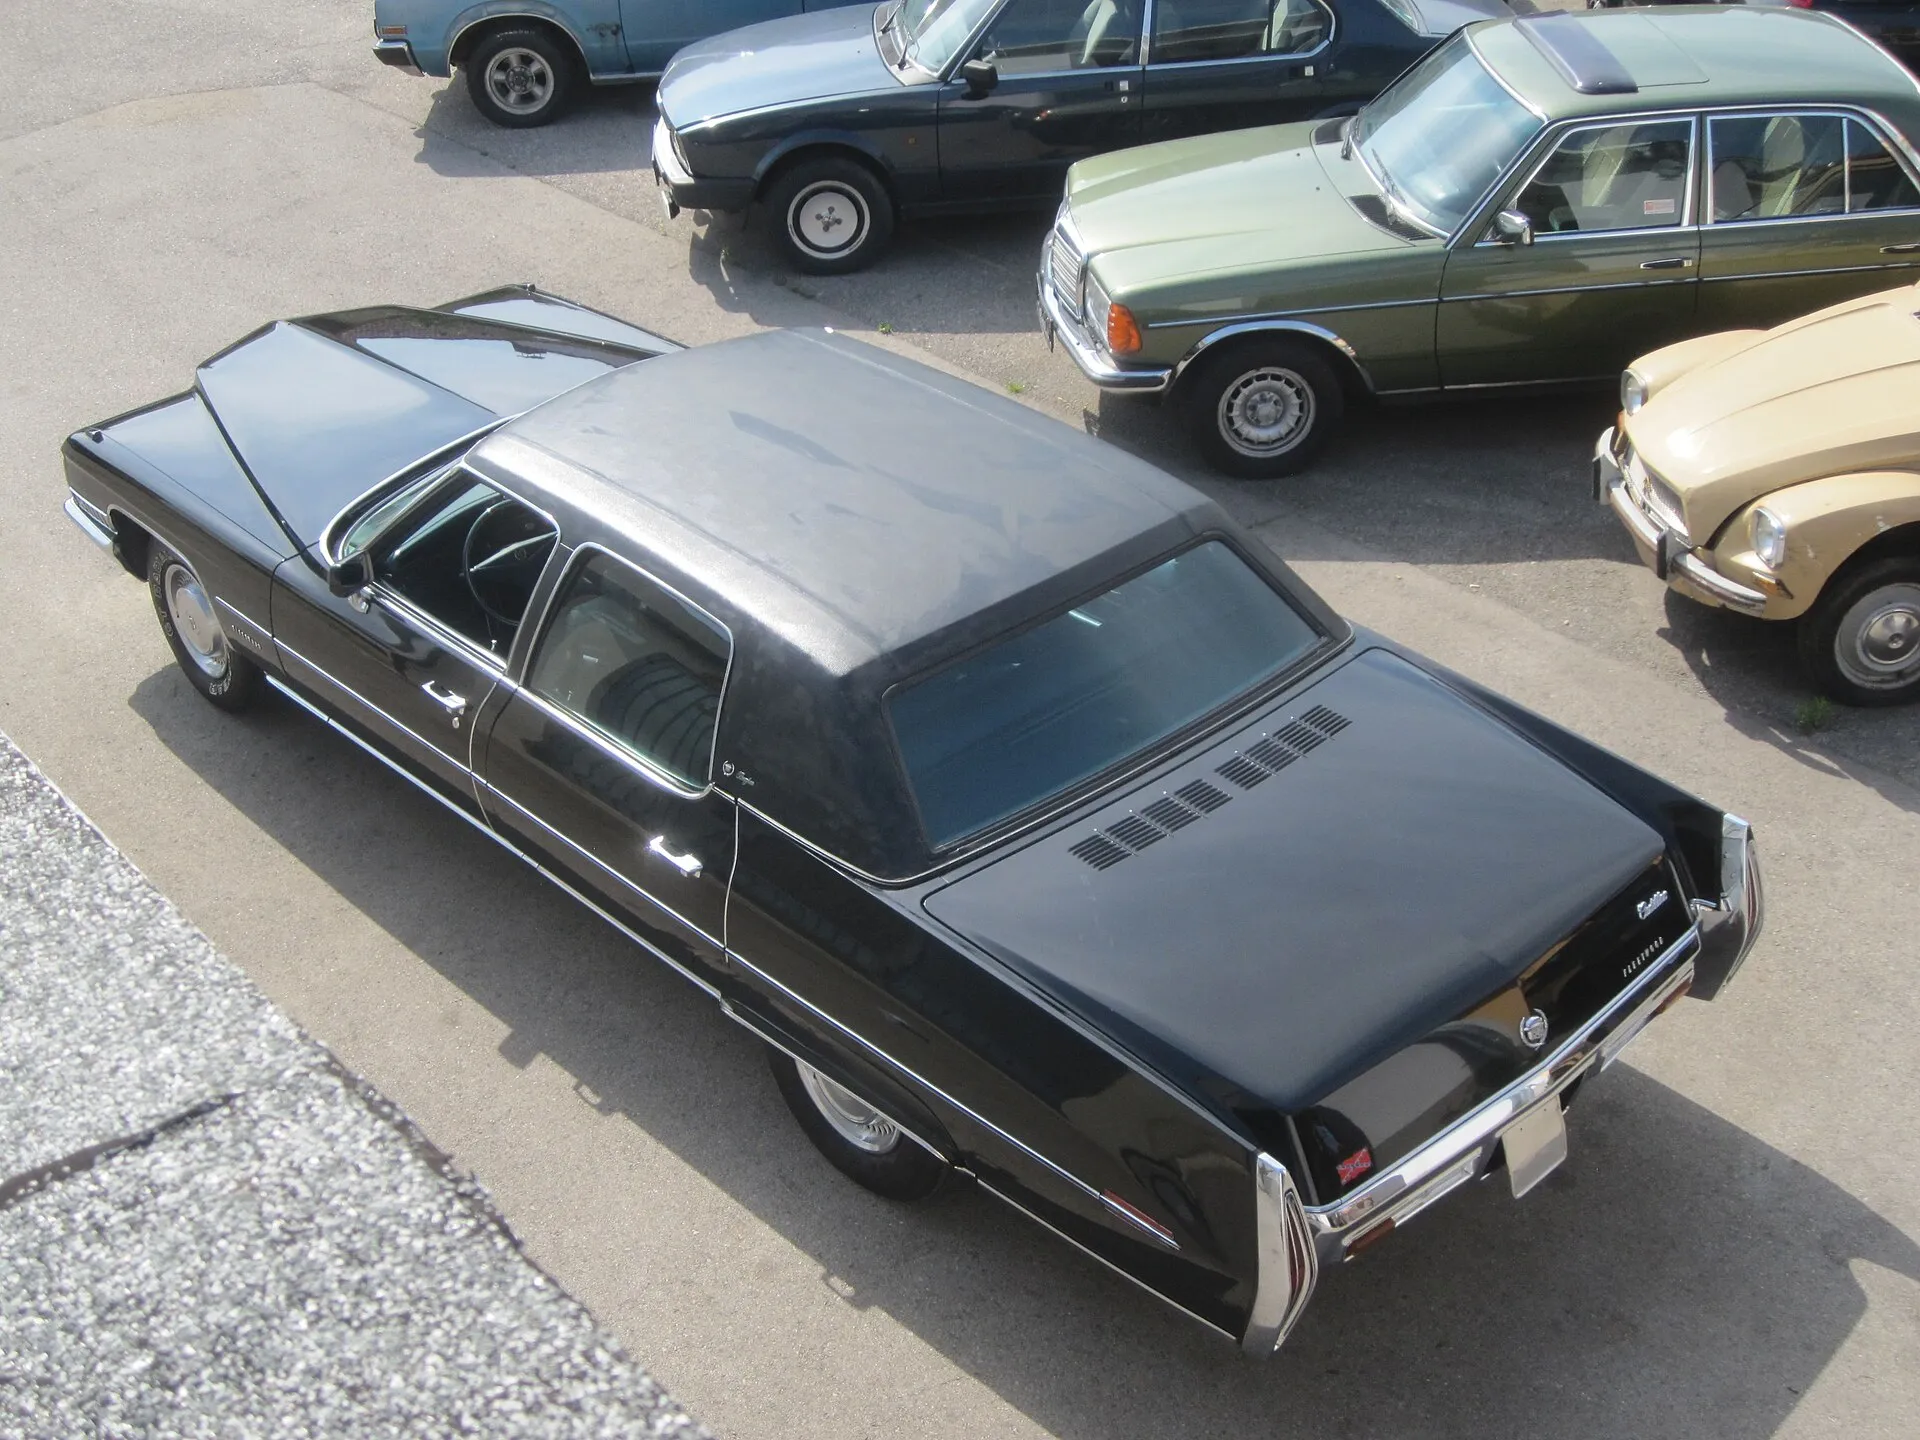
A 1971 Cadillac Fleetwood Brougham; a modified black saloon forms part of Mr Big's fleet in the filmPhoto: RetroWerk at · CC BY-SA 4.0 · Wikimedia Commons Cadillac Fleetwood 60 Special Brougham
Car1971Black luxury saloon from Mr Big's New York fleet
The black Fleetwood saloon is among the vehicles used by Mr Big's organisation to watch and transport Bond in New York. Its large, formal body and restrained appearance deliberately contrast with the flamboyant Corvorado. The screen car carries additional bodywork details by Dunham Coach.
- Driven by
- Mr Big's men
Sources: 007.com: Live And Let Die – Fahrzeuge und Gadgets · IMCDb: 1971 Cadillac Fleetwood 60 Special Brougham
Glastron-Carlson CV-19
BoatBond's second boat in the bayou chase, commandeered after the GT-150 is disabled
After a gunshot damages the GT-150's fuel tank, Bond switches to the larger Glastron-Carlson CV-19. He continues through the narrow waterways in it and again escapes Adam's pursuers. The low-slung 1972 sports boat was rated for outboards of up to 155 hp.
- Driven by
- James Bond
- Specs
- 18 ft 11 in long; 7 ft 2 in beam; approximately 1,200 lb; outboards up to 155 hp
Sources: 007.com: Live And Let Die Boat Chase · Glastron: 1972 Product Information Guide
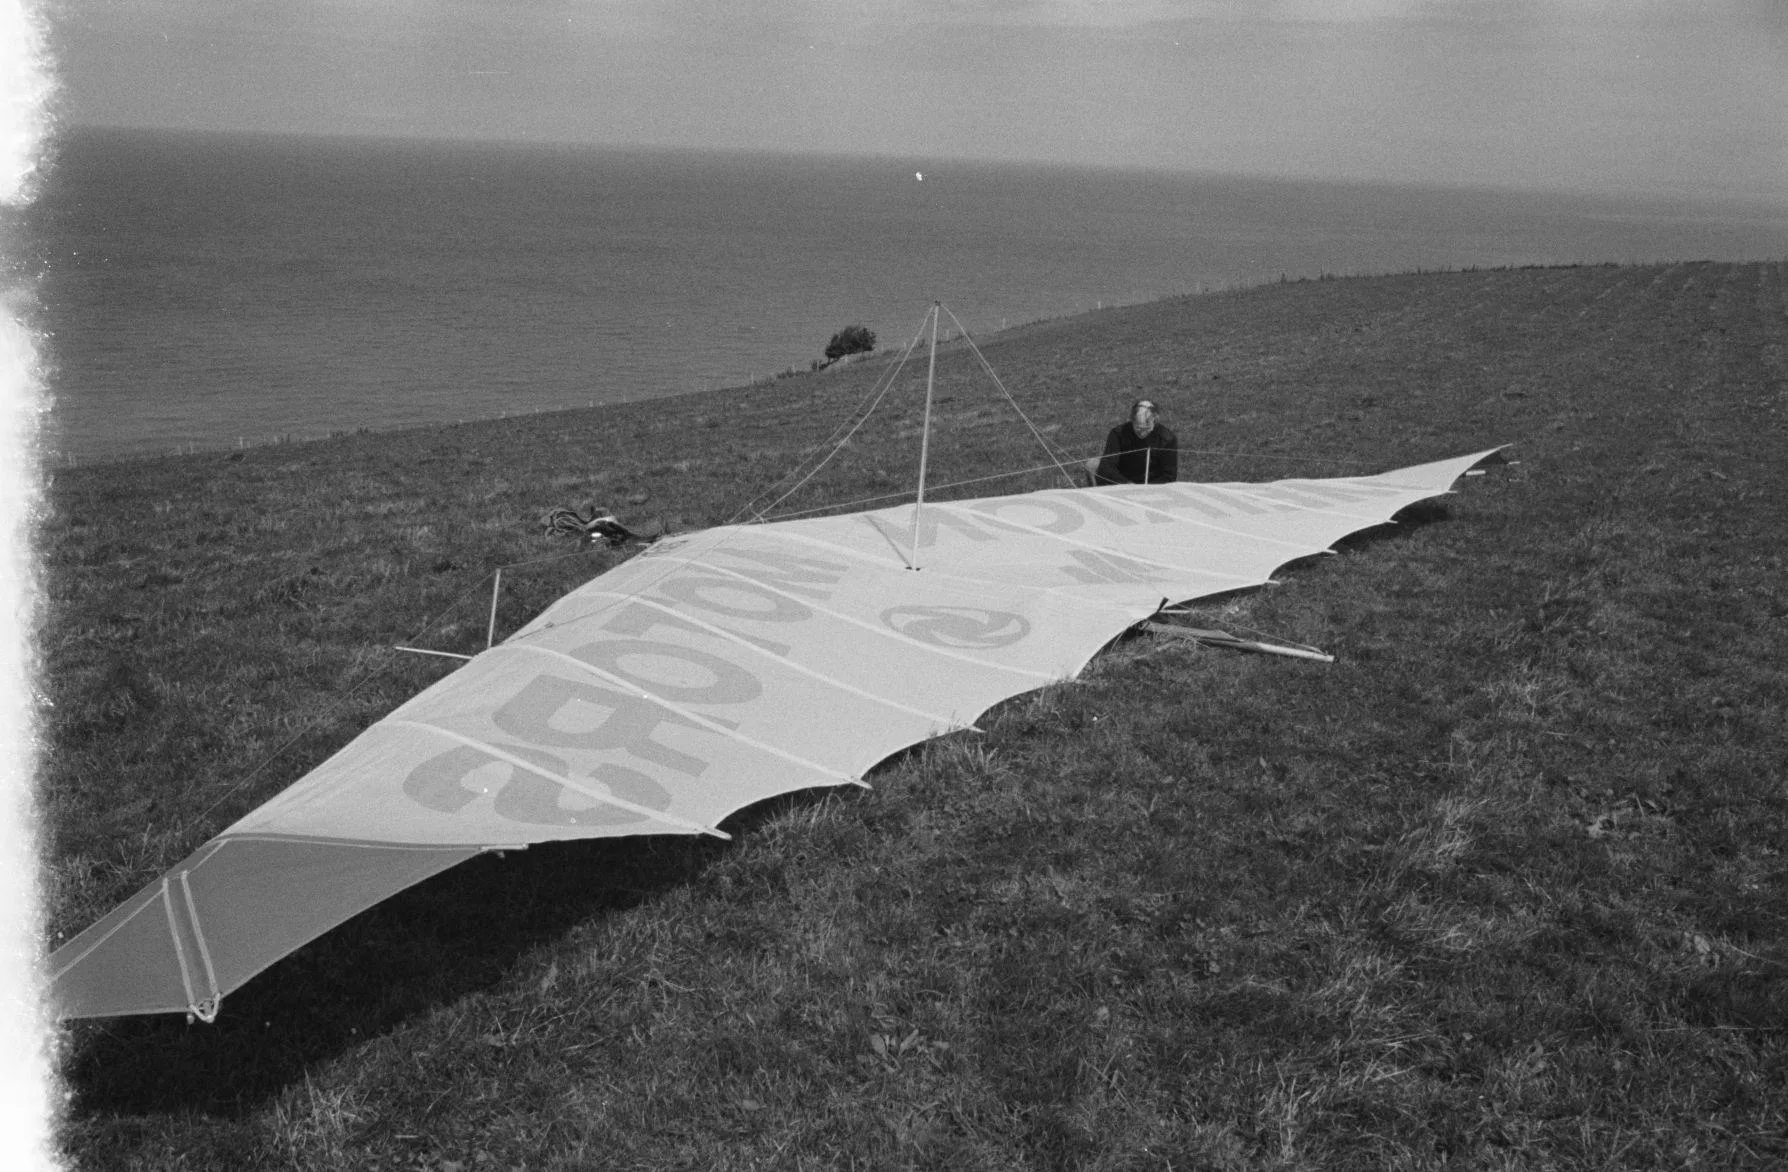
An early Rogallo hang glider; Bond silently approaches Solitaire's estate in a similar aircraftPhoto: Geoff Charles · CC BY-SA 4.0 · Wikimedia Commons Spezialanfertigung Rogallo-Hängegleiter
AircraftCollapsible hang glider used for Bond's silent approach to Solitaire's estate
Bond launches from a hillside at night and glides silently over the cane fields towards Solitaire's house. He releases the aircraft, lands in the grounds and slips past the guards. Its simple triangular construction is characteristic of early-1970s Rogallo hang gliders.
- Driven by
- James Bond
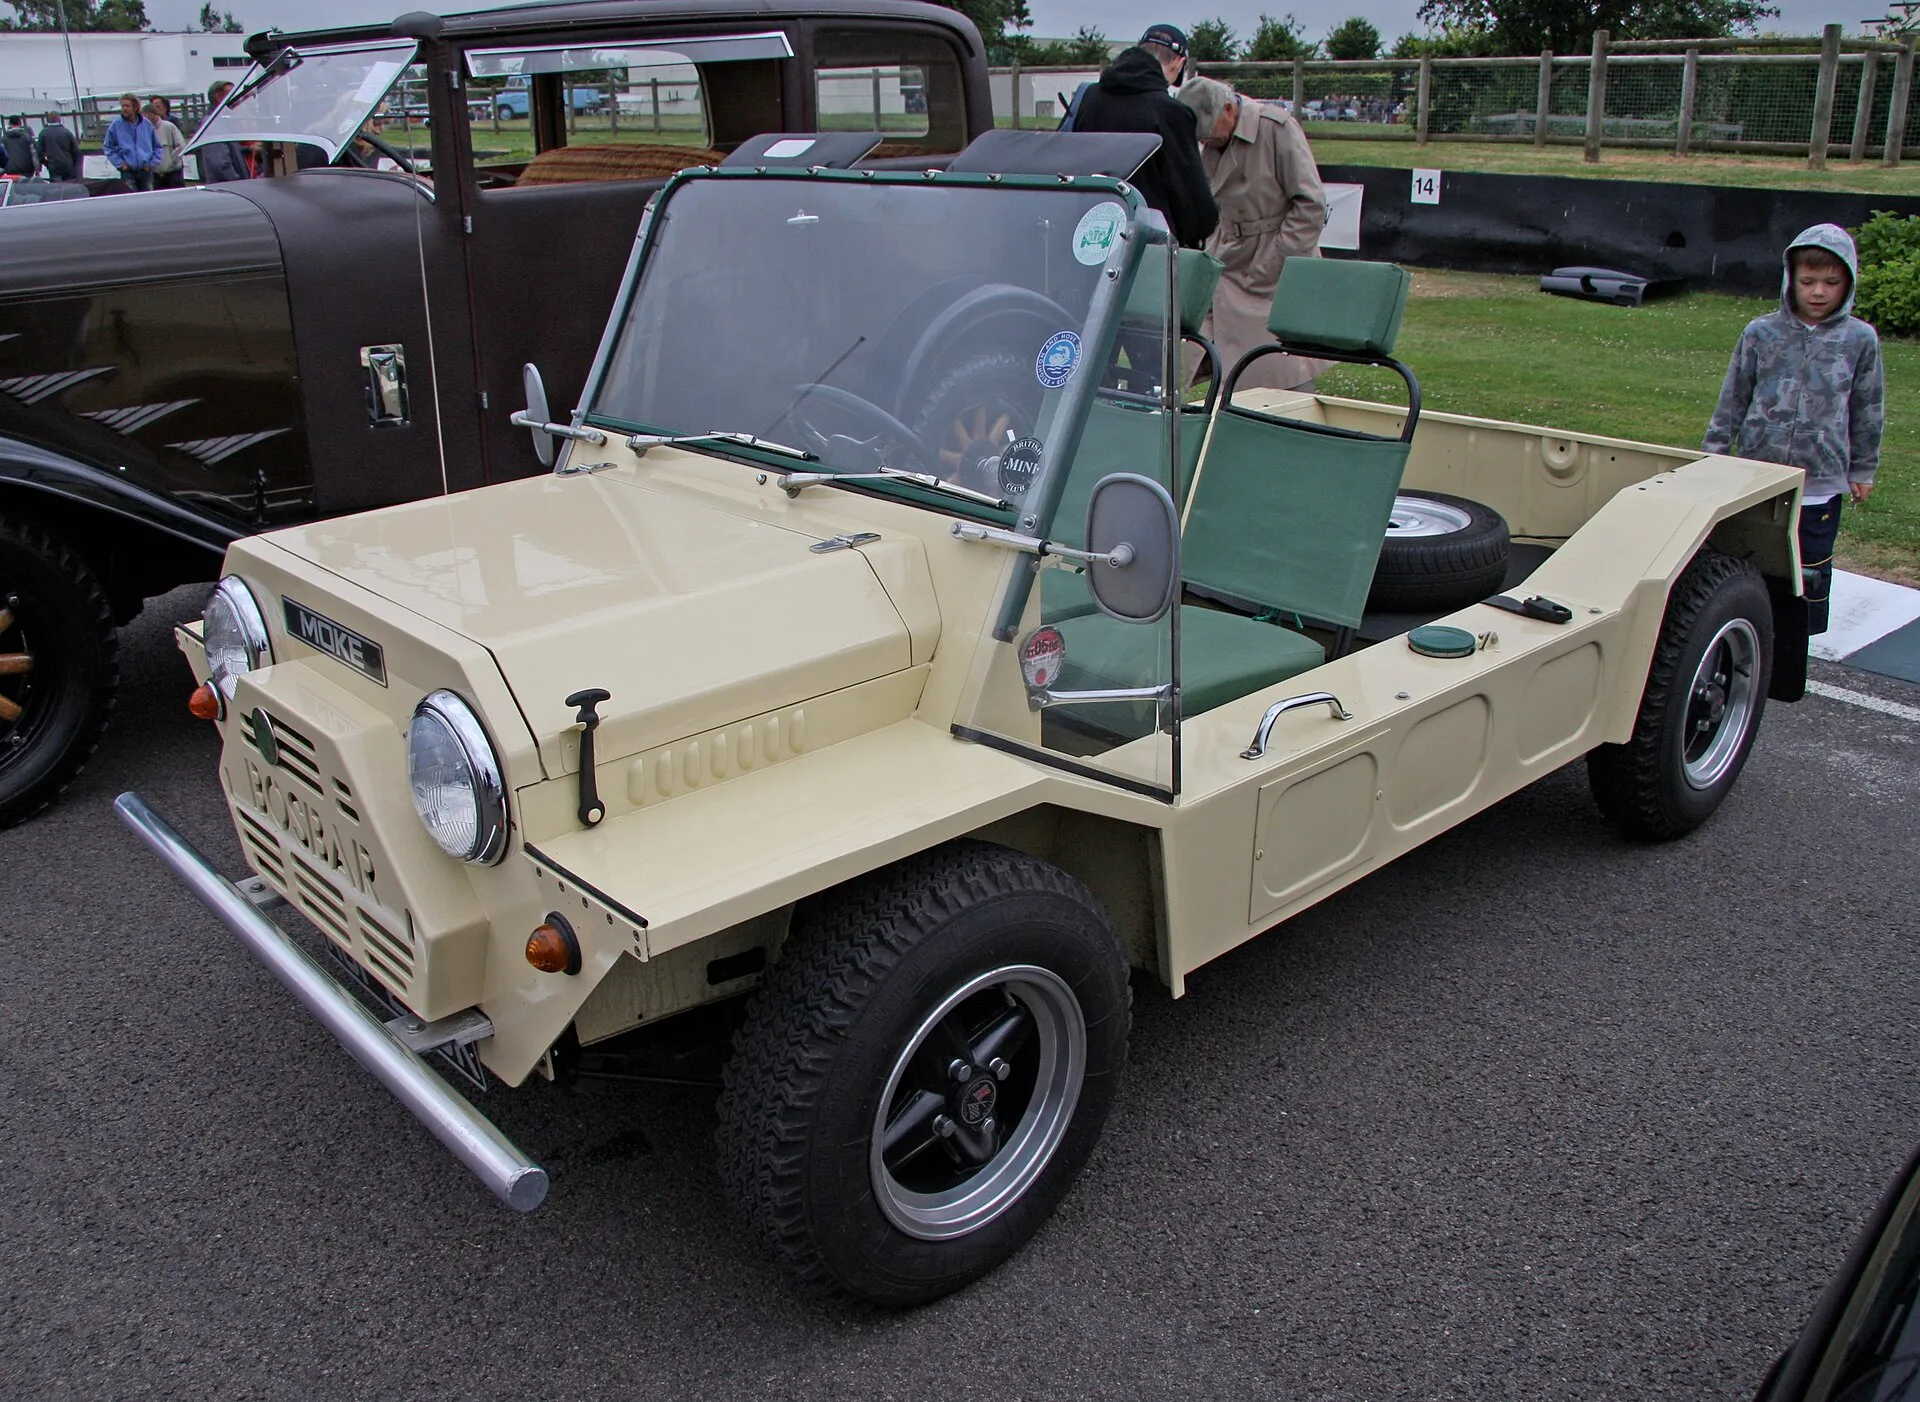
The compact Mini Moke suits the roads of San Monique and is driven there by Bond himselfPhoto: Brian Snelson from Hockley, Essex, England · CC BY 2.0 · Wikimedia Commons BMC Mini Moke
CarOpen island runabout Bond drives to the jetty on San Monique
Bond uses the compact doorless Moke to cross San Monique and reach the jetty. The simple leisure and utility vehicle is mechanically based on the classic Mini, and its open body suits the tropical island setting. Within the Bond series, this is the only film in which Bond himself drives a Moke.
- Driven by
- James Bond
Sources: MINI: The Mini Moke · IMCDb: Live And Let Die
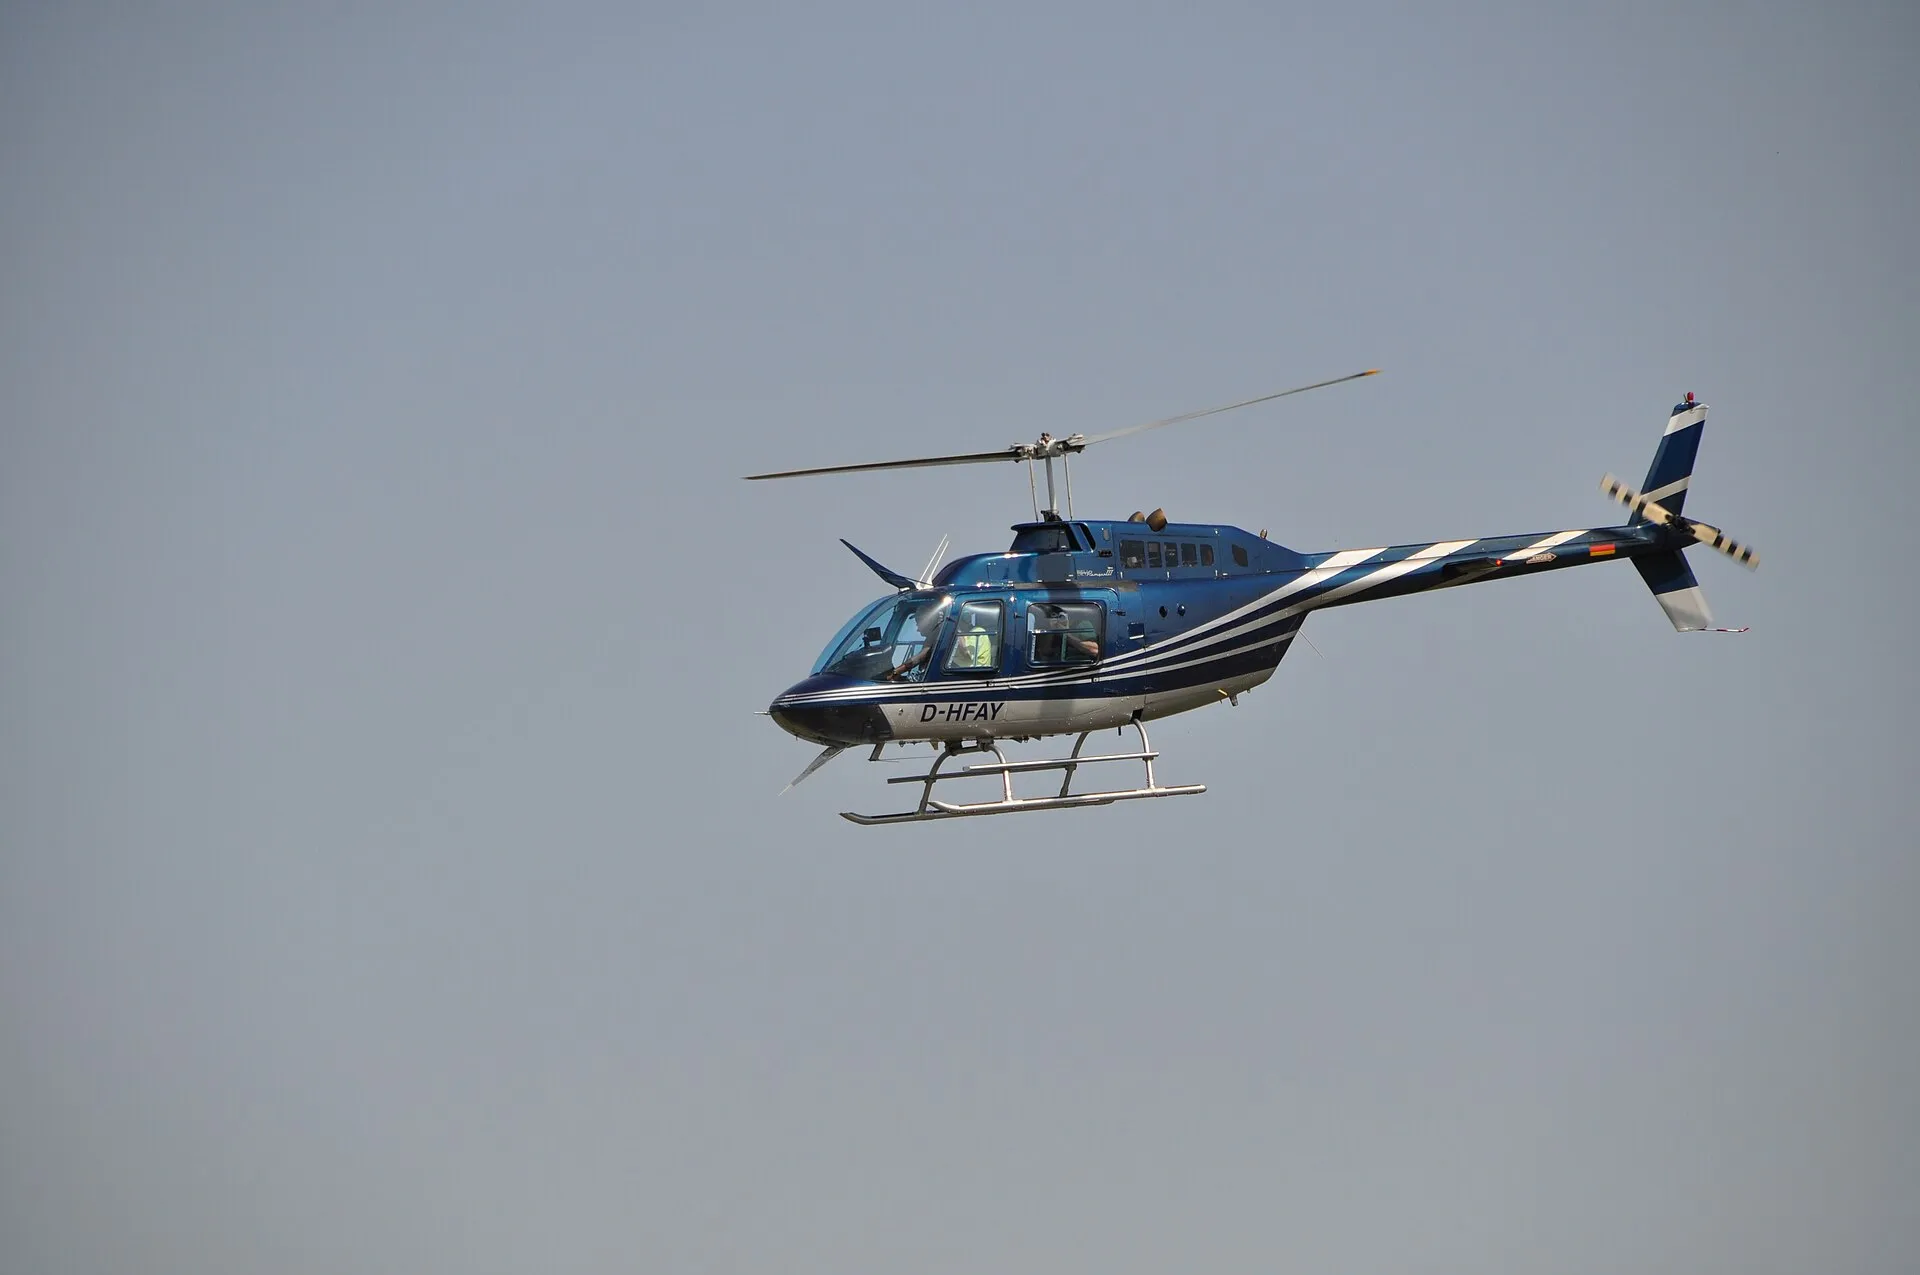
A Bell 206 JetRanger; Kananga's men use this helicopter type for aerial surveillance over San MoniquePhoto: Schlurcher · CC BY 4.0 · Wikimedia Commons Bell 206 JetRanger
AircraftArmed helicopter used over San Monique in the pursuit of Bond and Solitaire
Kananga's men use the light helicopter to locate and pursue Bond and Solitaire from the air. The JetRanger circles over the fields and reinforces control of the island with its armament. Its slender cabin and two-blade rotor make the type readily identifiable in the aerial shots.
- Driven by
- Kananga's pilot
Sources: IMPDb: Live And Let Die · 007.com: Live And Let Die – Fahrzeuge und Gadgets
_left_National_Motor_Museum,_Beaulieu.jpg)
.jpg)
_02.jpg)
.jpg)

.jpg)
.jpg)

Gadgets
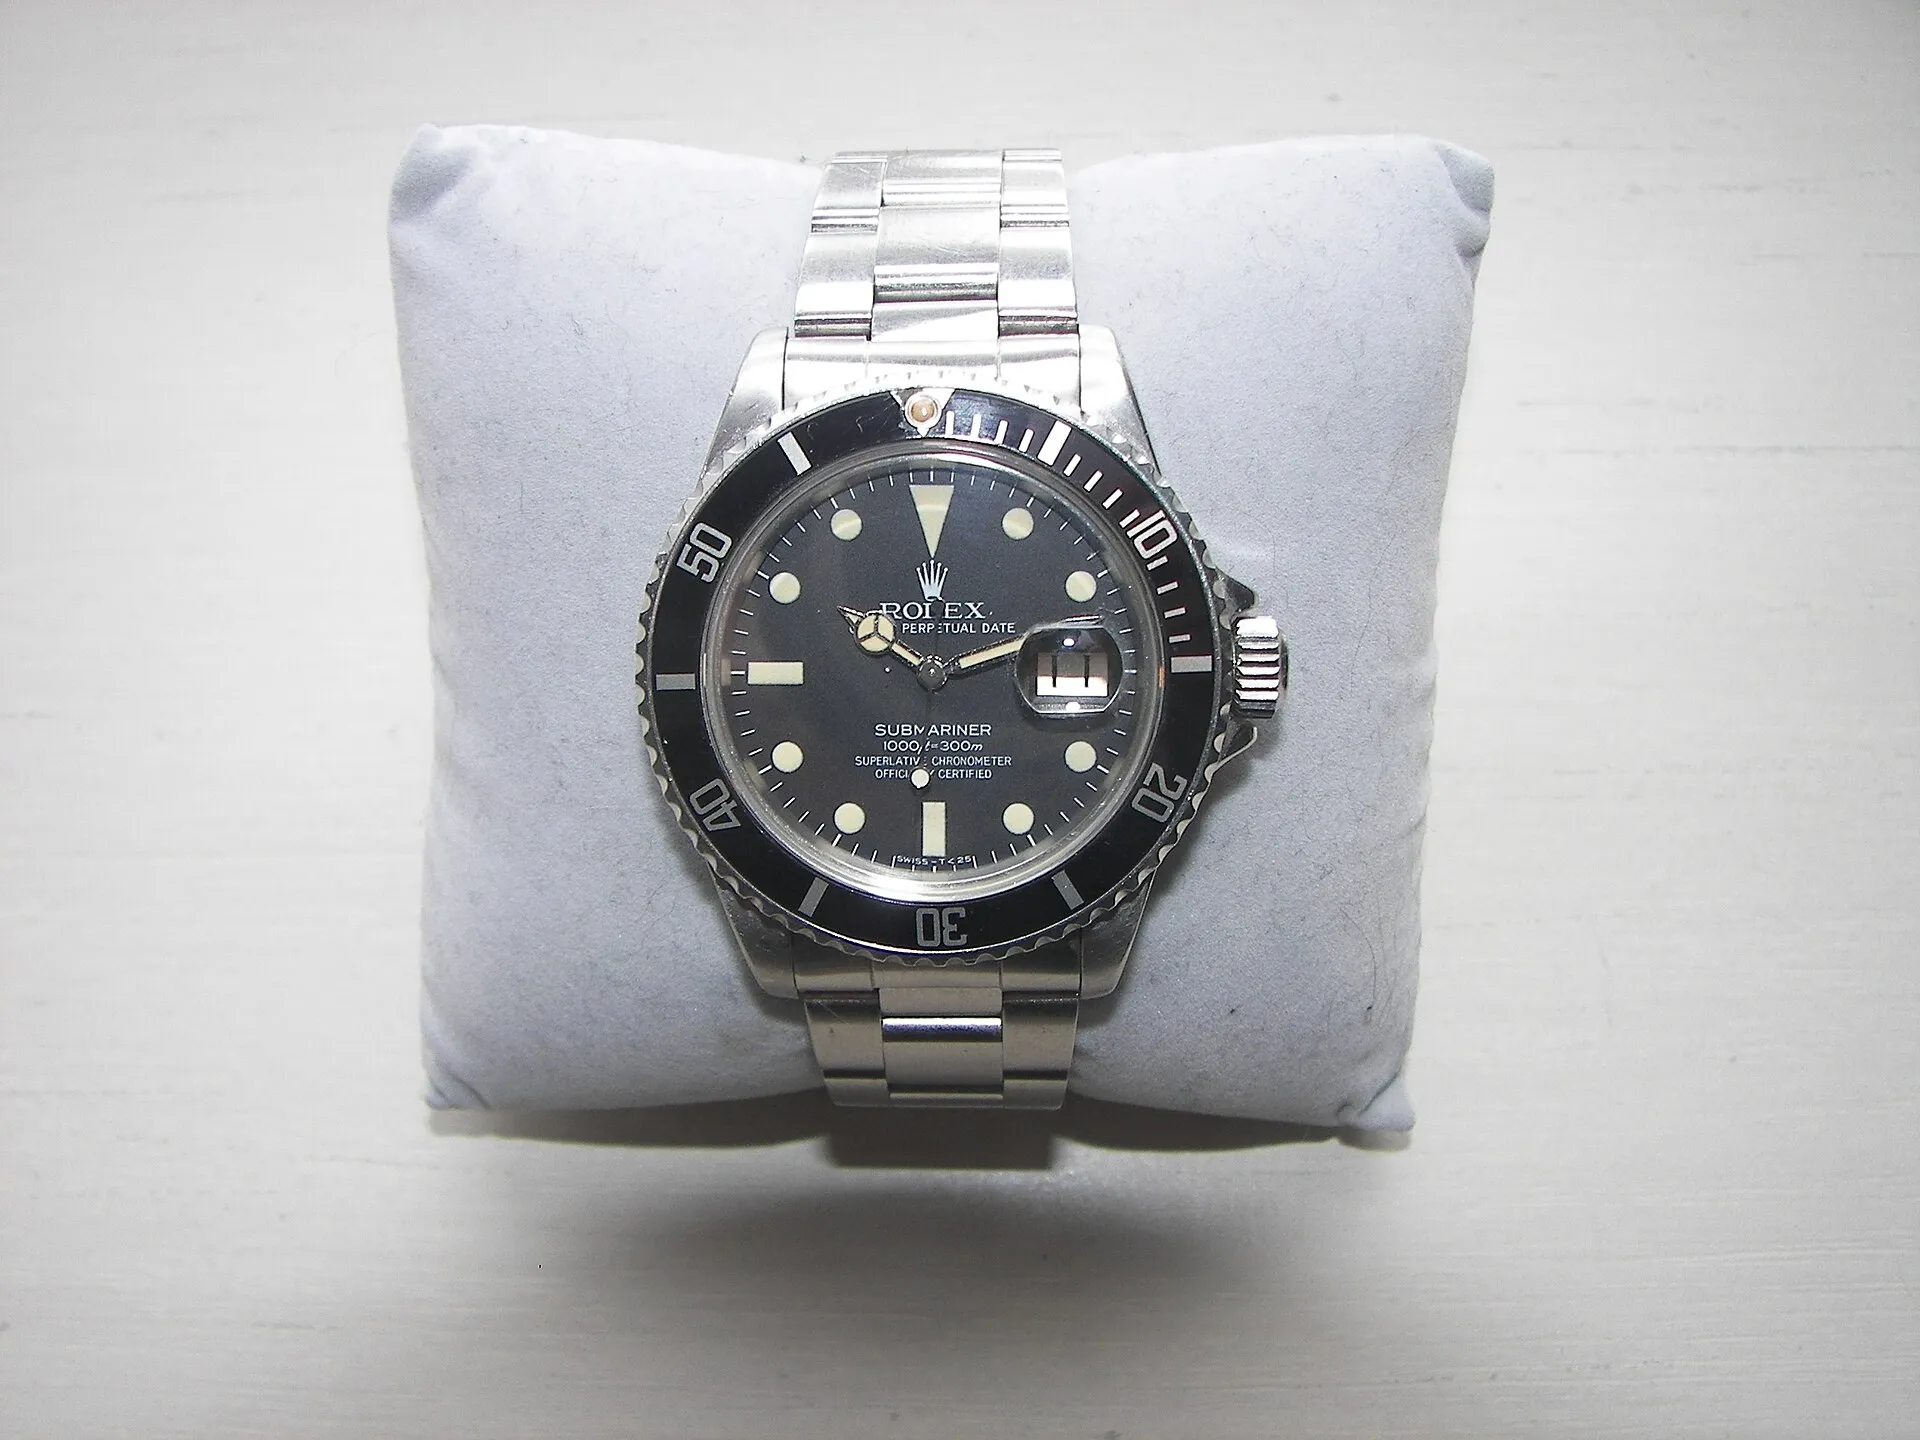
A later date-equipped Rolex Submariner; Bond's Ref. 5513 in the film instead has a magnet and saw-toothed bezelPhoto: Dr.K. · CC BY-SA 3.0 · Wikimedia Commons Rolex Submariner with magnet and buzz-saw bezel
The modified Rolex Submariner Ref. 5513 generates a powerful magnetic field and has a rotating saw-toothed bezel. Bond uses it to pull a spoon towards him, unzip Miss Caruso's dress and later cut the rope above Kananga's shark pool.
Sources: 007.com: Live And Let Die – Fahrzeuge und Gadgets · Bond Lifestyle: Rolex Submariner
Clothes-brush radio transmitter
A Morse transmitter with a telescopic aerial is concealed inside the apparently ordinary clothes brush in Bond's travel kit. Bond uses it from his San Monique hotel room to contact Quarrel Jr.
Sources: 007.com: Live And Let Die – Fahrzeuge und Gadgets · MI6-HQ: Shaving Kit
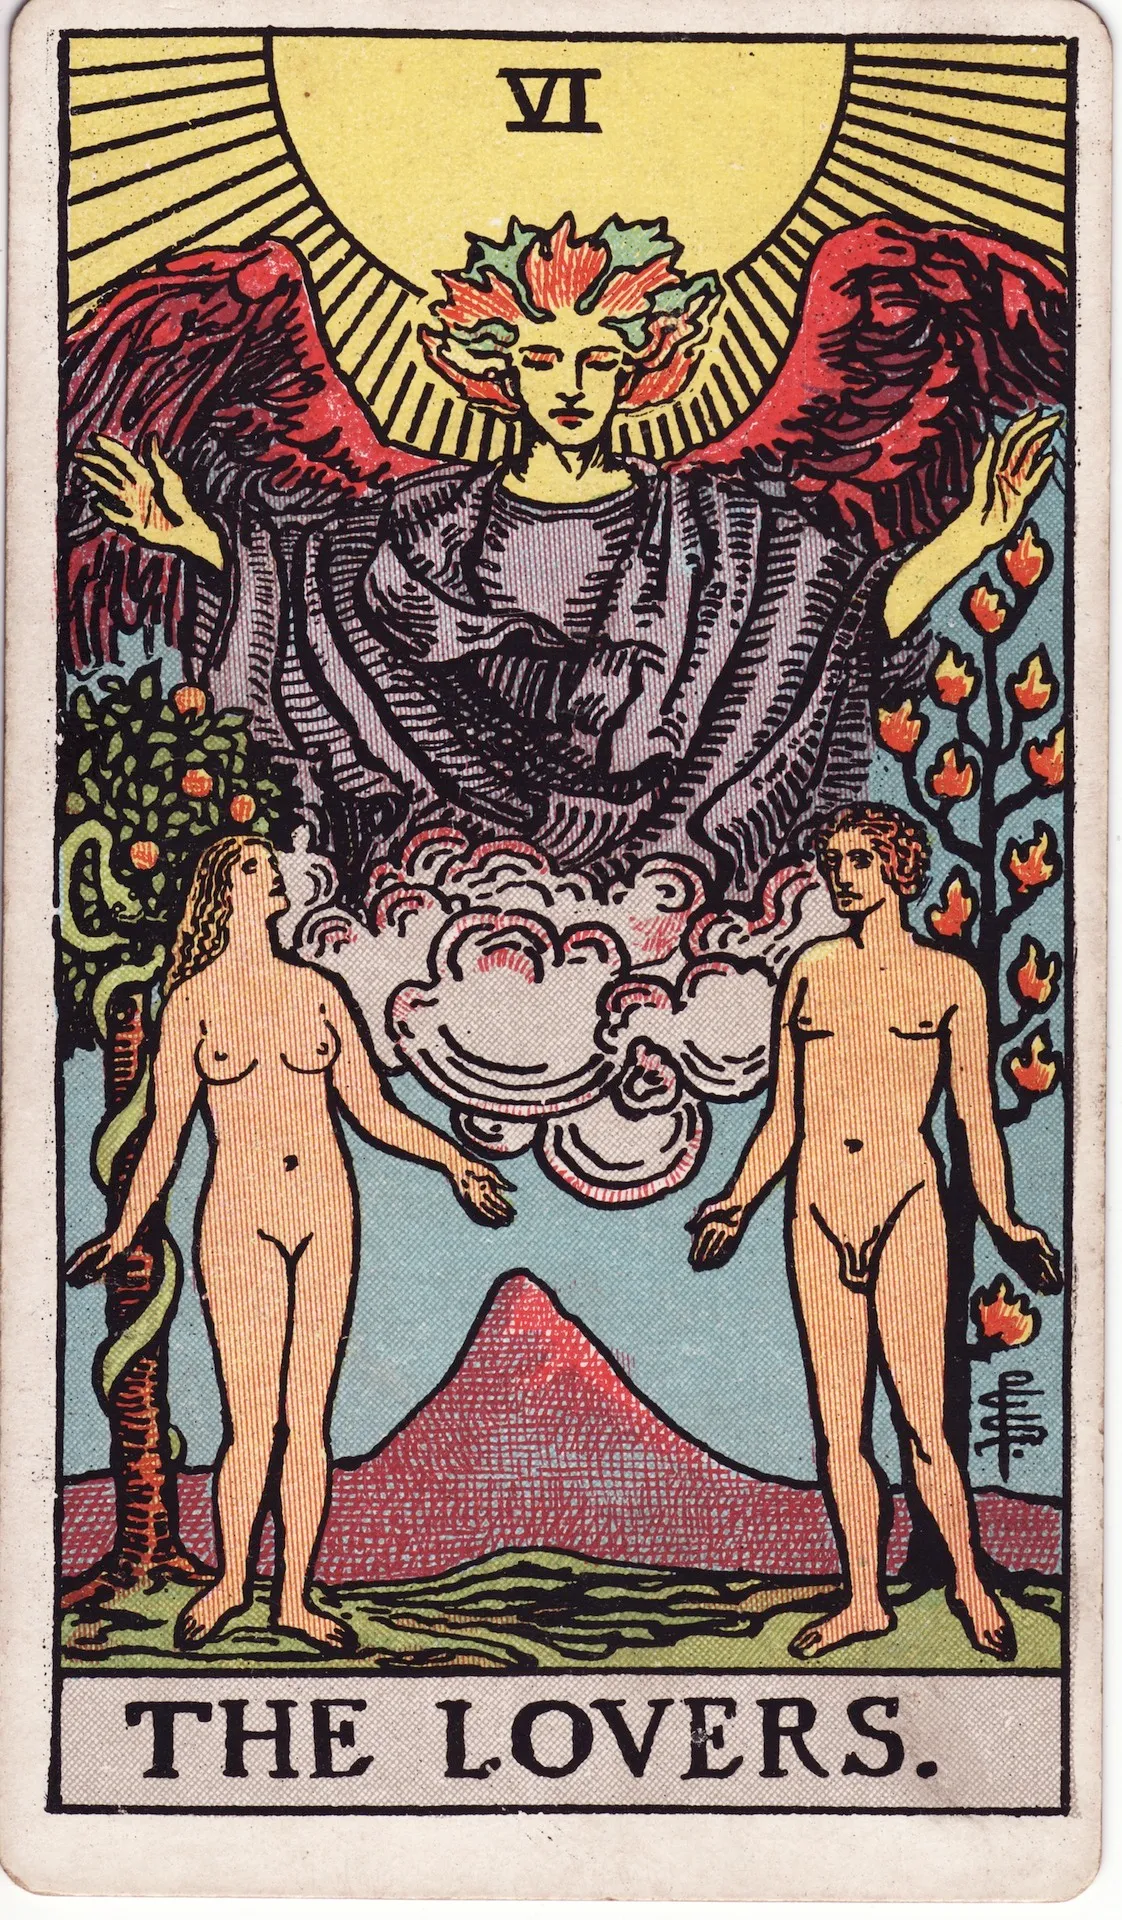
The Lovers motif in a historic tarot deck; Solitaire's cards in the film were designed by Fergus HallPhoto: Pamela Colman Smith · Public domain · Wikimedia Commons Stacked tarot deck
Bond replaces Solitaire's cards with a deck made up entirely of The Lovers. This makes his advances appear to be an inescapable prediction.
Sources: 007.com: Live And Let Die – Fahrzeuge und Gadgets · Bond Lifestyle: Live And Let Die
Compressed-gas pellet
The compressed-gas pellet is ammunition for the shark gun and is intended to repel attackers underwater. During the fight Bond forces one into Kananga's mouth, causing his body to inflate grotesquely and burst.
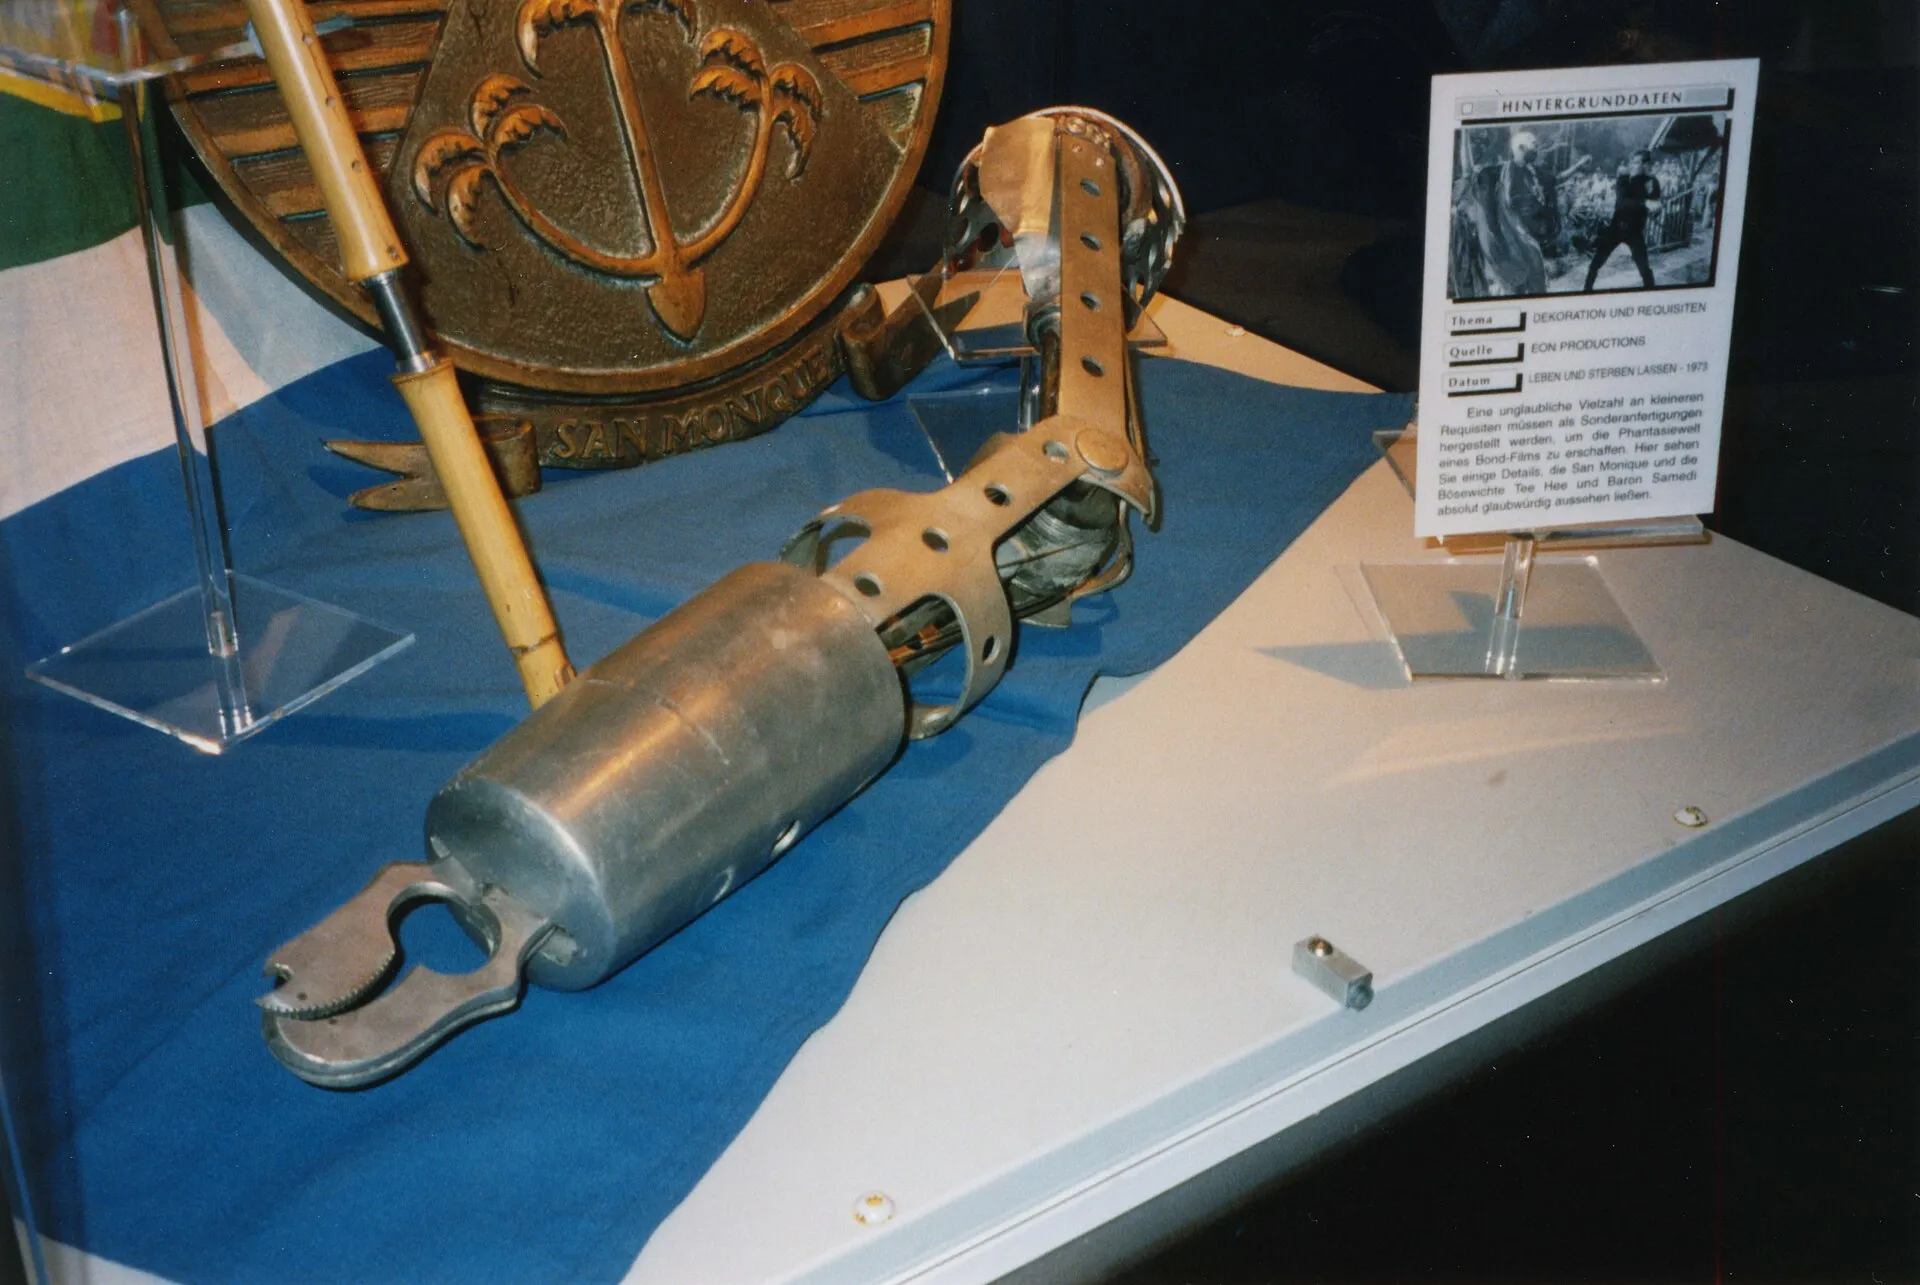
Tee Hee's original pincer arm on display – the steel prosthesis becomes a weapon in the train compartmentPhoto: Jörg Behrens · CC BY-SA 3.0 · Wikimedia Commons Tee Hee's pincer arm
Tee Hee's right forearm is a mechanical prosthesis fitted with a powerful steel claw. It can bend a pistol barrel and becomes a lethal weapon in the train compartment until Bond damages its controls and sends Tee Hee through the window.
Pulse detonator
During the attack in the United Nations assembly hall, a henchman replaces the connection to Agent Dawes's translation earpiece. A short, extreme acoustic pulse kills the agent apparently unnoticed in the middle of the session.
Sources: 007.com: Live And Let Die – Fahrzeuge und Gadgets · Live And Let Die – Drehbuchfassung
Shark gun
The underwater weapon fires compressed-gas pellets to repel sharks. Bond receives it with the rest of his diving equipment for his return to San Monique and uses one of its pellets in the final fight with Kananga.
Felix Lighter radio
A CIA car contains a two-way radio disguised as a cigarette lighter, which Bond uses to contact Felix Leiter. The label turns the CIA officer's surname into the visual pun “Felix Lighter”.
Flute communicator
Baron Samedi's flute contains a radio for communicating with Kananga's men. After his performance at the ritual site, it lets him switch unobtrusively from musician to observer and informant.
Shoe-shine box communicator
A Harlem shoe shiner uses his box as a concealed communications station. Bond's arrival can therefore be reported without making the street surveillance conspicuous.
Armed scarecrows
The scarecrows in the poppy fields form part of Kananga's surveillance system. Their heads contain cameras and weapons; one tracks Rosie Carver as she flees and shoots her.
Revolving table and wall
At the Fillet of Soul, a table and bench disappear from the dining room through a revolving wall. This carries Bond unseen into Mr Big's back room.
Side-mirror dart gun
Whisper's Corvorado hides a dart launcher in its side mirror. The poisoned dart fired from the moving car kills Bond's CIA chauffeur and leaves his Chevrolet rolling without a driver.
Restraint chair
Mr Big has Bond secured in a heavy chair whose armrests and foot restraints immobilise the prisoner. The construction allows Kananga to interrogate him while preventing any free movement.
Improvised aerosol flamethrower
When a snake appears in his bungalow, Bond combines an aerosol can with the flame of his cigar. The short jet of fire kills the snake, turning everyday objects into an improvised weapon.
Bug detector
A detector in Bond's travel kit uses a warning light to reveal hidden microphones. In his San Monique hotel room he finds listening devices in the bed and a statue.
Sources: 007.com: Live And Let Die – Fahrzeuge und Gadgets · MI6-HQ: Shaving Kit
Incendiary bombs
Quarrel Jr carries three incendiary bombs with timers into San Monique's poppy fields. Set for six o'clock, the charges destroy the crop while Bond rescues Solitaire from Kananga's underground base.
Sources: 007.com: Live And Let Die – Fahrzeuge und Gadgets · Live And Let Die – Drehbuchfassung
Reversible jacket
After landing the hang glider, Bond reverses his black jacket into a light-coloured suit coat. Together with the pale trousers underneath, it turns his night-time flying outfit into an inconspicuous daytime suit within seconds.
Sources: 007.com: Live And Let Die – Fahrzeuge und Gadgets · Bond Suits: Hang Gliding in a Leisure Suit
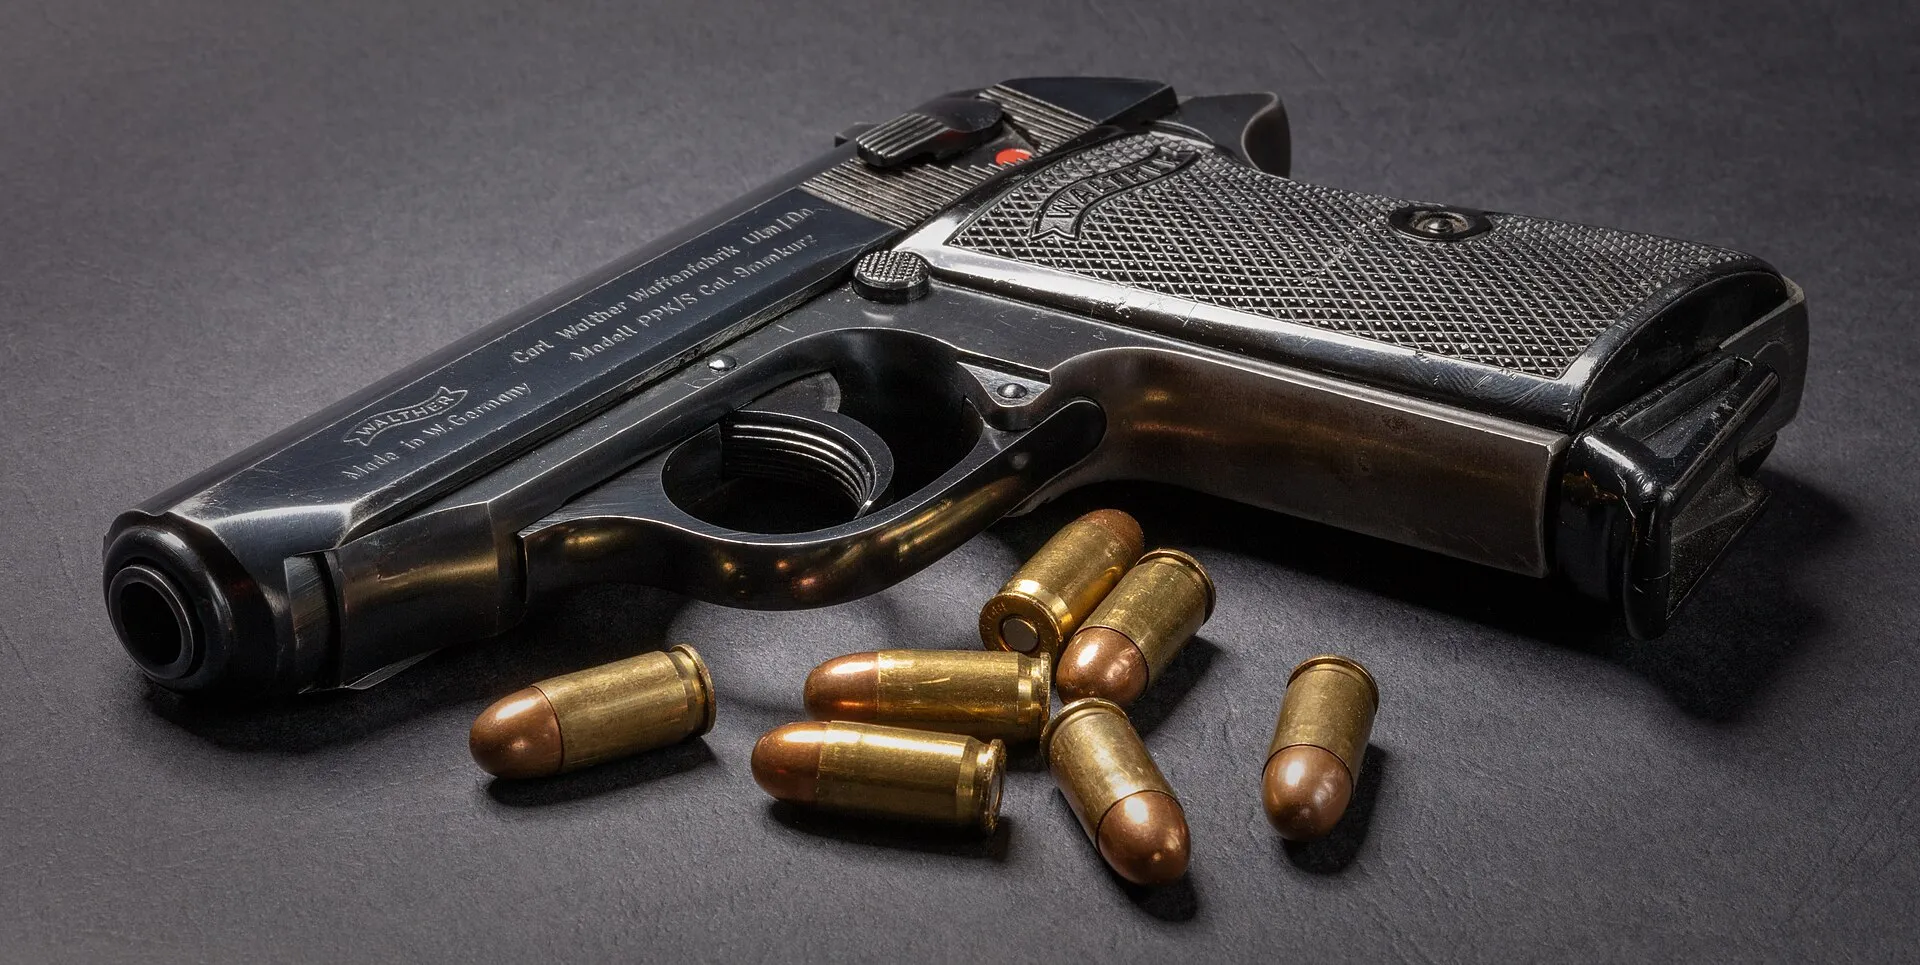
The 7.65 mm Walther PPK remains Bond's service weapon for Roger Moore's first missionPhoto: Tomascastelazo · CC BY-SA 4.0 · Wikimedia Commons Walther PPK
Bond once again carries the compact 7.65 mm semi-automatic pistol as his service weapon. It accompanies him throughout the mission, although many of the film's confrontations rely more heavily on traps, chases and improvised solutions.


Production and trivia
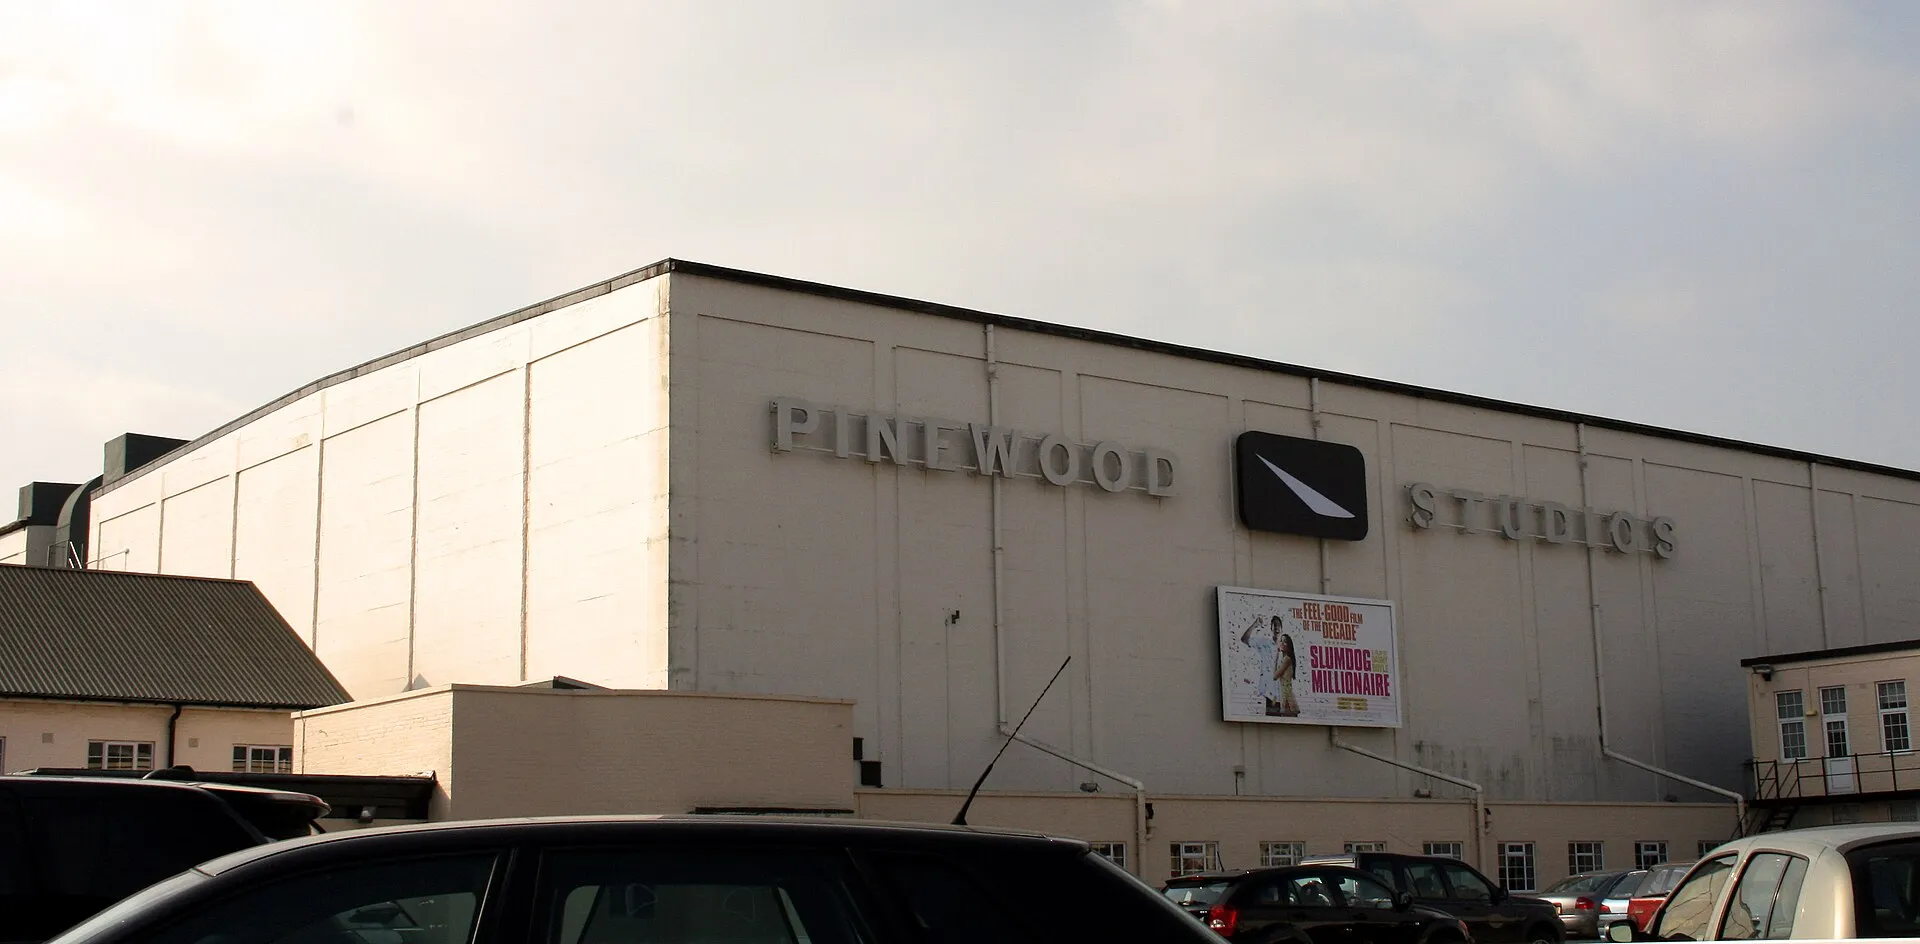
- Principal photography began on 13 October 1972 in Louisiana, moved to Jamaica in November and was split between Pinewood and New York in December; shooting finished in March 1973. For a while only the second unit worked because Roger Moore was laid up with kidney stones.
- Sean Connery declined to return, United Artists floated Steve McQueen and Paul Newman, and Burt Reynolds turned the part down on the grounds that Bond had to be British. Albert R. Broccoli pushed through Roger Moore, who had already been considered for Dr. No and On Her Majesty's Secret Service.
- It is the only Bond film before Casino Royale (2006) without Q. Desmond Llewelyn was available, but Saltzman and Broccoli felt too much was being made of the gadgets – much to the actor's annoyance.
- Glastron built 26 boats for the chase, 17 of which were destroyed in rehearsals alone. The jump off a purpose-built ramp cleared about 110 feet (some 34 metres) and unintentionally set a Guinness world record; the wash flipped the pursuing boat.
- While scouting, the crew came across a crocodile farm in Falmouth with a sign reading "Trespassers will be eaten". Its owner Ross Kananga gave the villain his name and performed the run across the animals' backs himself – it took five attempts, and on the last one a crocodile caught his heel and tore his trousers.
- The film appeared at the height of the blaxploitation wave and borrows its motifs down to the racial slurs and pimpmobiles. Critics have held that against it ever since; Danny Peary wrote that with black leads it would simply have been a blaxploitation picture.
- Guy Hamilton wanted to shoot in Haiti, the model for San Monique, but abandoned the idea because of the political situation under the Duvalier regime. Jamaica played the fictional island instead.
- The snakes at the voodoo ceremony caused trouble: the script supervisor refused to come on set, an actor fainted, and Geoffrey Holder only agreed to fall into the snake-filled casket because Princess Alexandra was visiting. Jane Seymour was narrowly missed by an escaped snake.
- John Barry was busy with the stage musical Billy. Most of the $25,000 music budget went to Paul McCartney for the title song, leaving just enough to hire George Martin, the Beatles' former producer, for the score.
- "Live and Let Die" was the first genuine rock song to open a Bond film, reached number two in the US and number nine in Britain and was nominated for an Academy Award. Saltzman and Broccoli had also hired B. J. Arnau, unaware that McCartney meant to sing it himself; her version is heard in the nightclub.
- Salvador Dalí was to design Solitaire's tarot deck but proved too expensive for the production. The cards were finally created by Fergus Hall; Dalí carried on with his own version and published it in 1984.
- The double-decker in the bus chase was RT246, a 1947 London AEC Regent III. Its top deck ran on rollers so it would slide off at the low bridge; the stunt was driven by Maurice Patchett, a London Transport driving instructor.
- In Harlem the production reportedly paid protection money to a local gang; when the money ran out they had to leave. Many "Harlem" street scenes were therefore shot on the Upper East Side, and the car chase on FDR Drive.
- A budget of seven million dollars turned into $161.8 million worldwide – the most successful Bond film to date. When ITV screened it on 20 January 1980, 23.5 million people watched; it remains the highest-rated feature film broadcast on British television.
- The German version was produced by Ultra-Film in Munich, with Niels Clausnitzer voicing Roger Moore and Herbert Weicker voicing Kananga. It opened in West German cinemas on 19 December 1973 with a 16 certificate.
Images









.jpg)

Sources
- Live and Let Die (film) – Wikipedia (en)(en)accessed 7 September 2026
- James Bond 007 – Leben und sterben lassen – Wikipedia (de)(de)accessed 7 September 2026
- List of James Bond film locations – Wikipedia (en)(en)accessed 7 September 2026
- Filming Locations for Live And Let Die (1973) – movie-locations.com(en)accessed 7 September 2026
- Live And Let Die At 50 – 007.com(en)accessed 7 September 2026
- Live and Let Die (1973) – Mi6-HQ.com(en)accessed 7 September 2026
- Live and Let Die – The Numbers(en)accessed 7 September 2026
- Live and Let Die – Box Office Mojo(en)accessed 7 September 2026
- Live and Let Die – Deutsche Synchronkartei(de)accessed 7 September 2026
- Green Grotto Caves – Wikipedia (en)(en)accessed 7 September 2026
- Rose Hall, Jamaica – Wikipedia (en)(en)accessed 7 September 2026
- Falmouth, Jamaica – Wikipedia (en)(en)accessed 7 September 2026
- Montego Bay – Wikipedia (en)(en)accessed 7 September 2026
- Irish Bayou – Wikipedia (en)(en)accessed 7 September 2026
- New Orleans Lakefront Airport – Wikipedia (en)(en)accessed 7 September 2026
- Live and Let Die – Explore Louisiana(en)accessed 7 September 2026
- IMCDb.org: 1947 AEC Regent III RT246 in „Live and Let Die, 1973“(en)accessed 7 September 2026
- Live and Let Die (song) – Wikipedia (en)(en)accessed 7 September 2026